Contact Sheets: Canonet and OM1
Developing B&W film isn’t hard.
The last time I developed a roll of film was in college, so I was more worried about ruining it than anything. Our instructor at Photo Midwest made sure we felt comfortable by providing a test roll and reel that we could fidget with while he discussed proper exposure and artistic intent. By the time we entered the darkroom, set up our station, and fed the reel with our test roll, we were prepared.
Next, we mixed the developer and prepped the stop bath, and fixer. After determining the the correct temperature, we set the timer and developed. Agitate. Tap-tap. Agitate. Repeat. Pour the developer out. Add the stop bath and agitate for 30 seconds. Pour out. Add the fixer. Agitate. Tap-tap. Agitate. Repeat for 5 minutes. Pour out. Wash with water and agitate 5 times. Repeat. Agitate 10 times. Repeat. Agitate 20 times. Dip in photo-flo. Hang to dry. The test roll was a success.
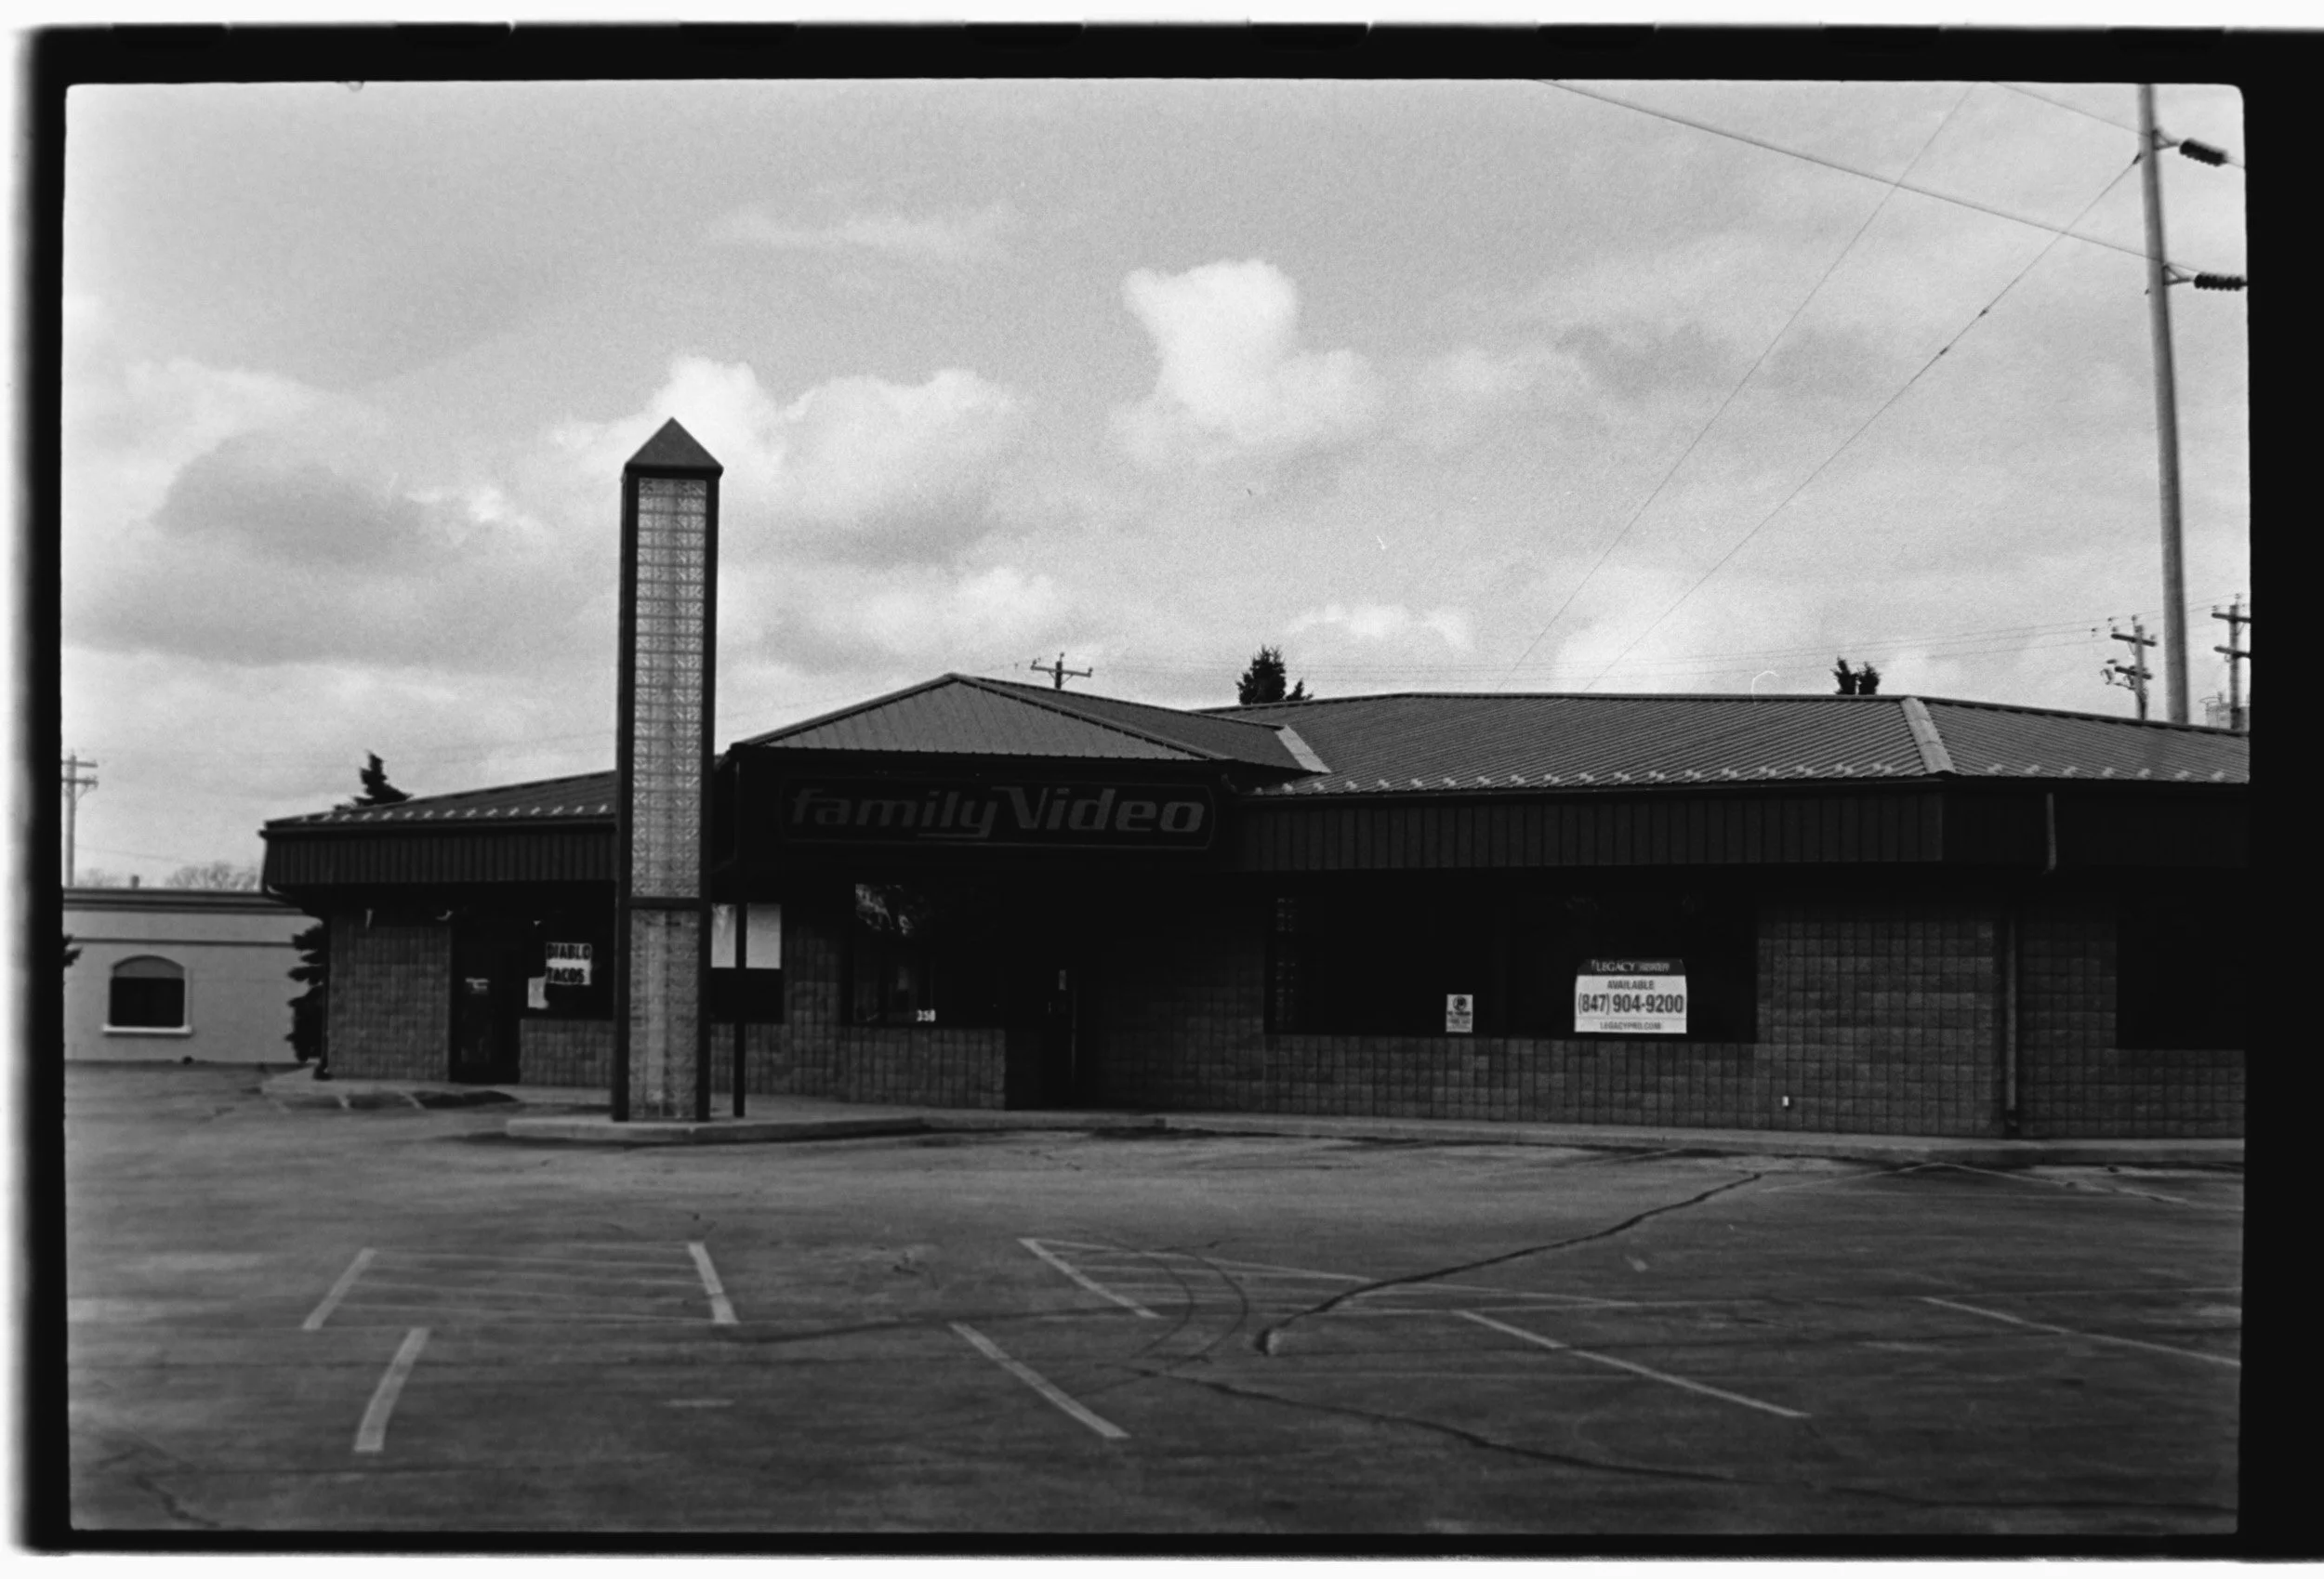
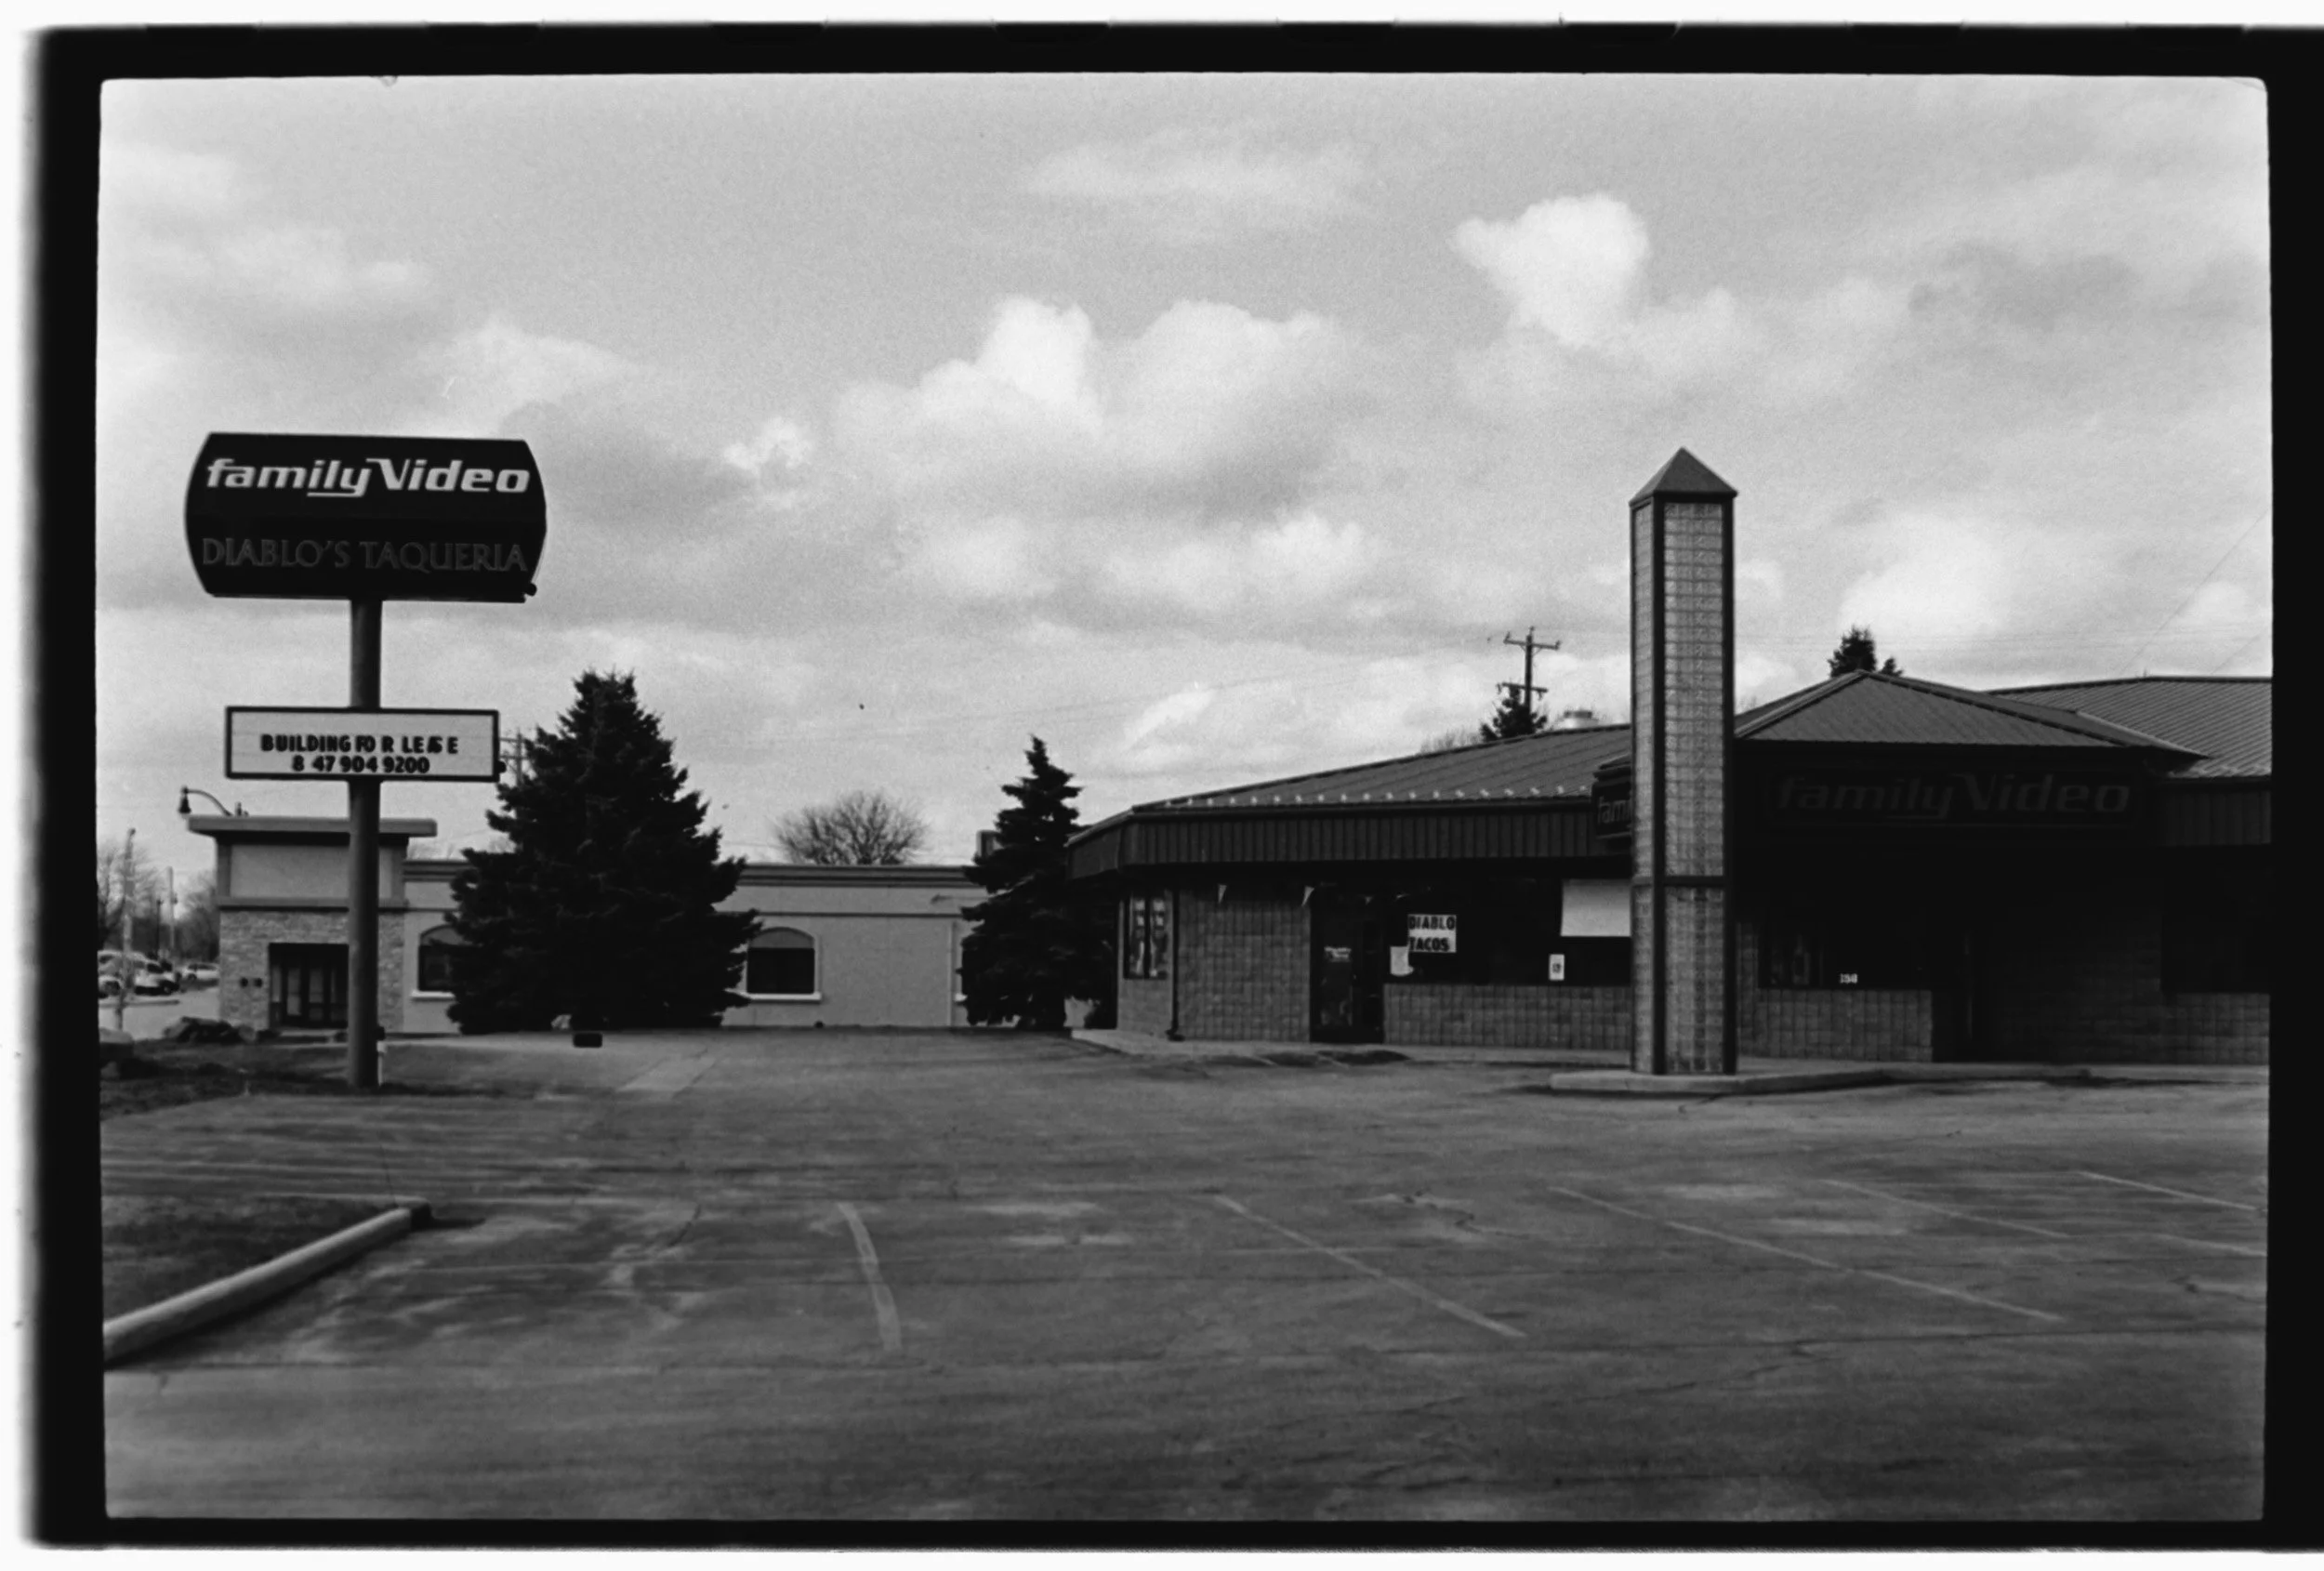
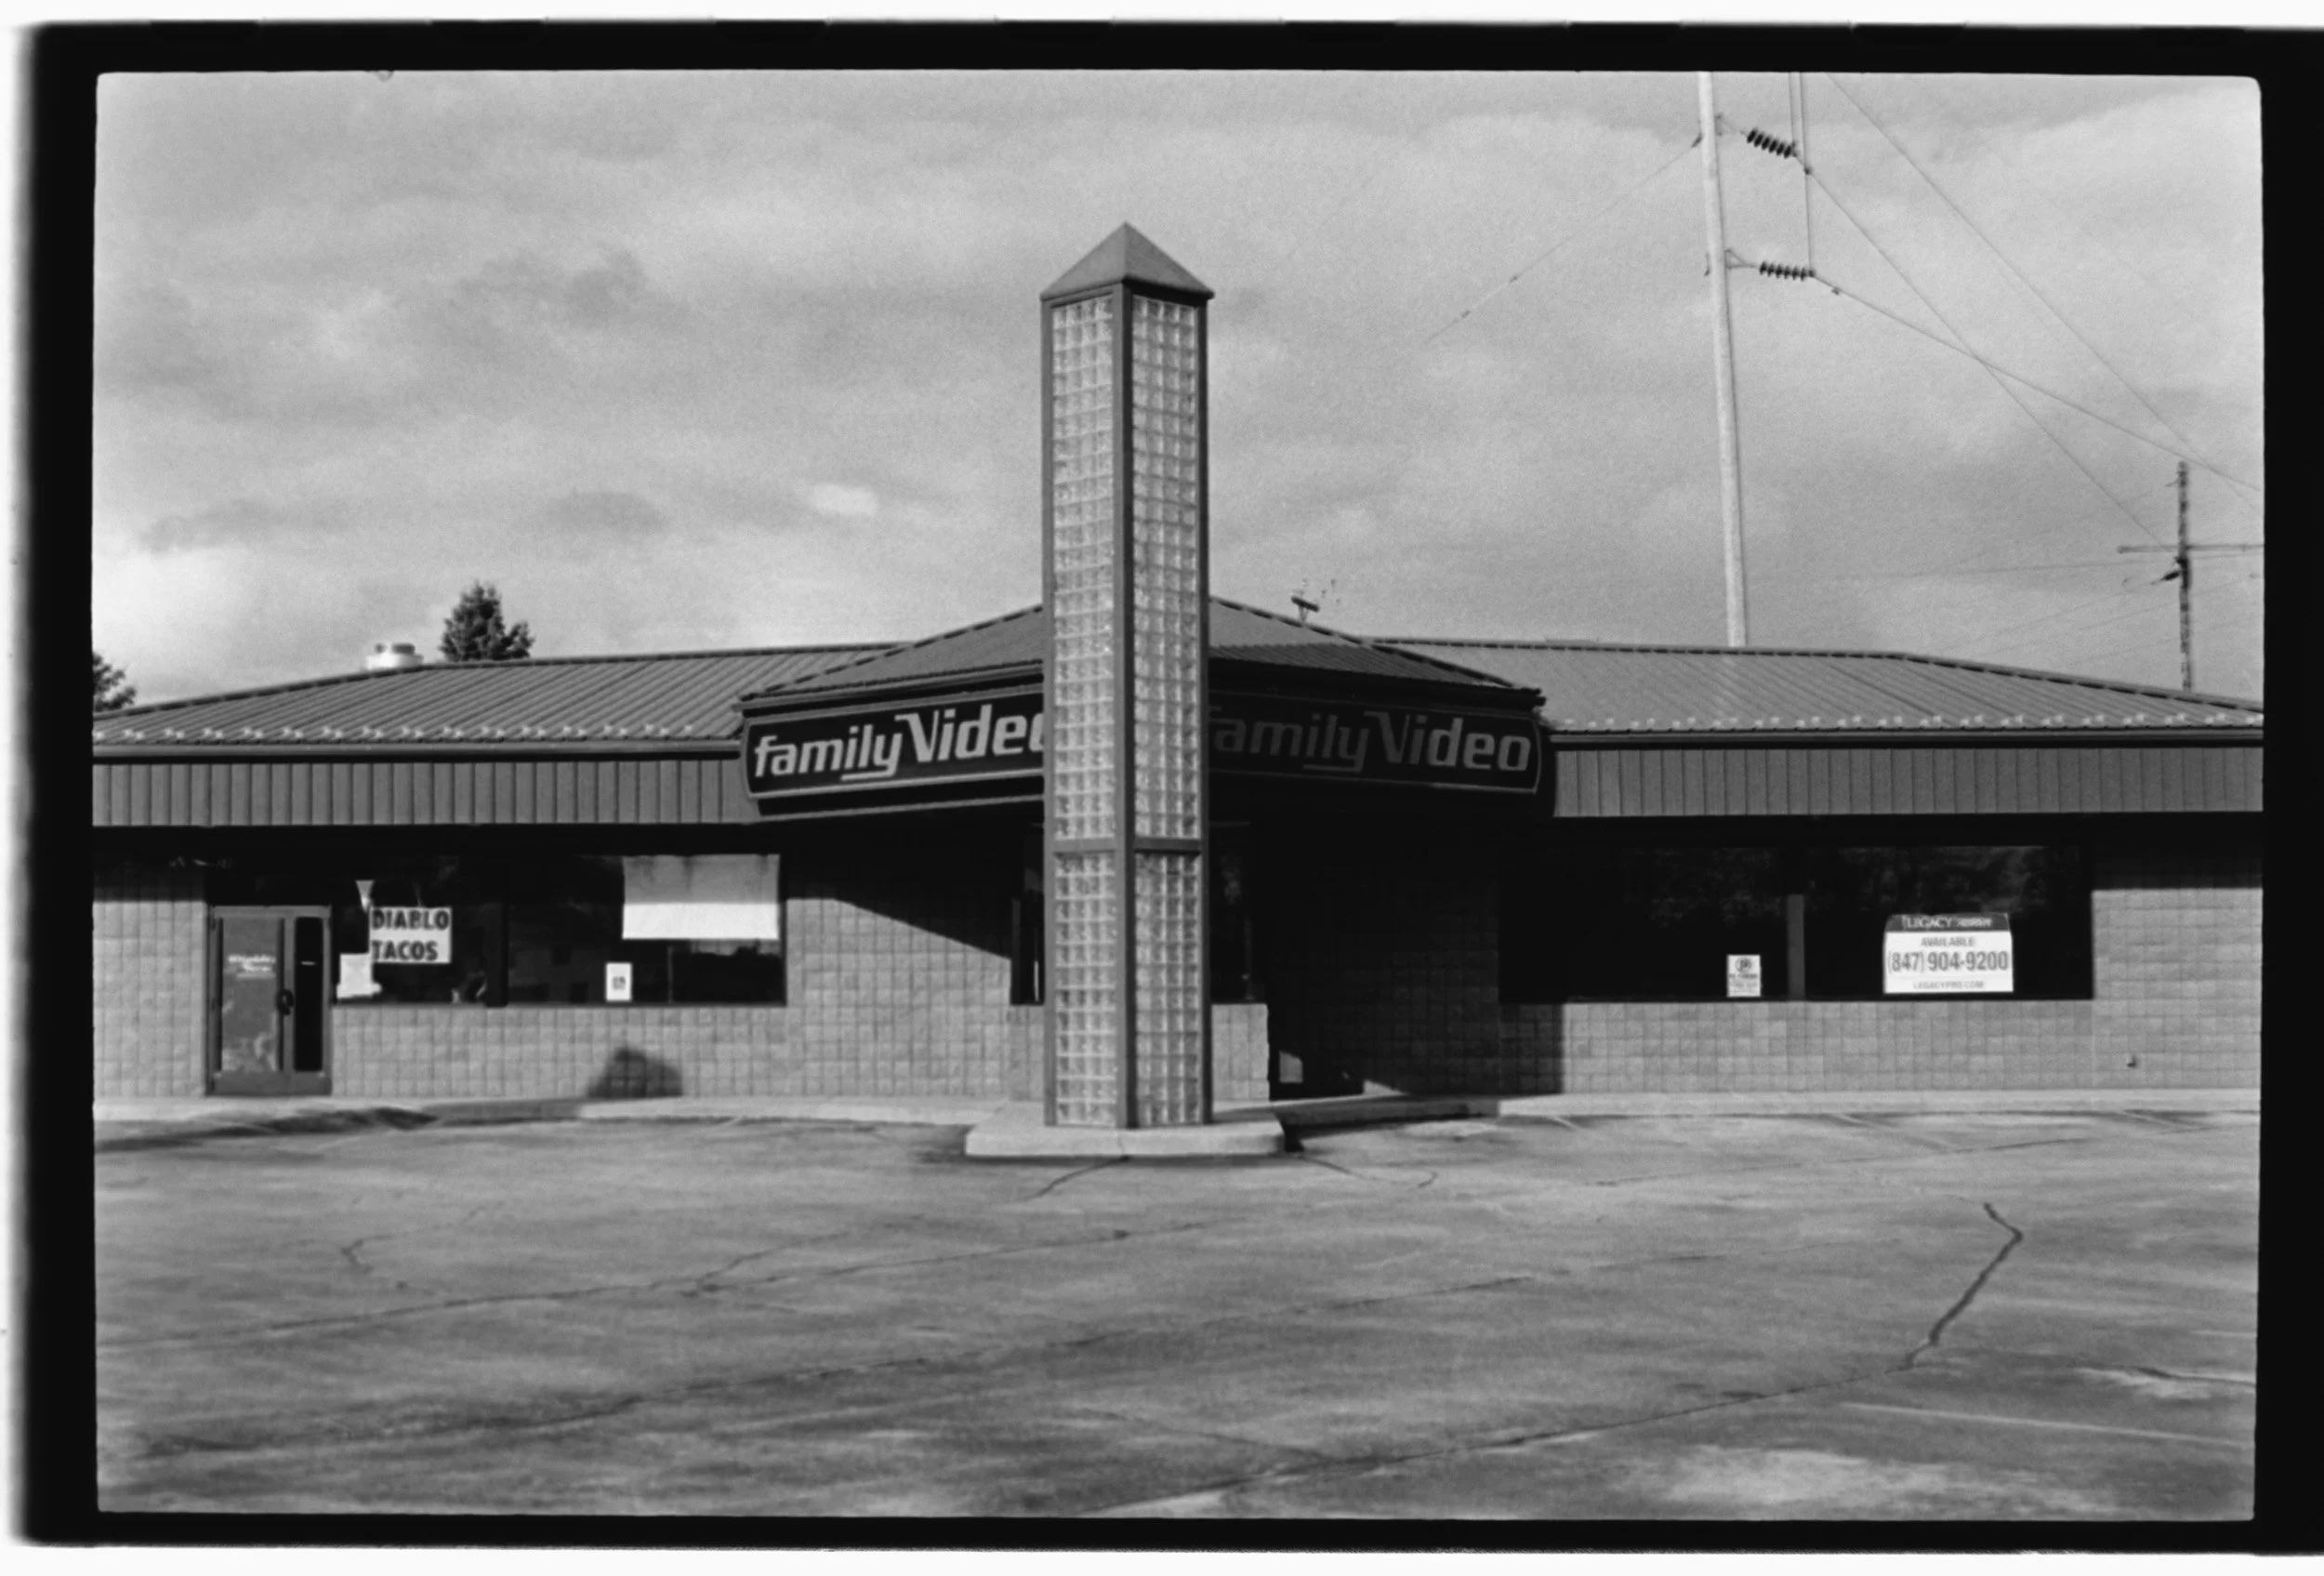
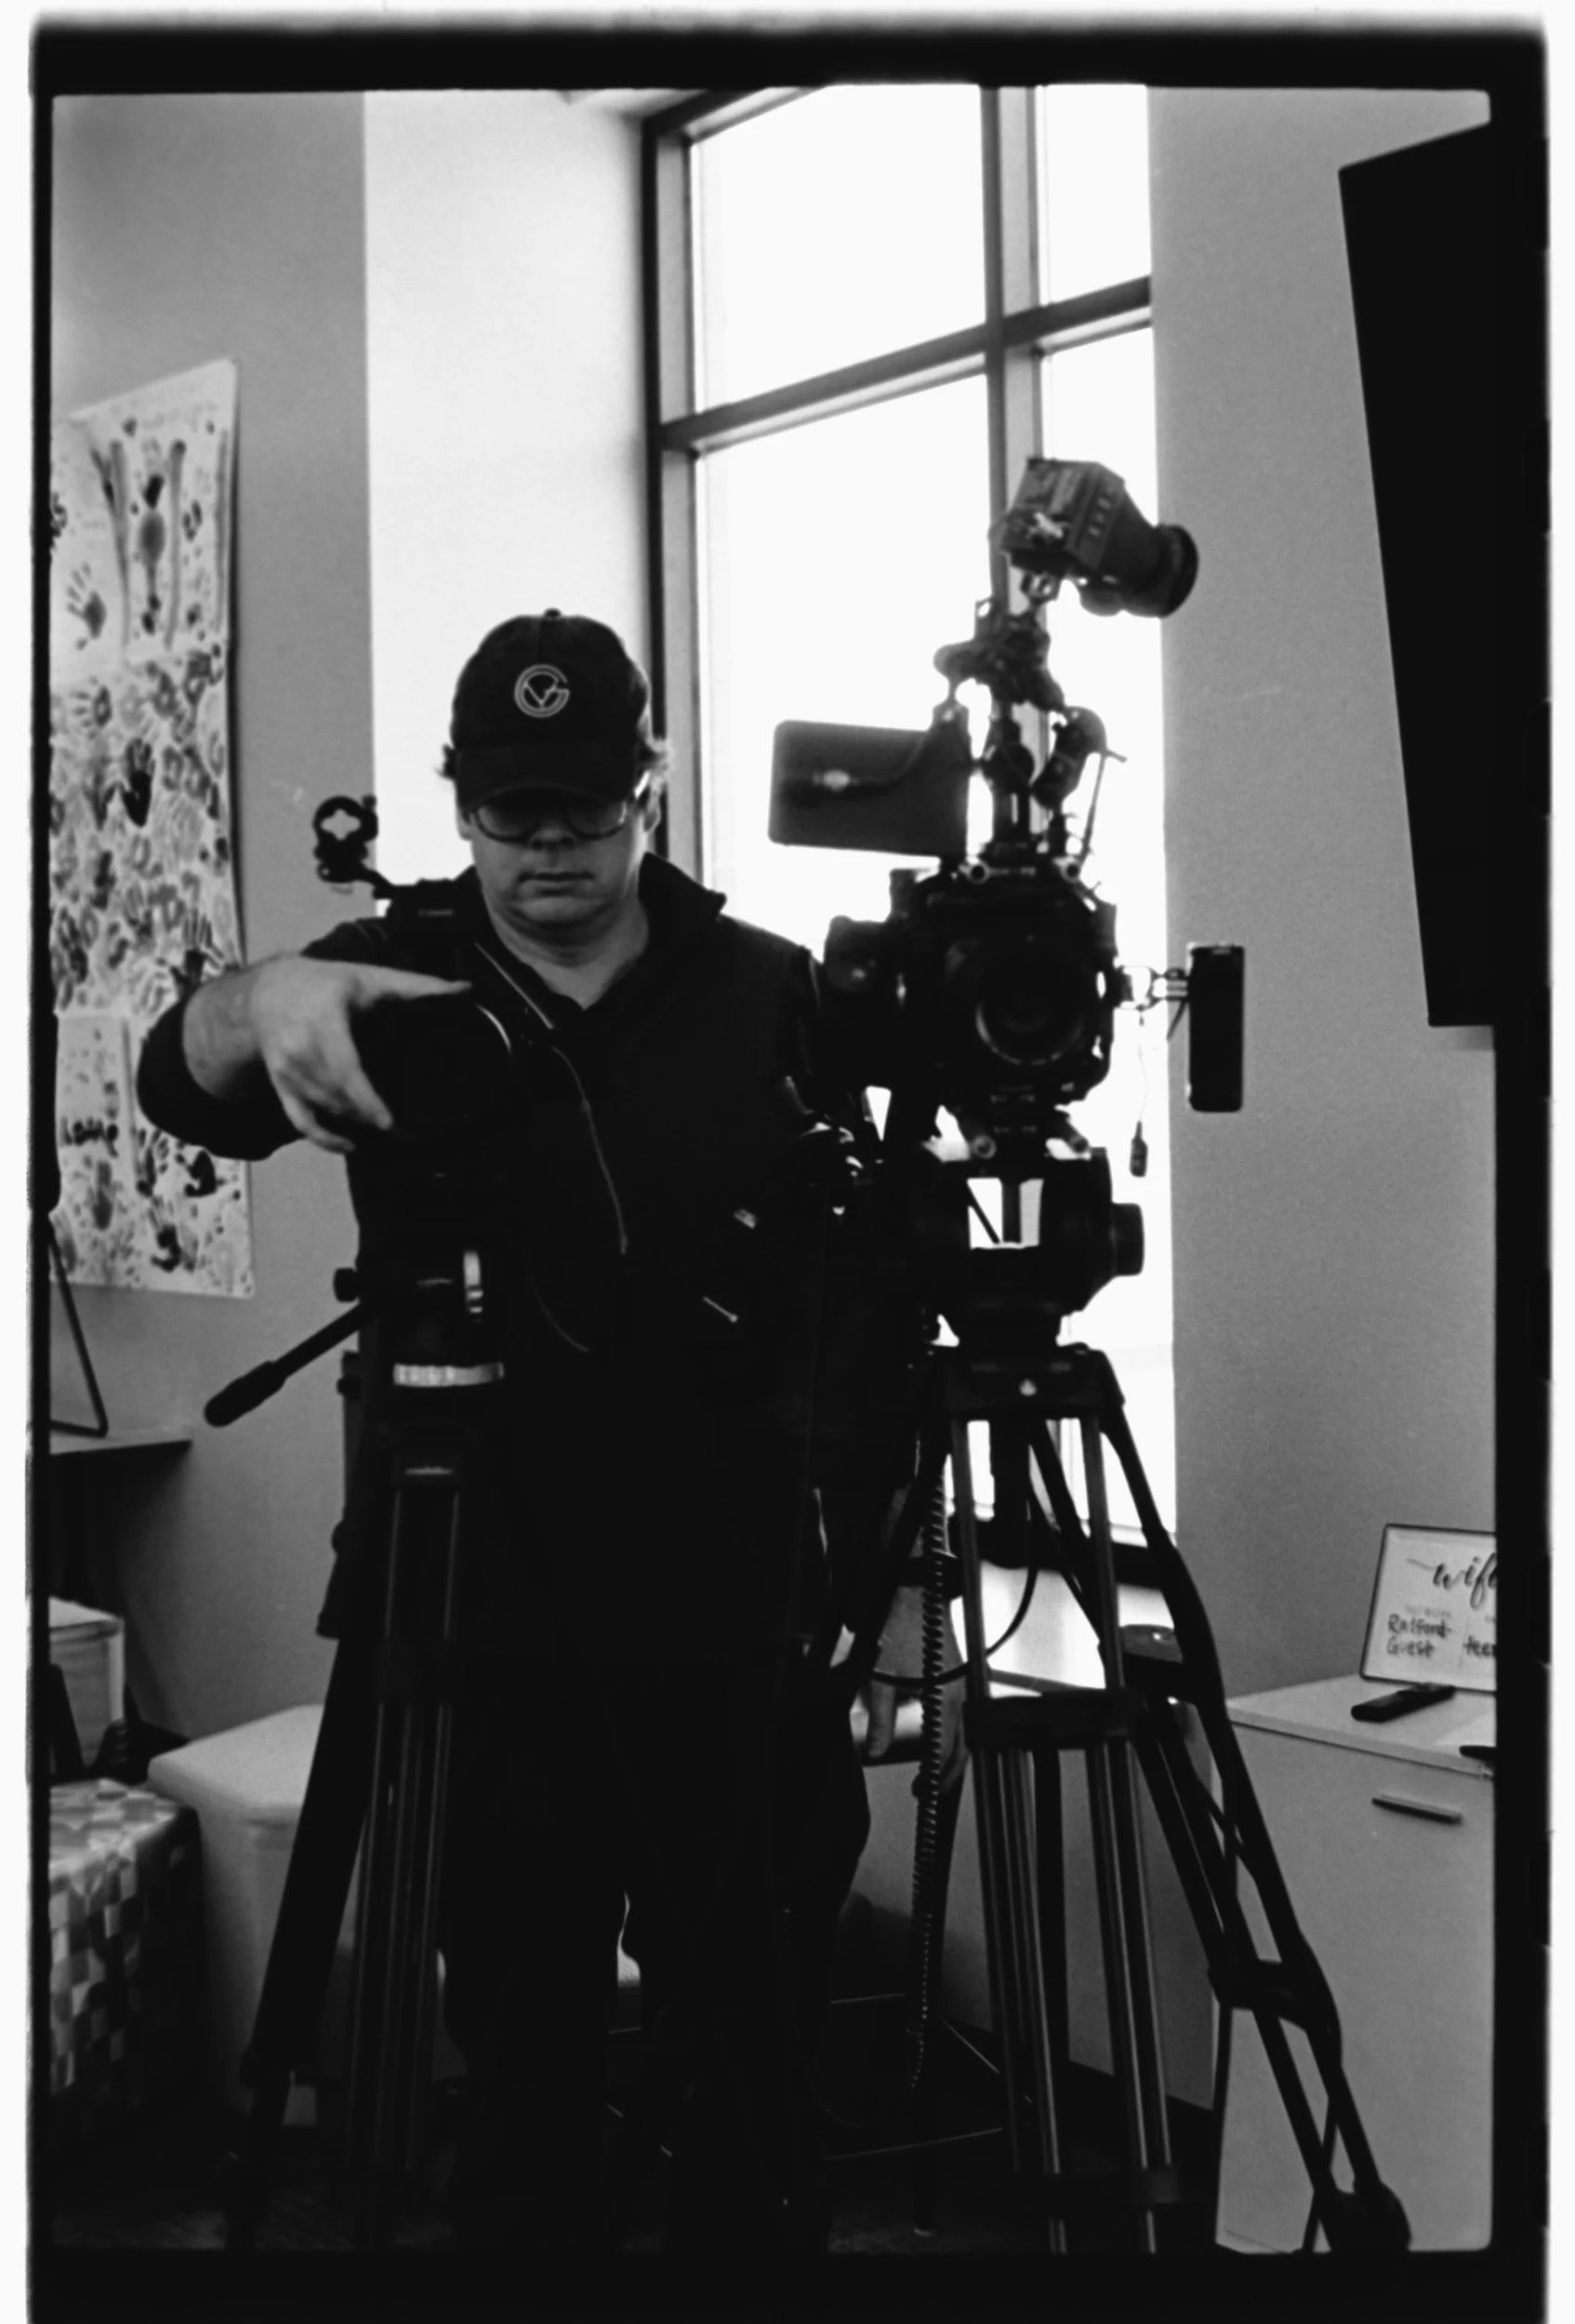
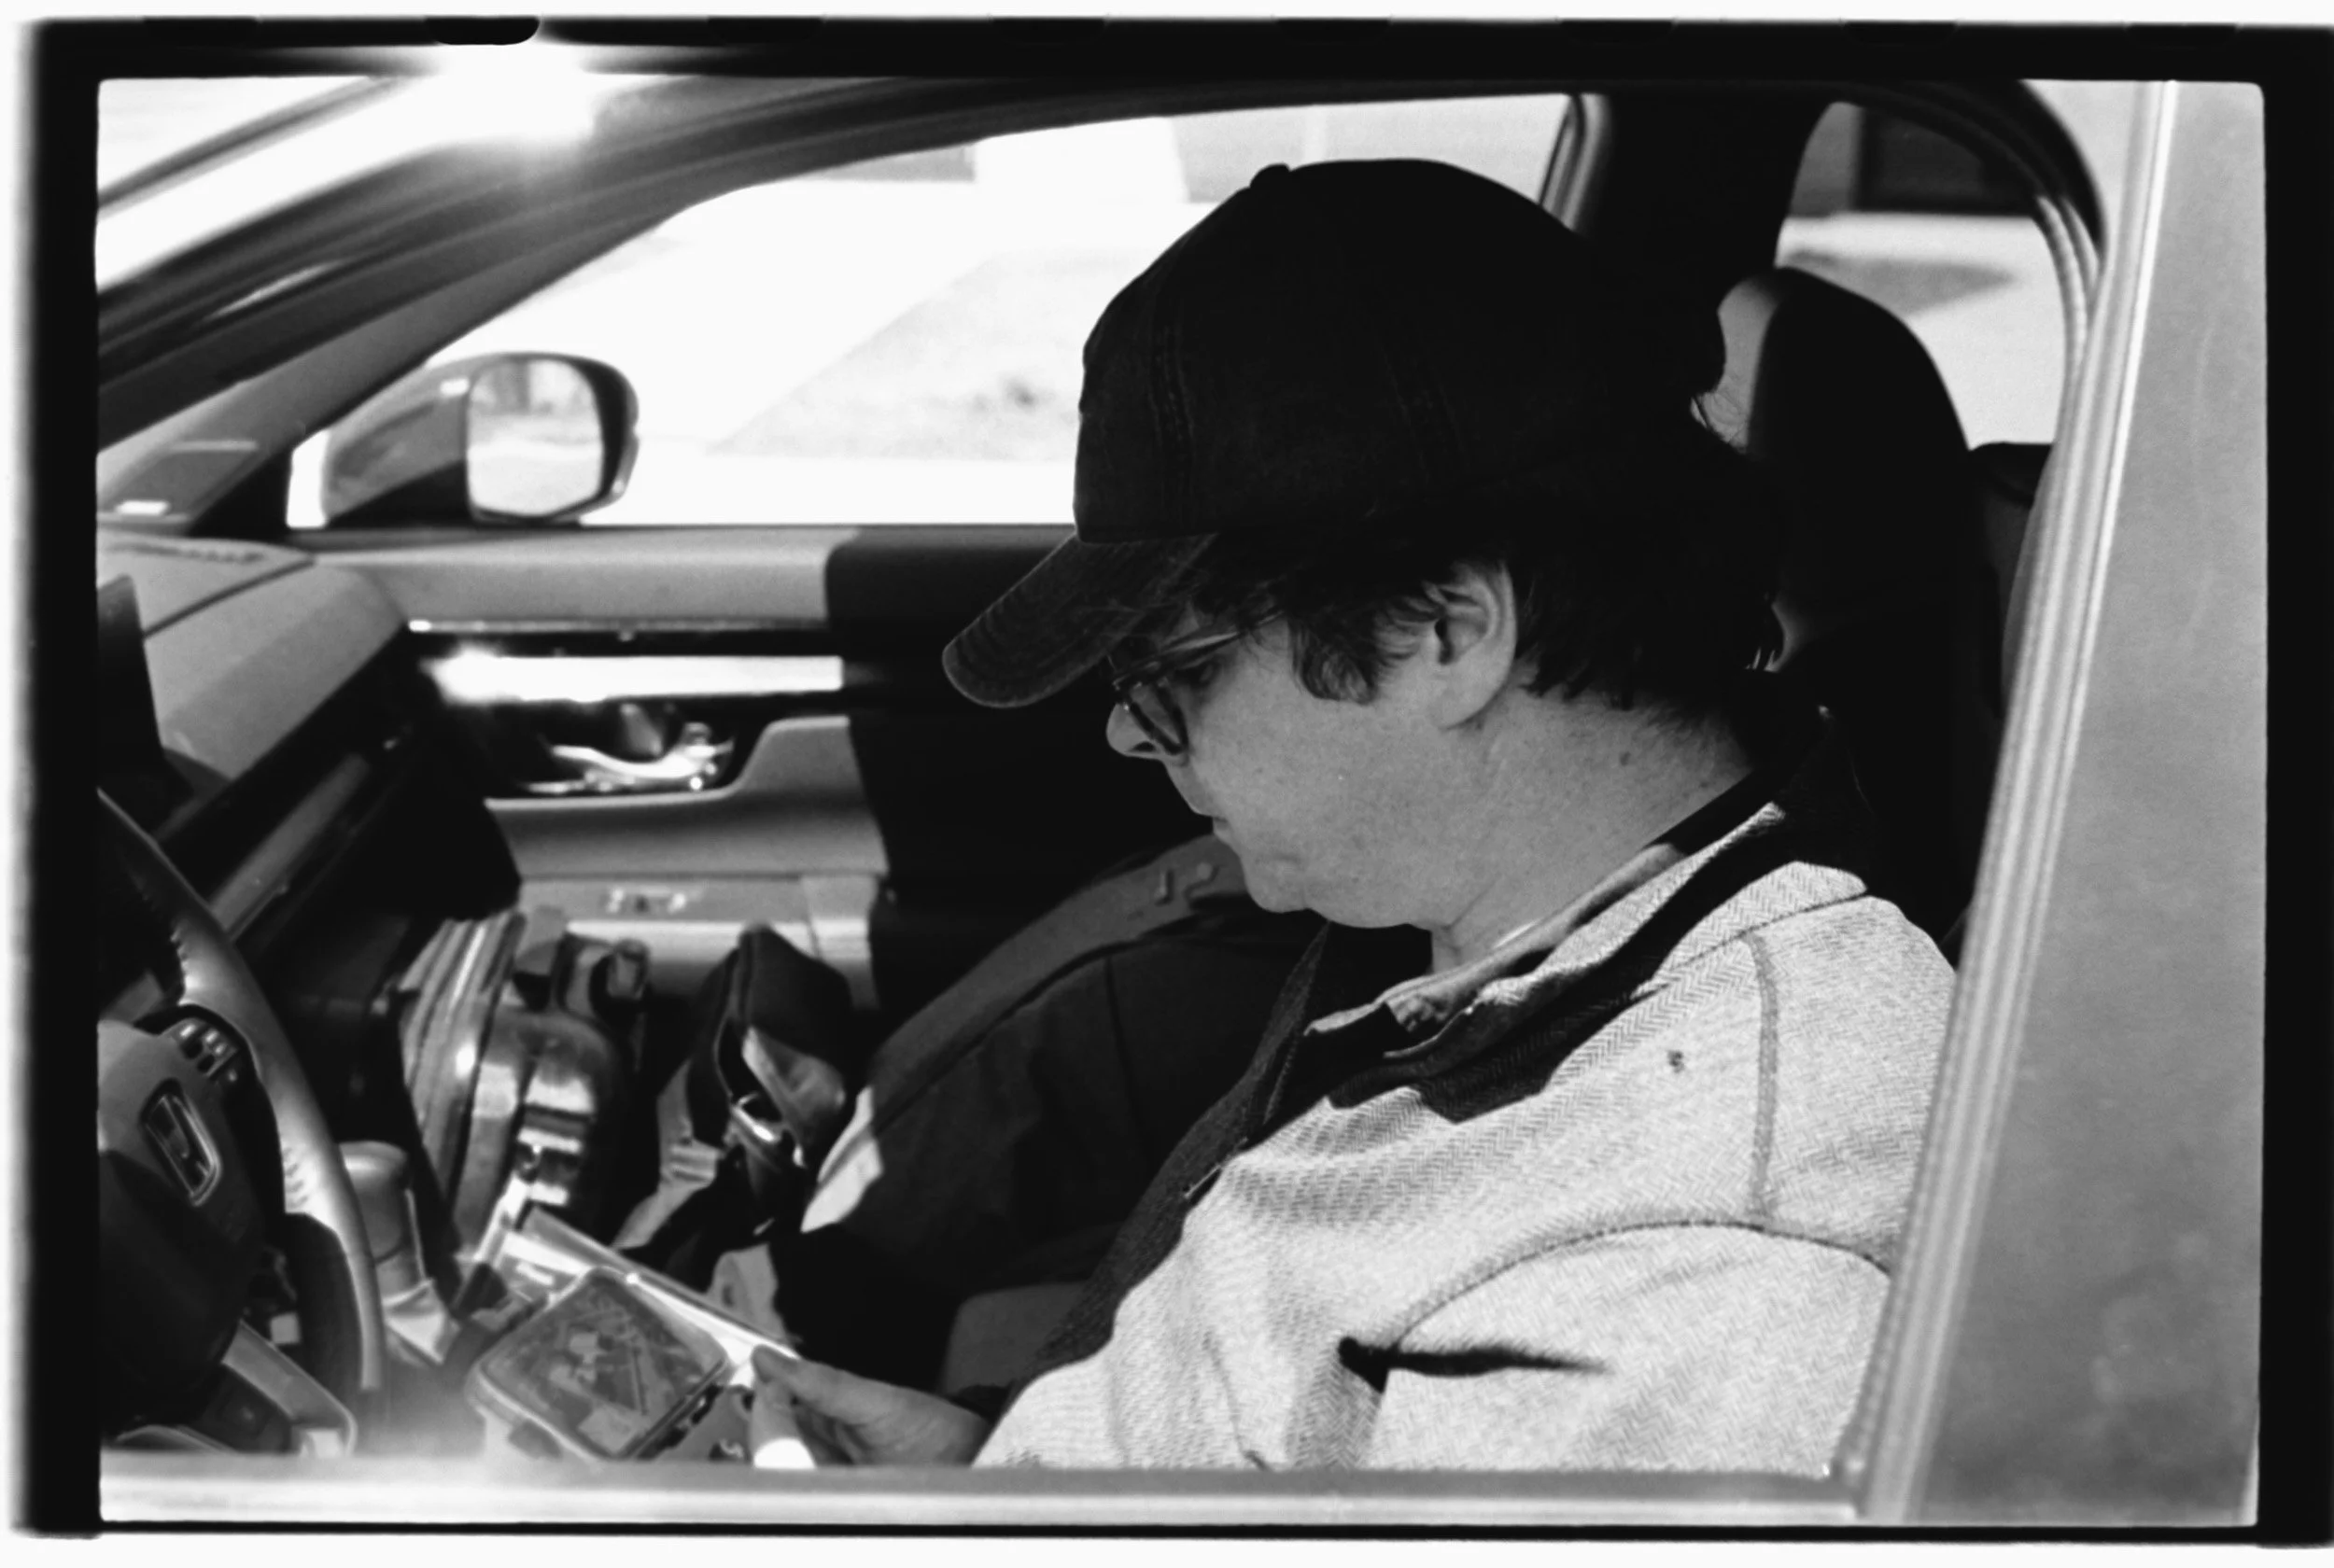
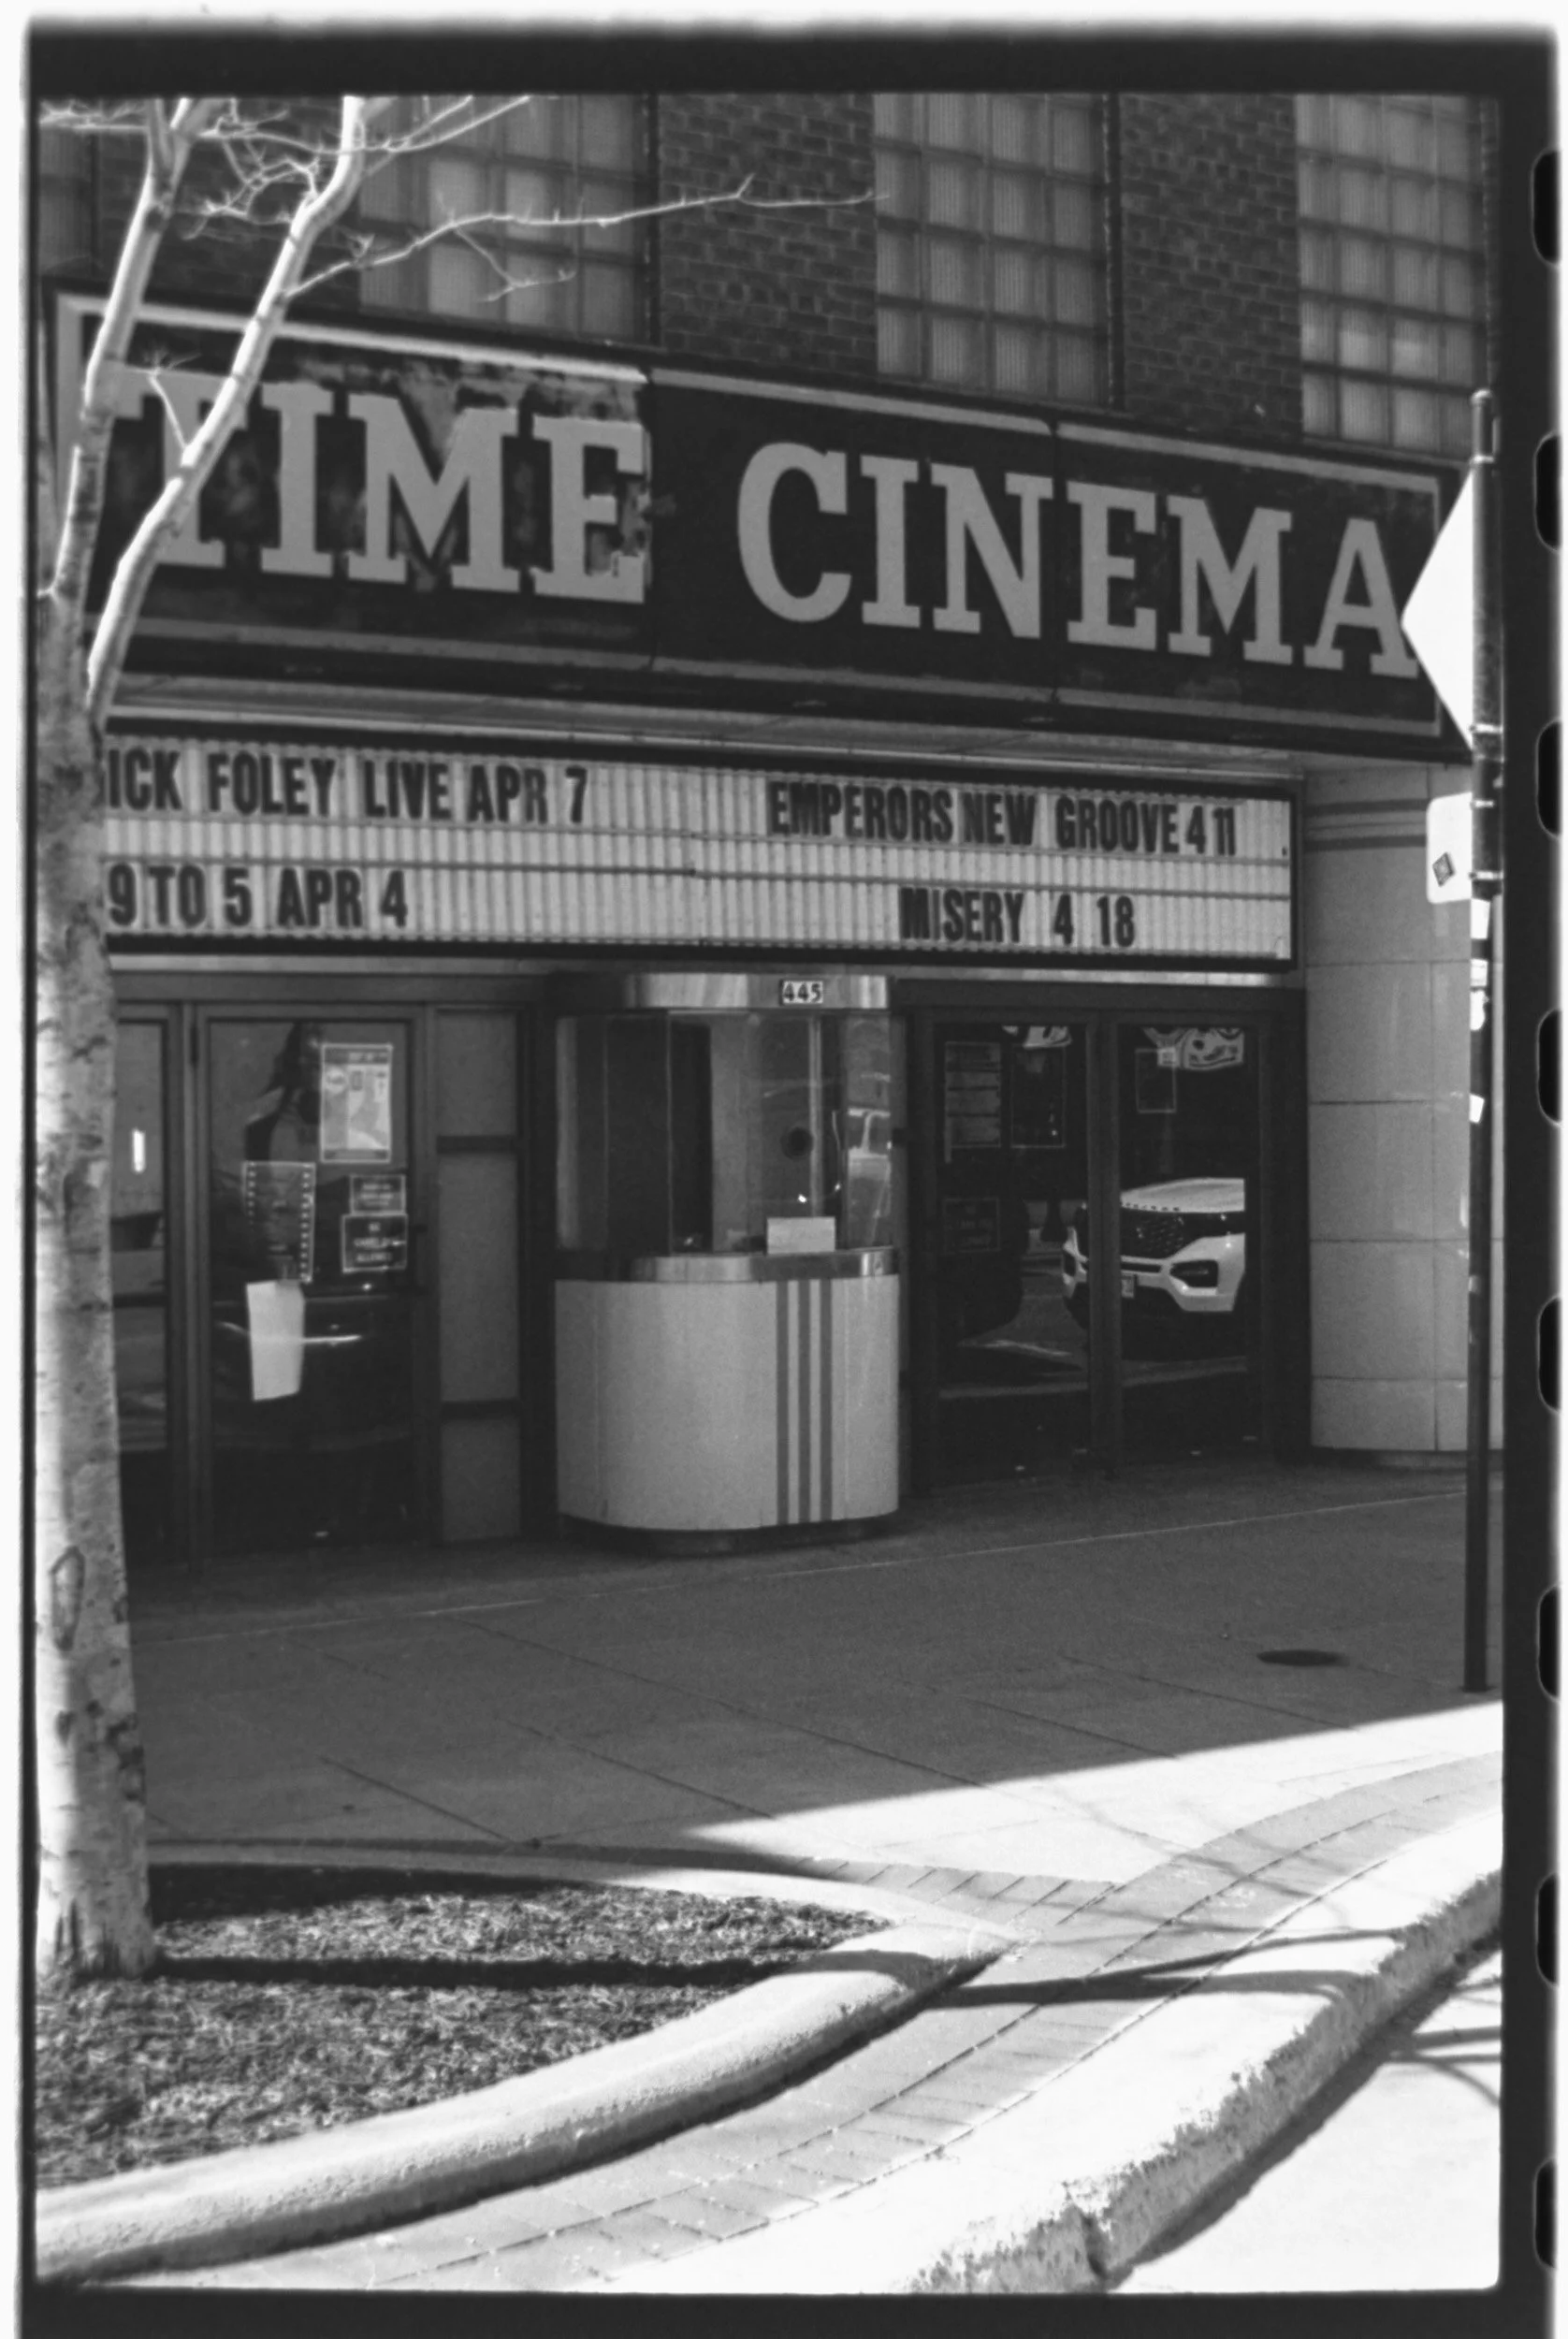
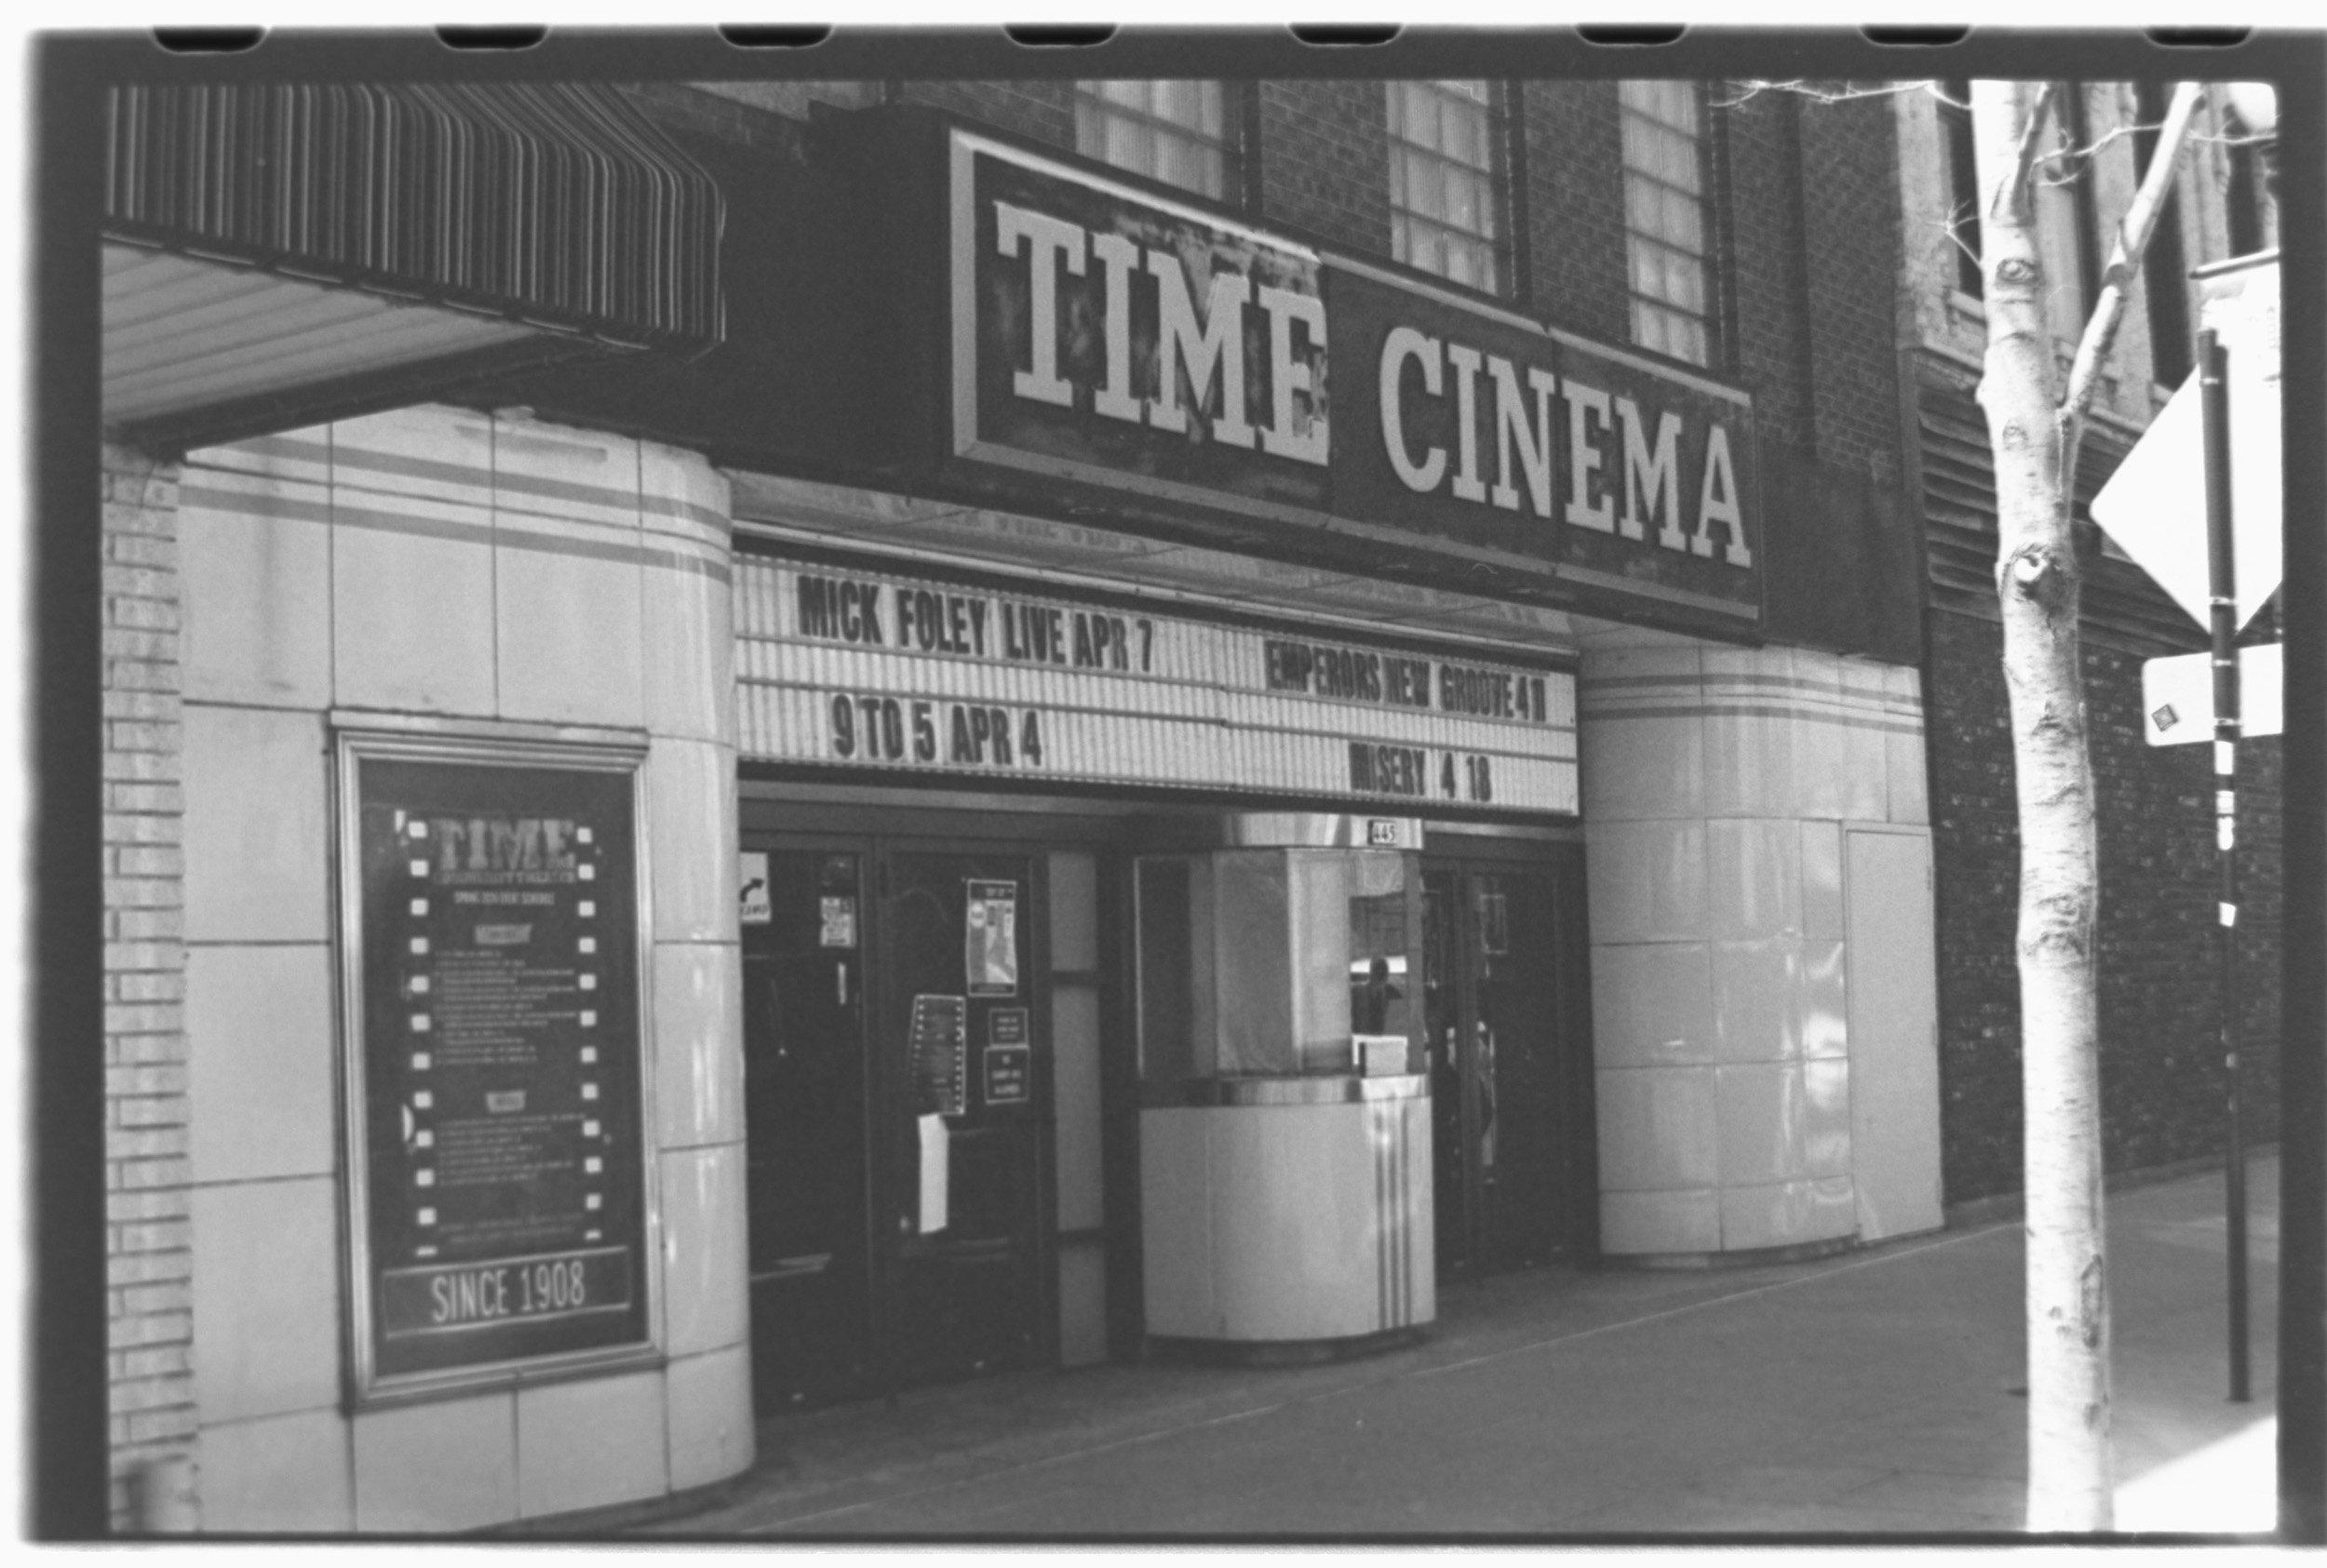
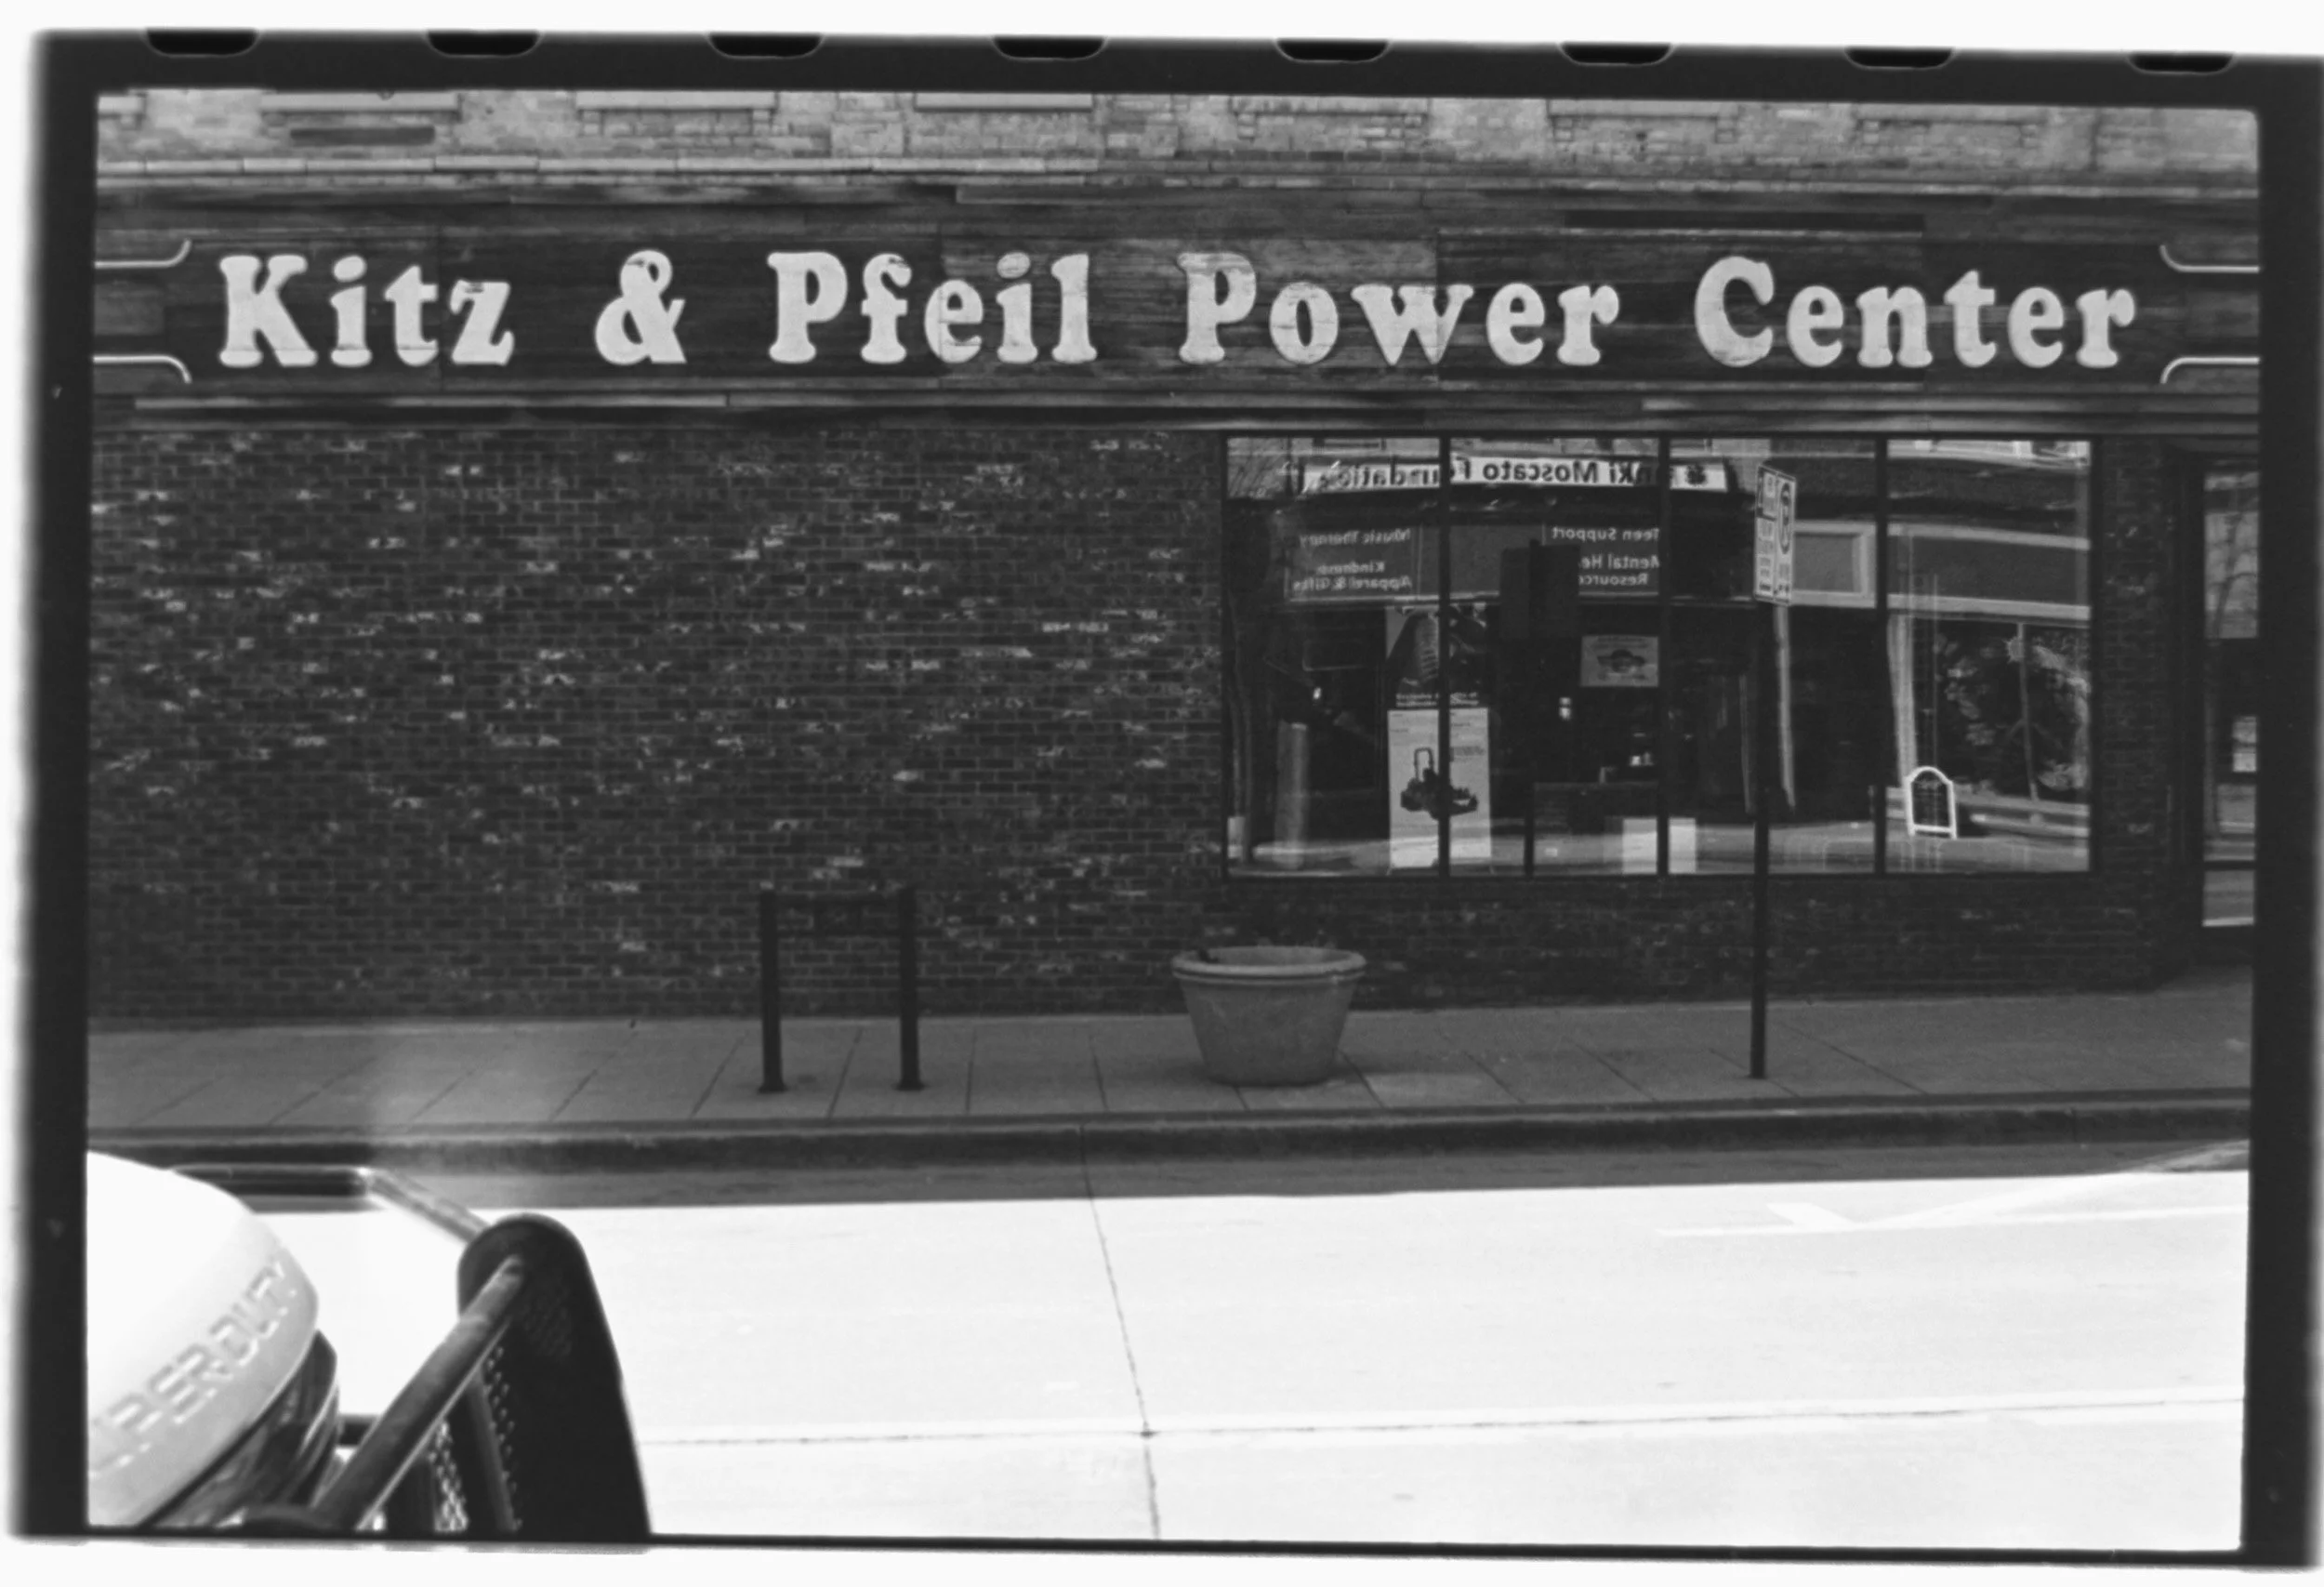
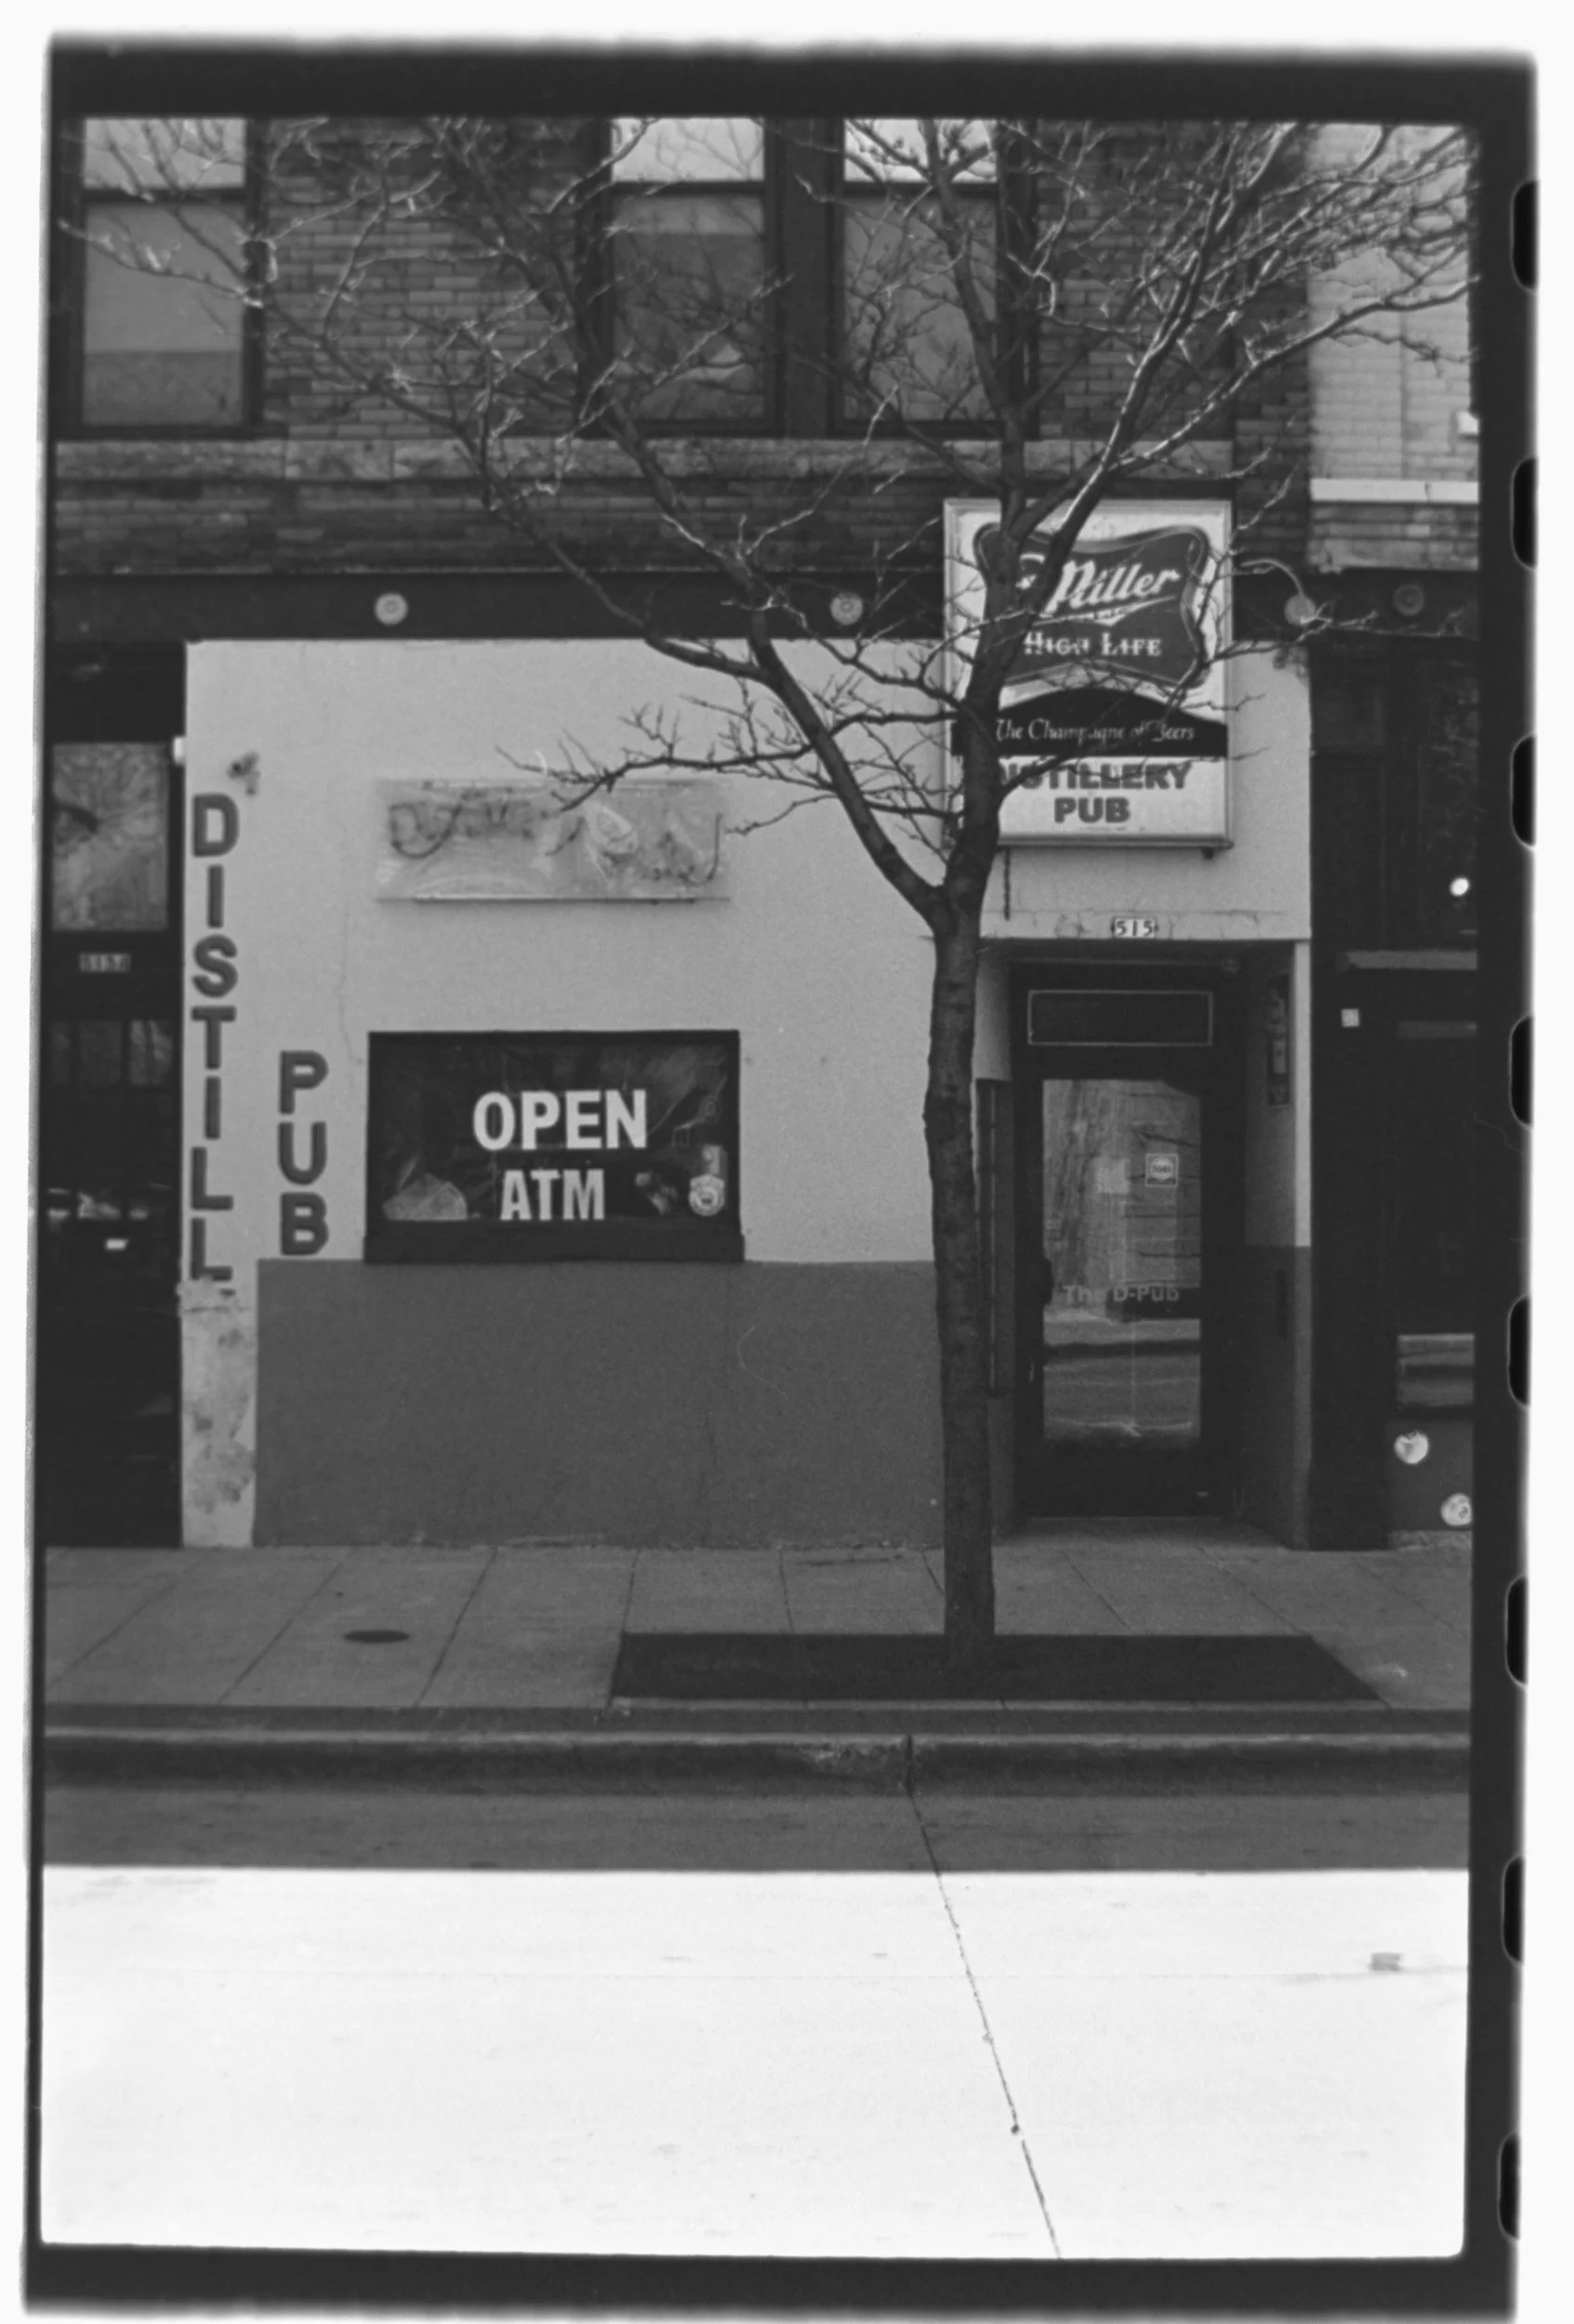
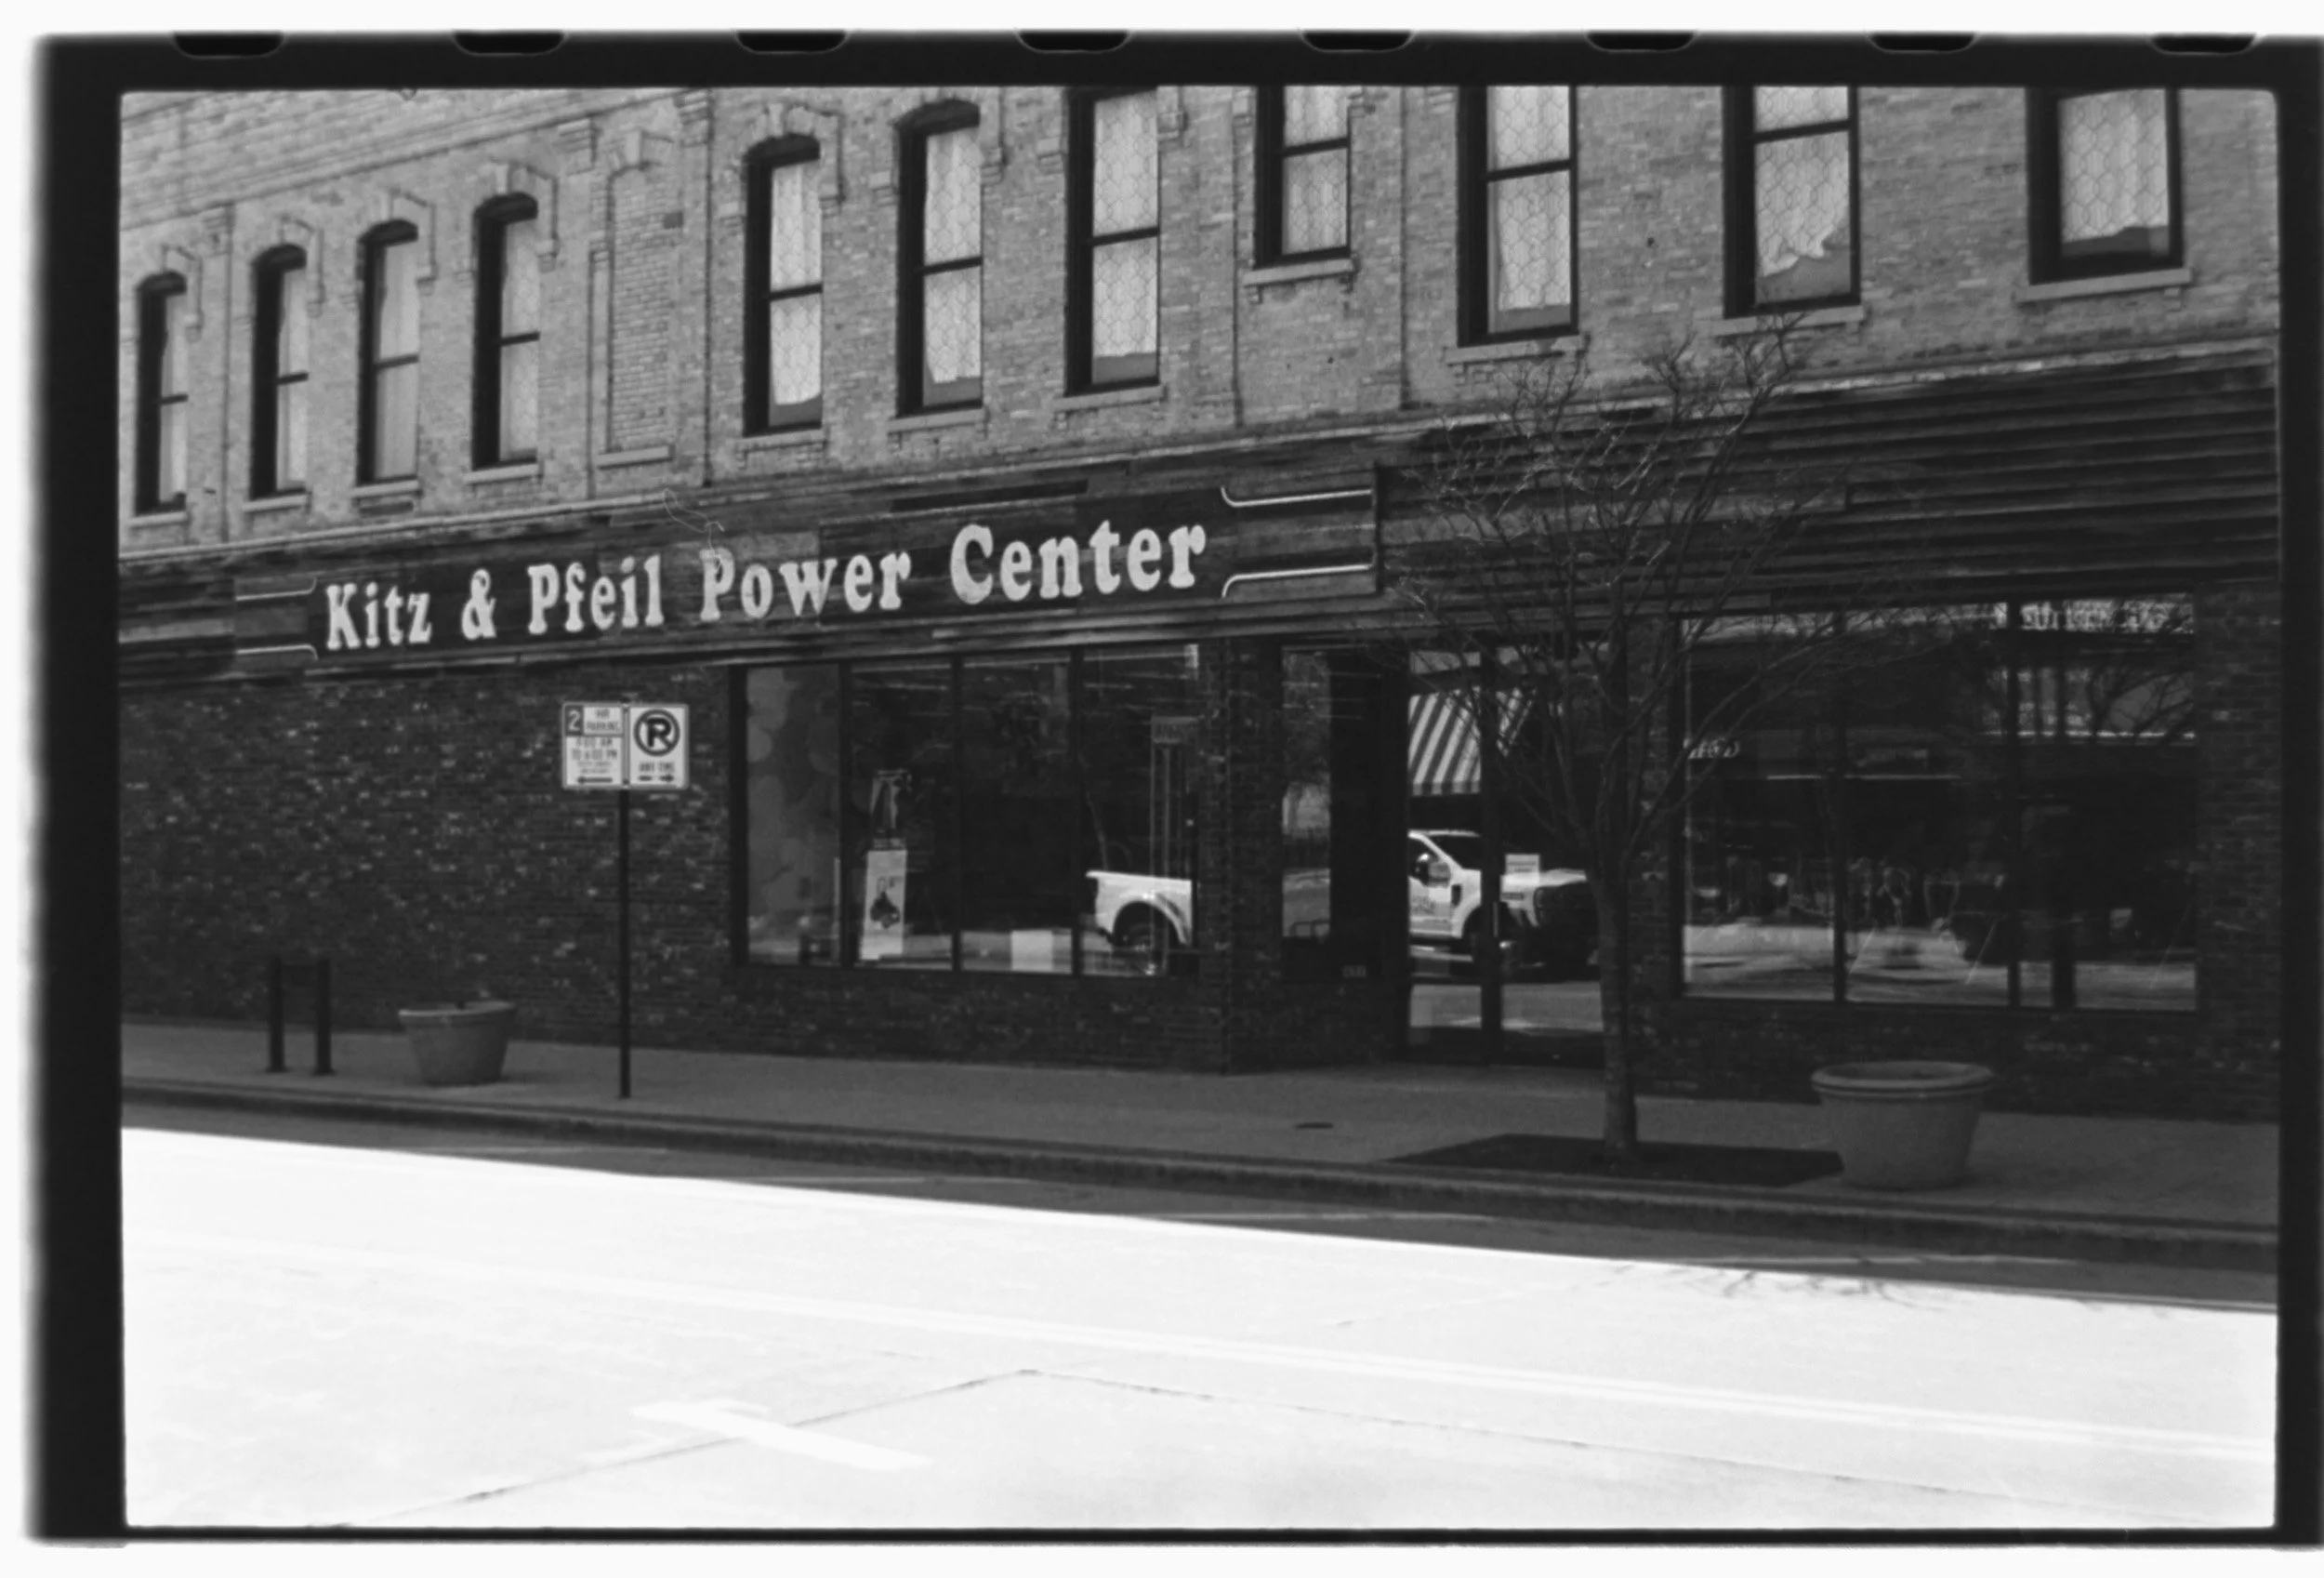
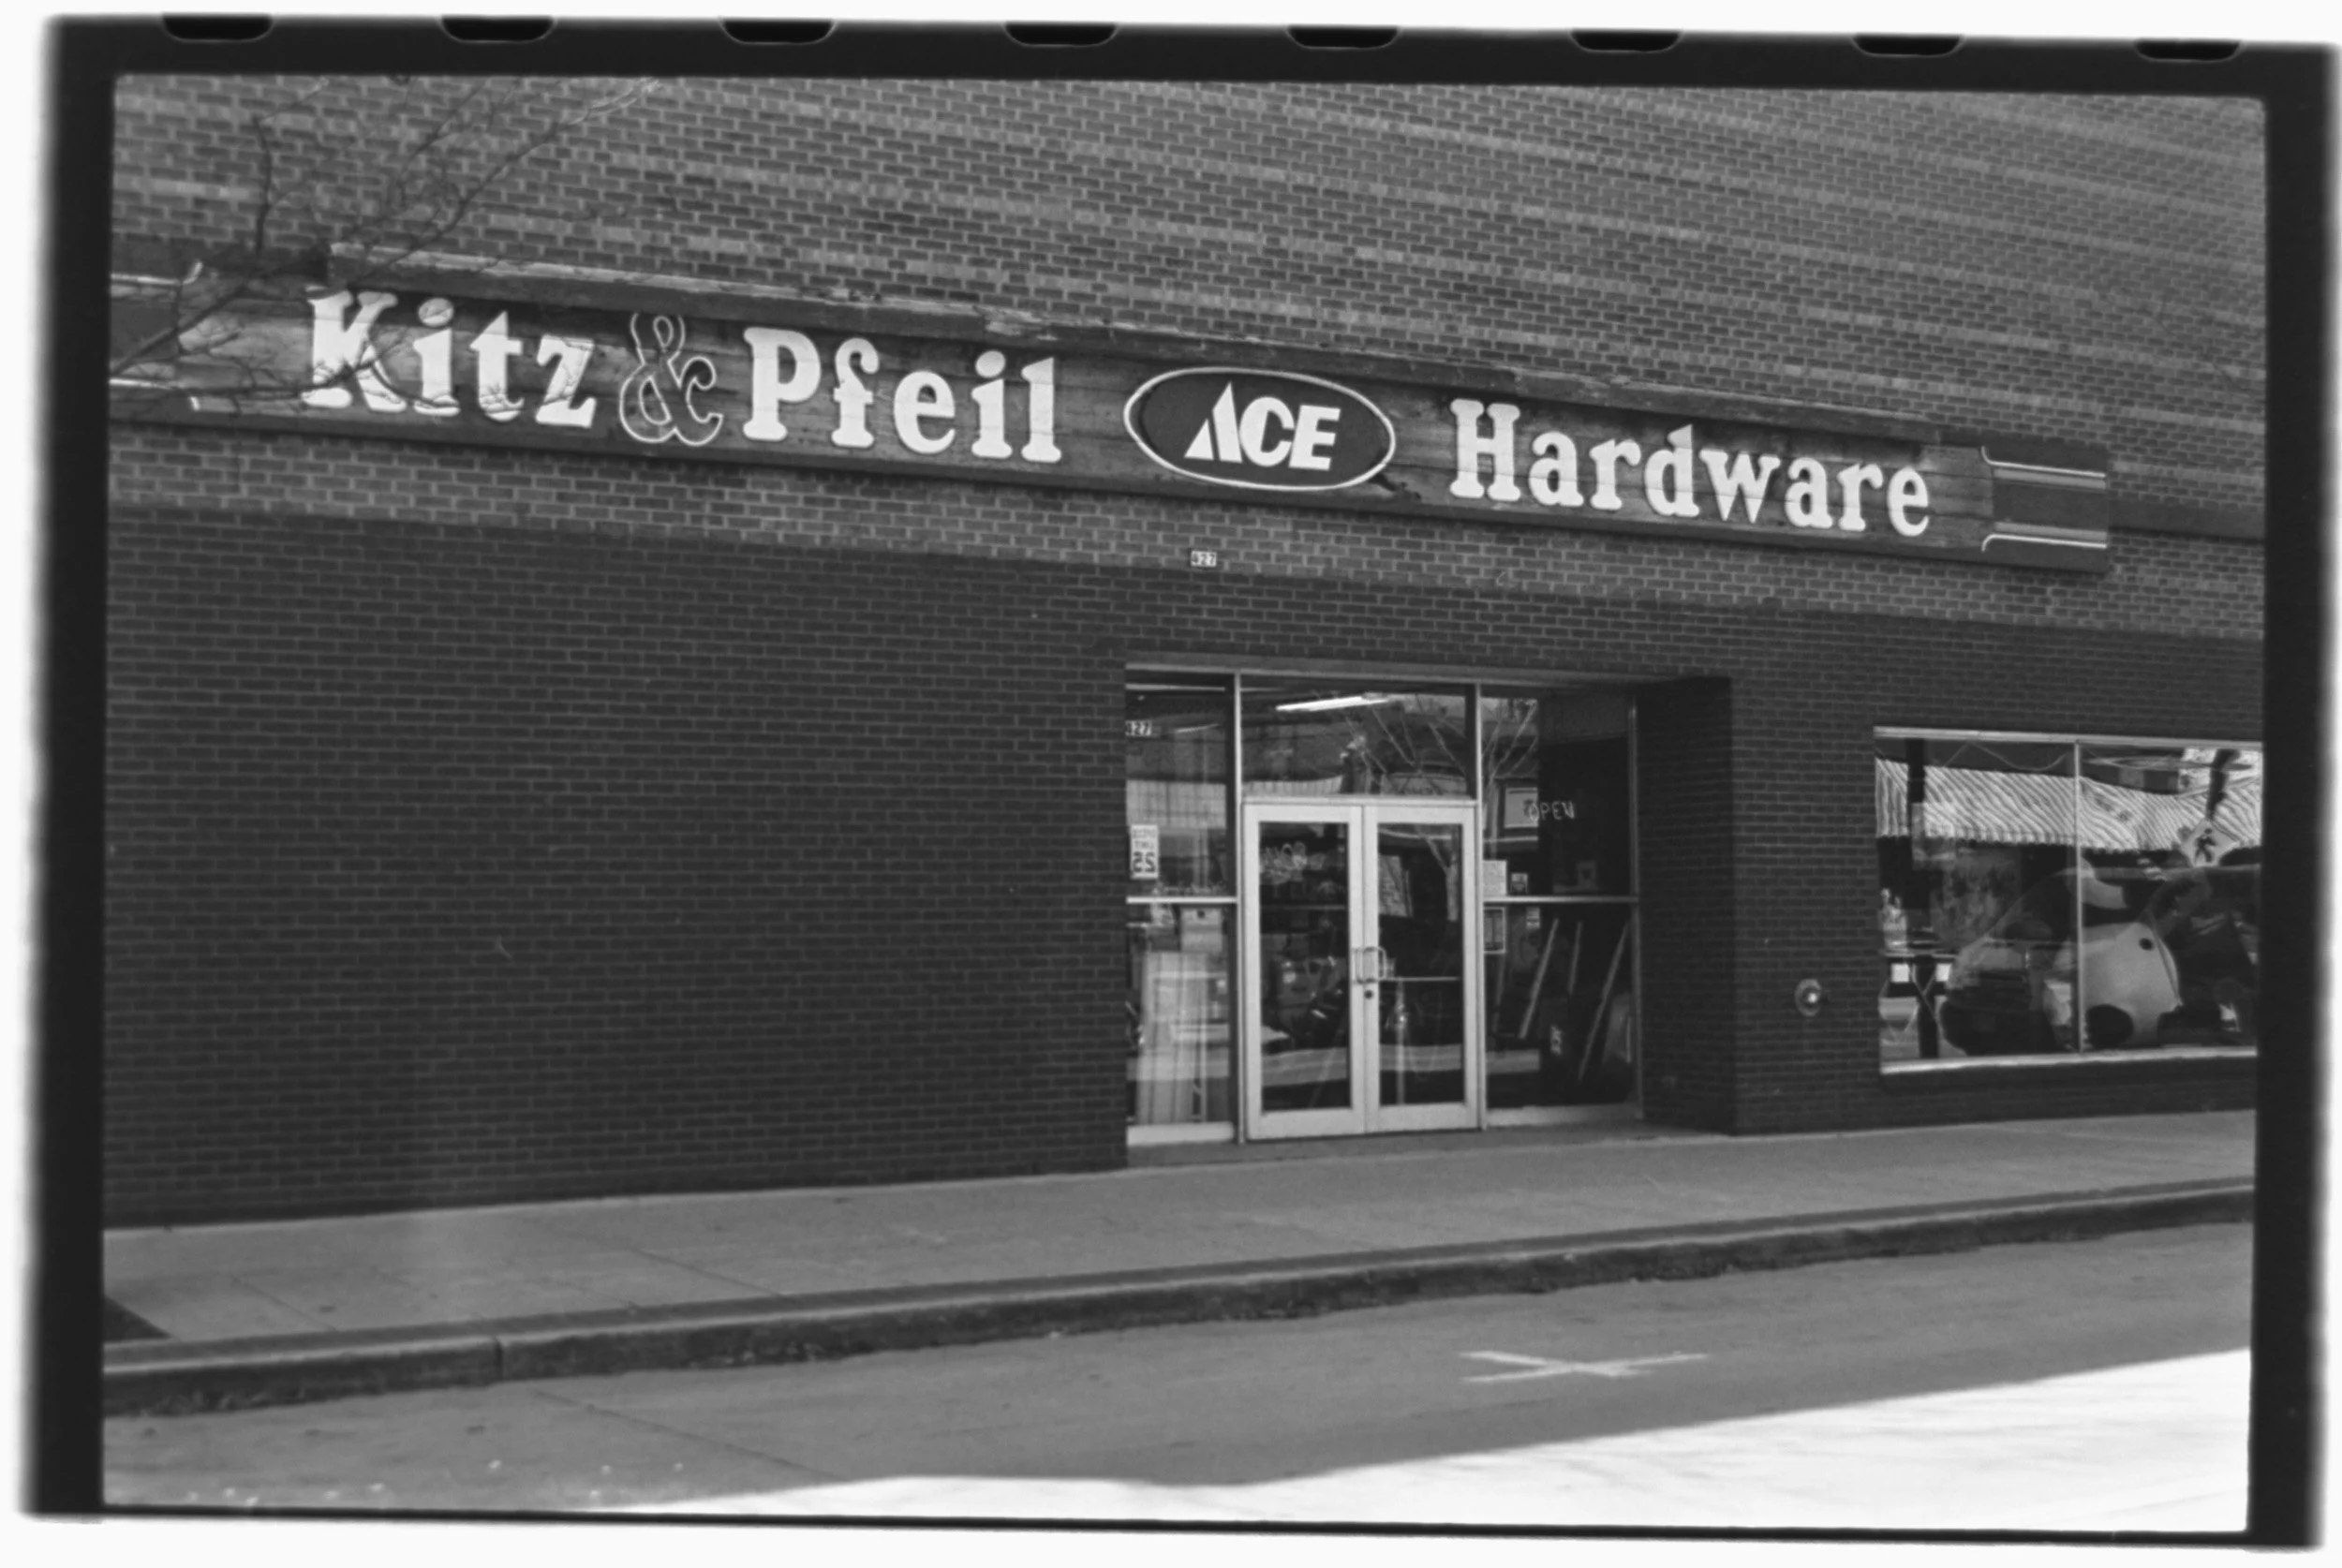
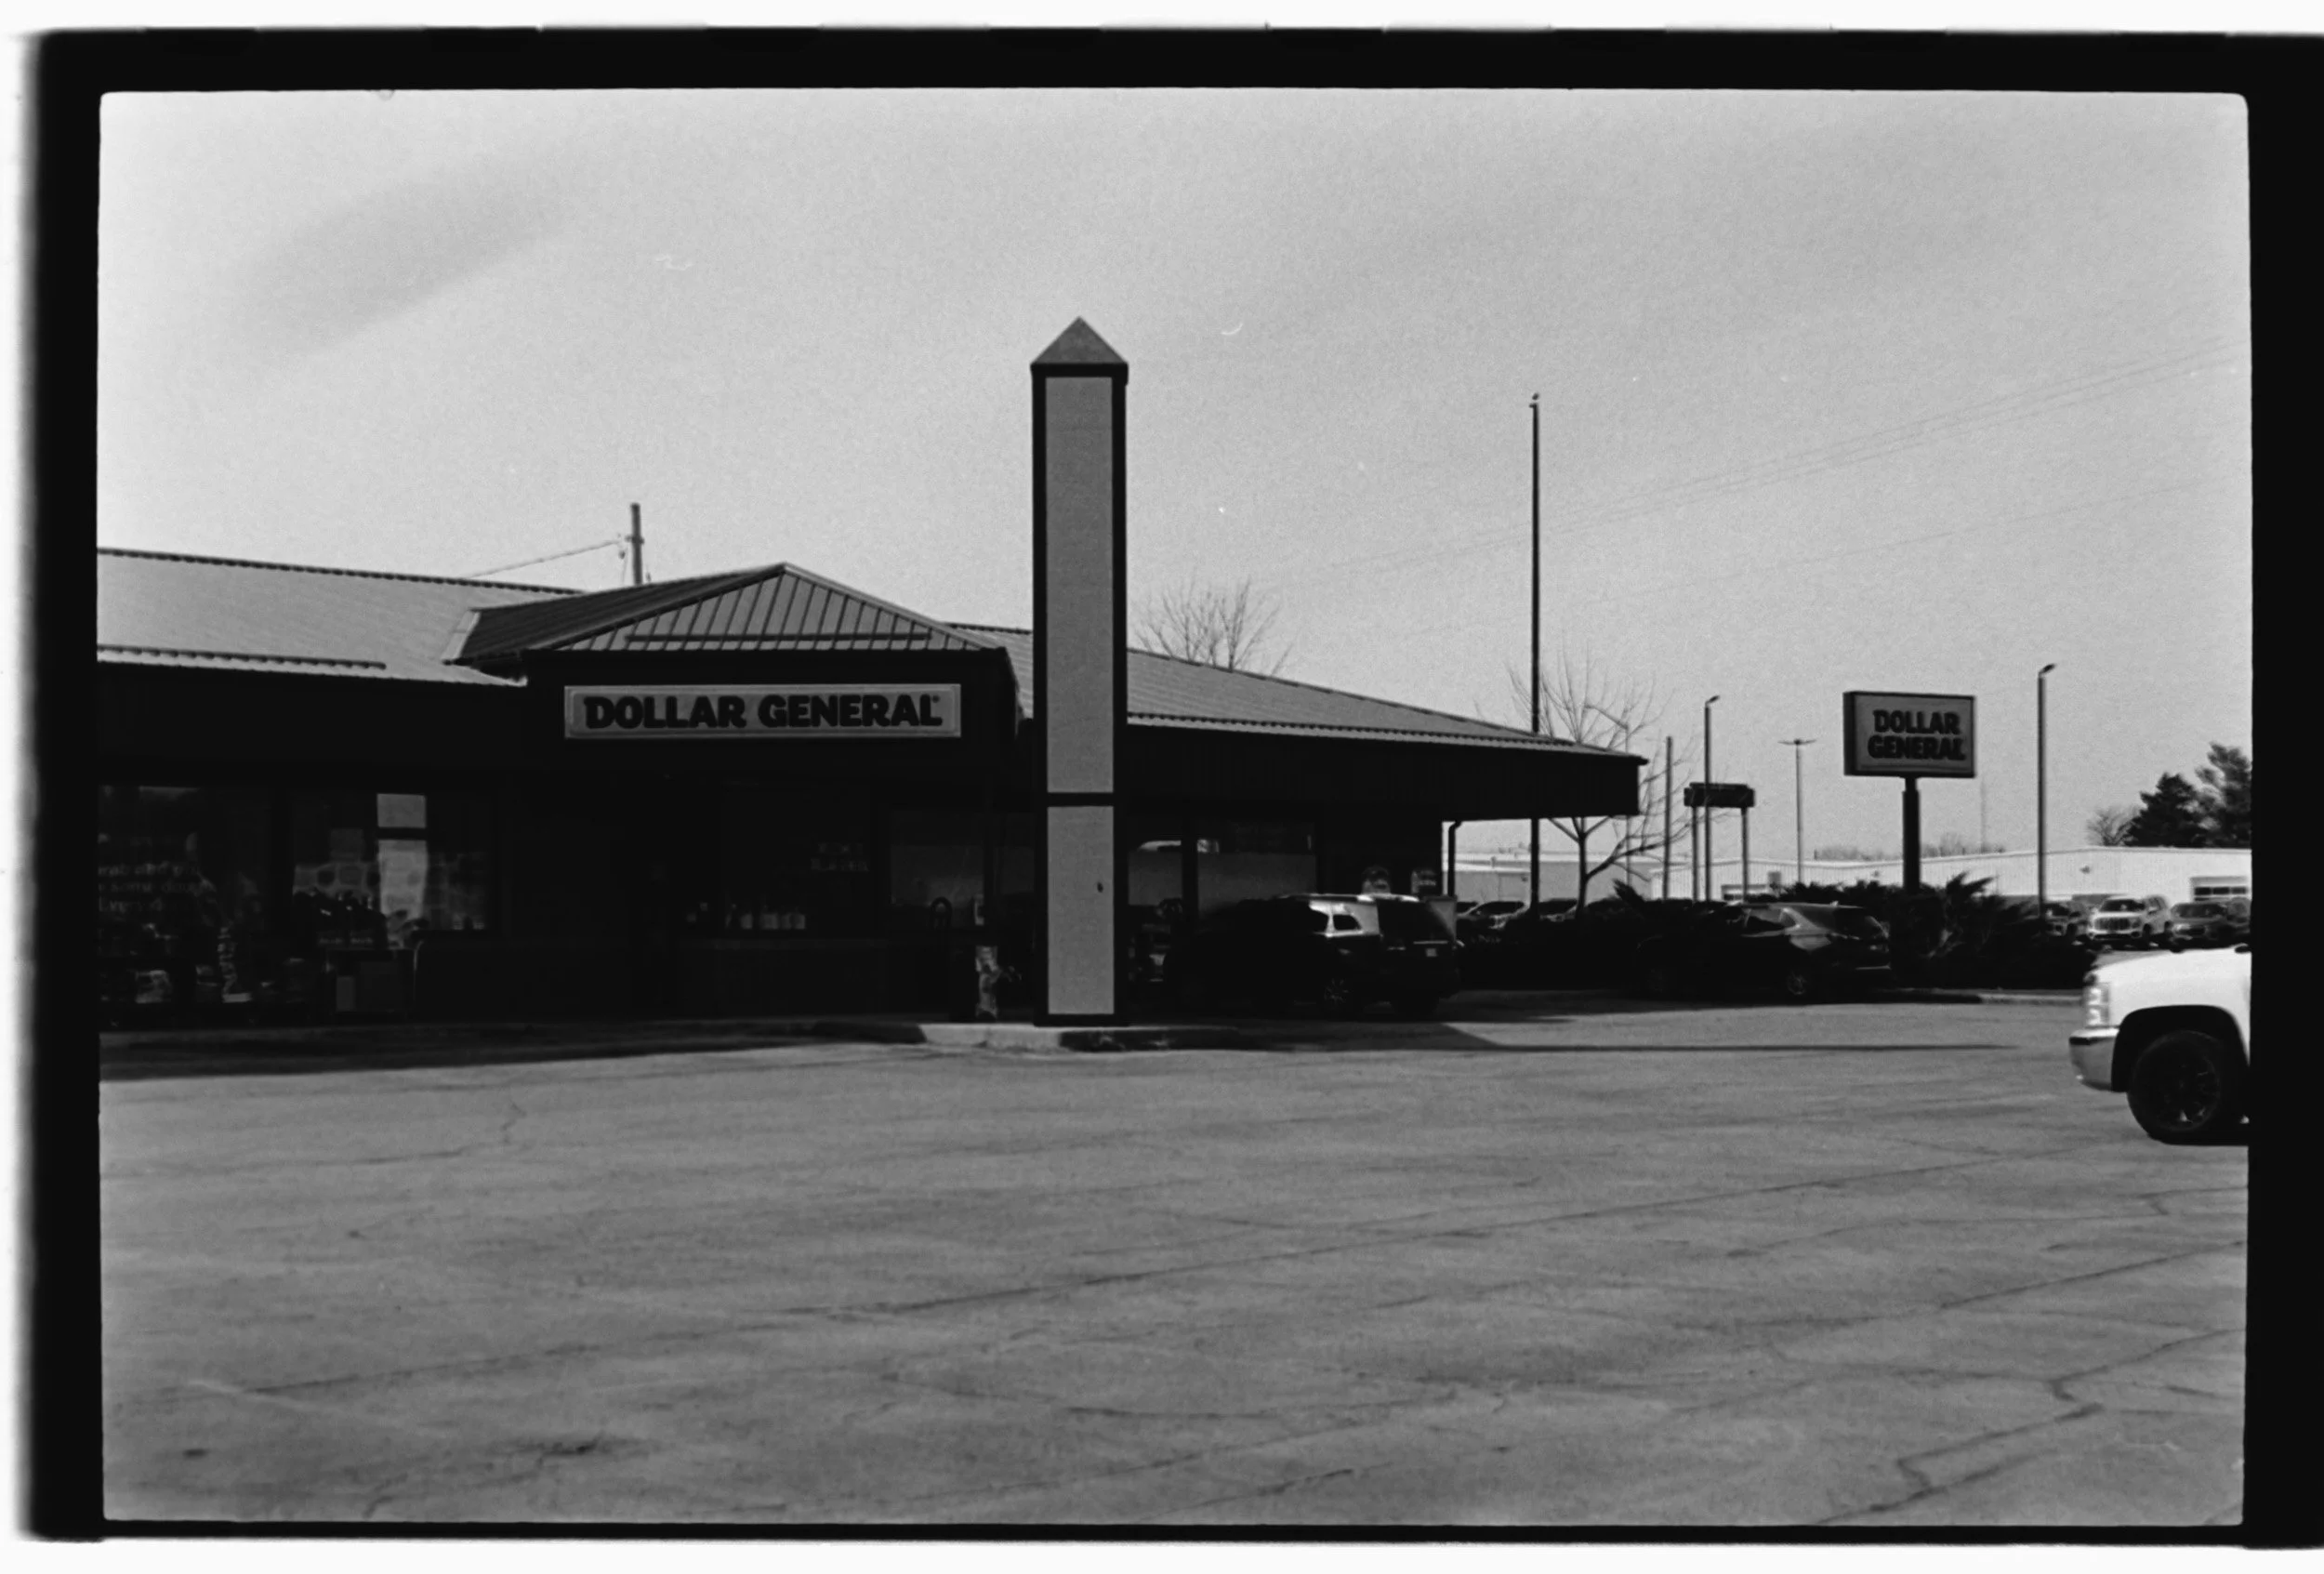
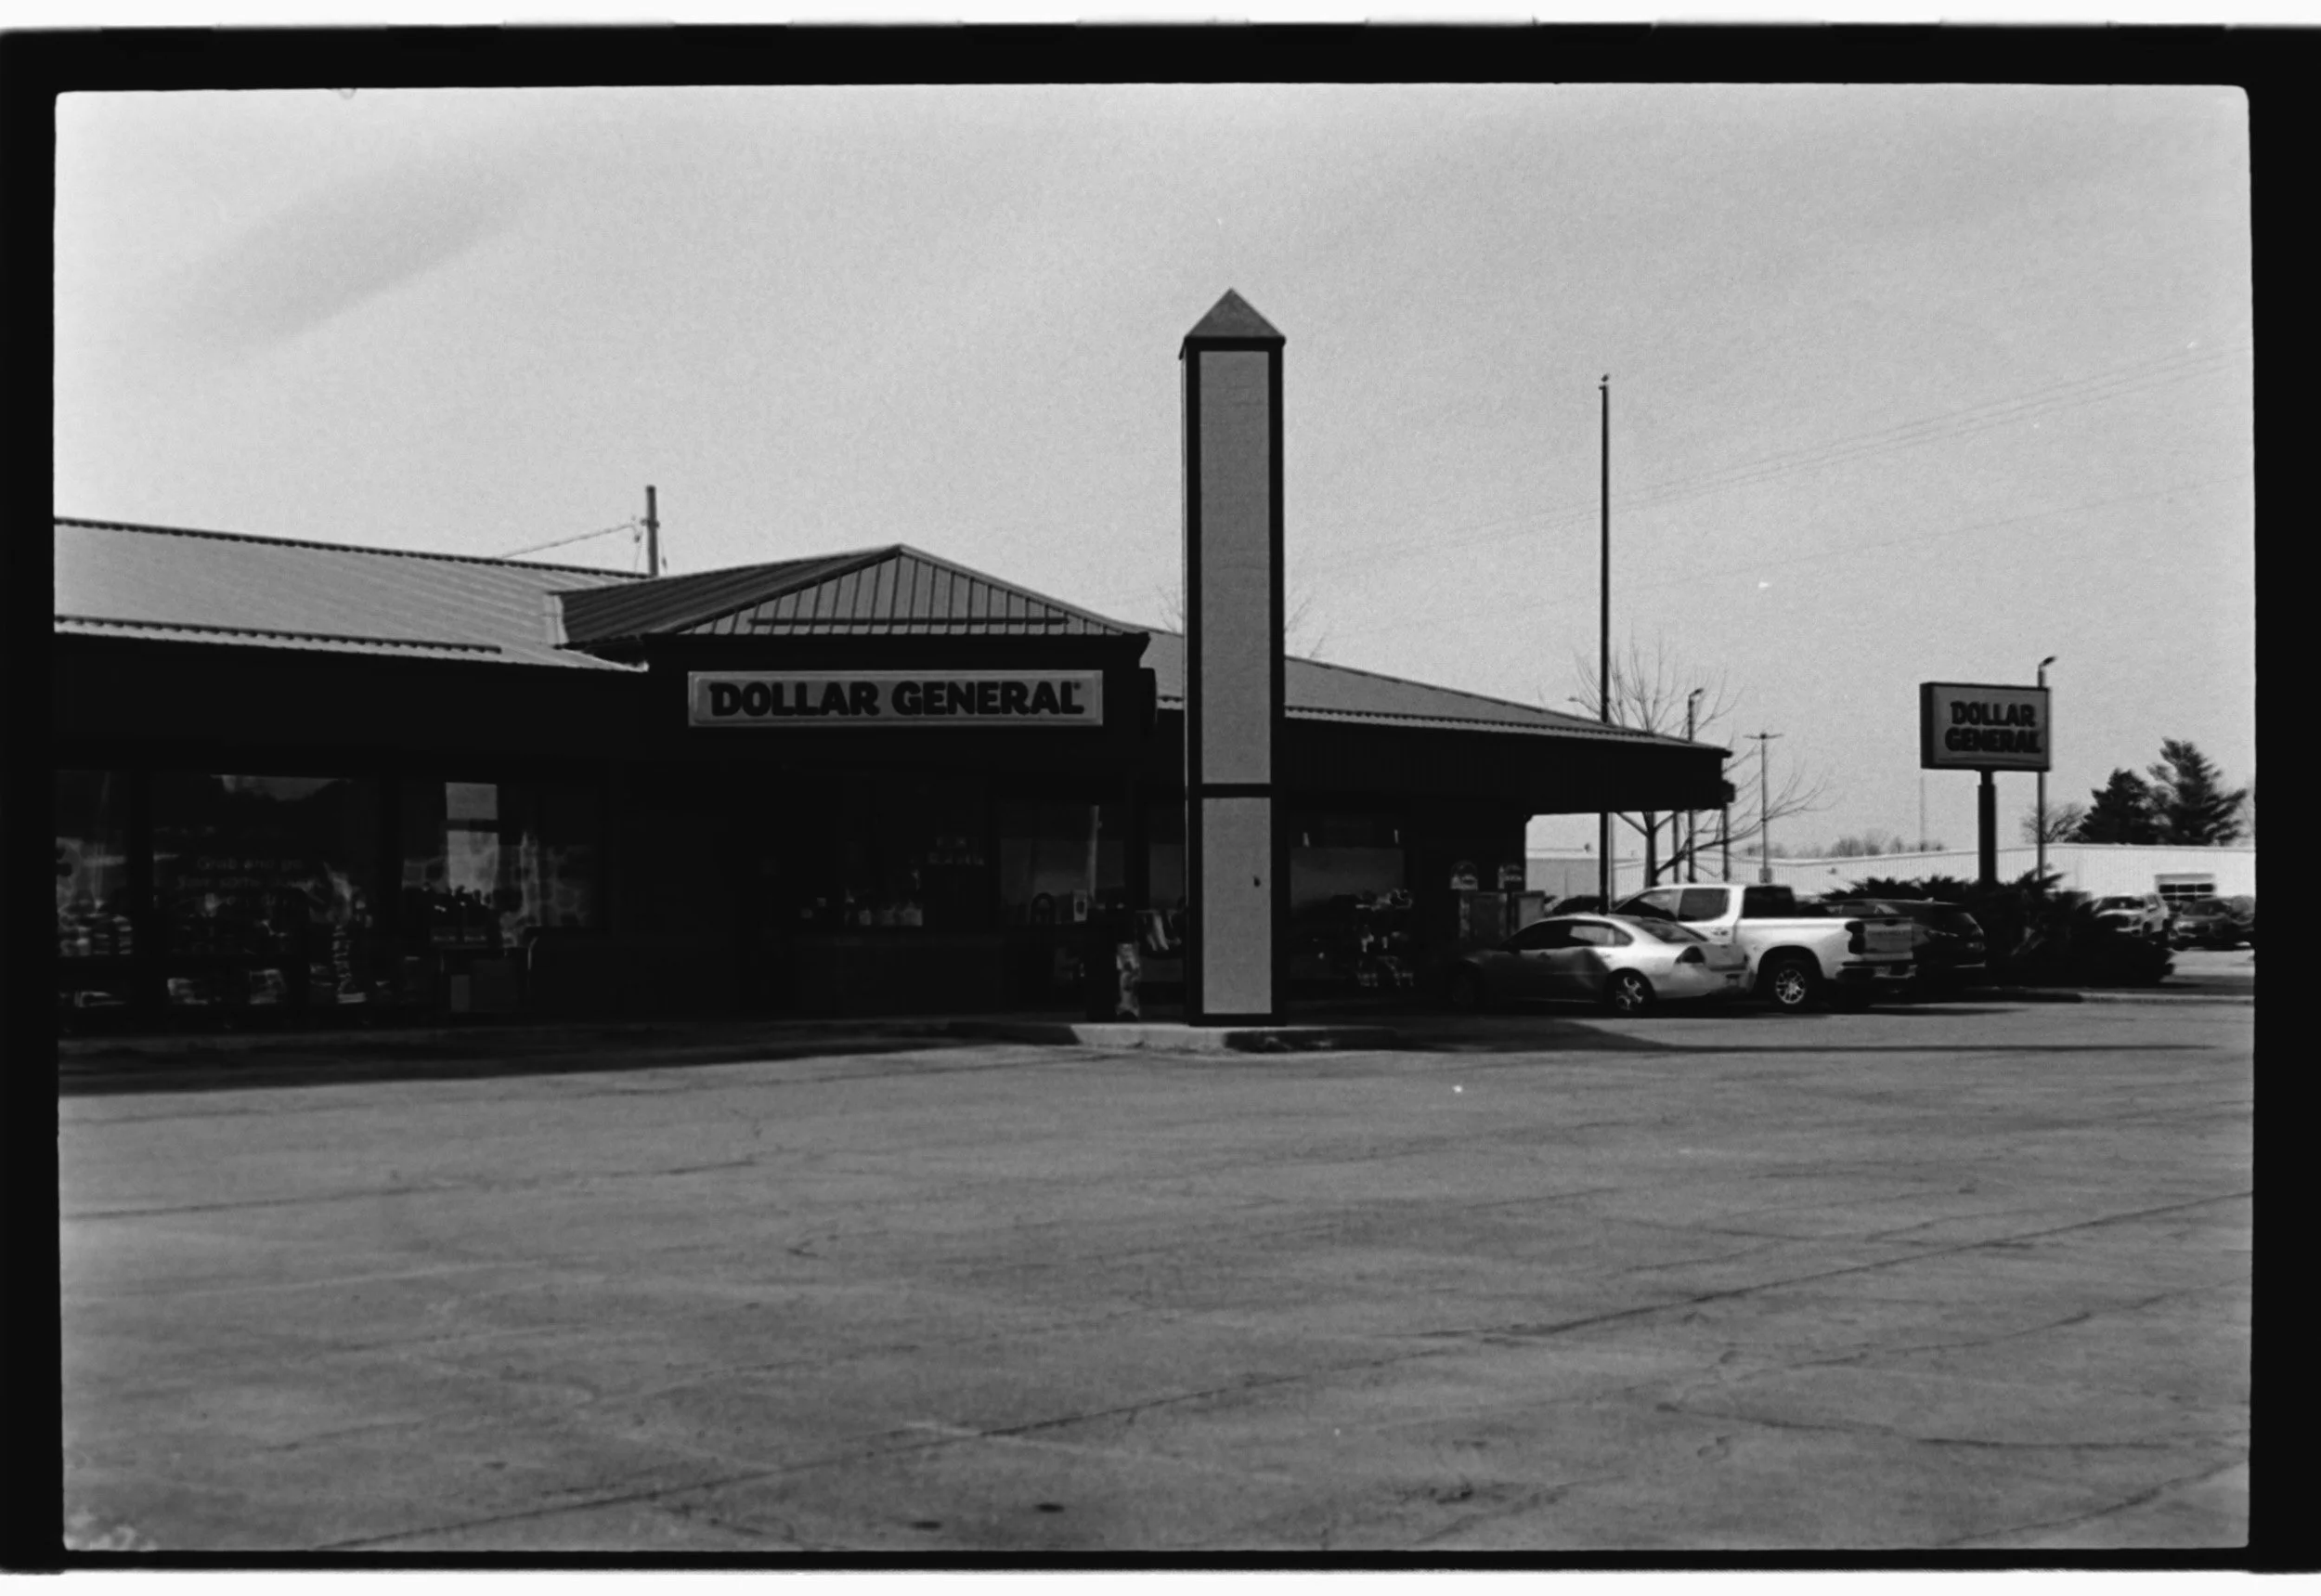
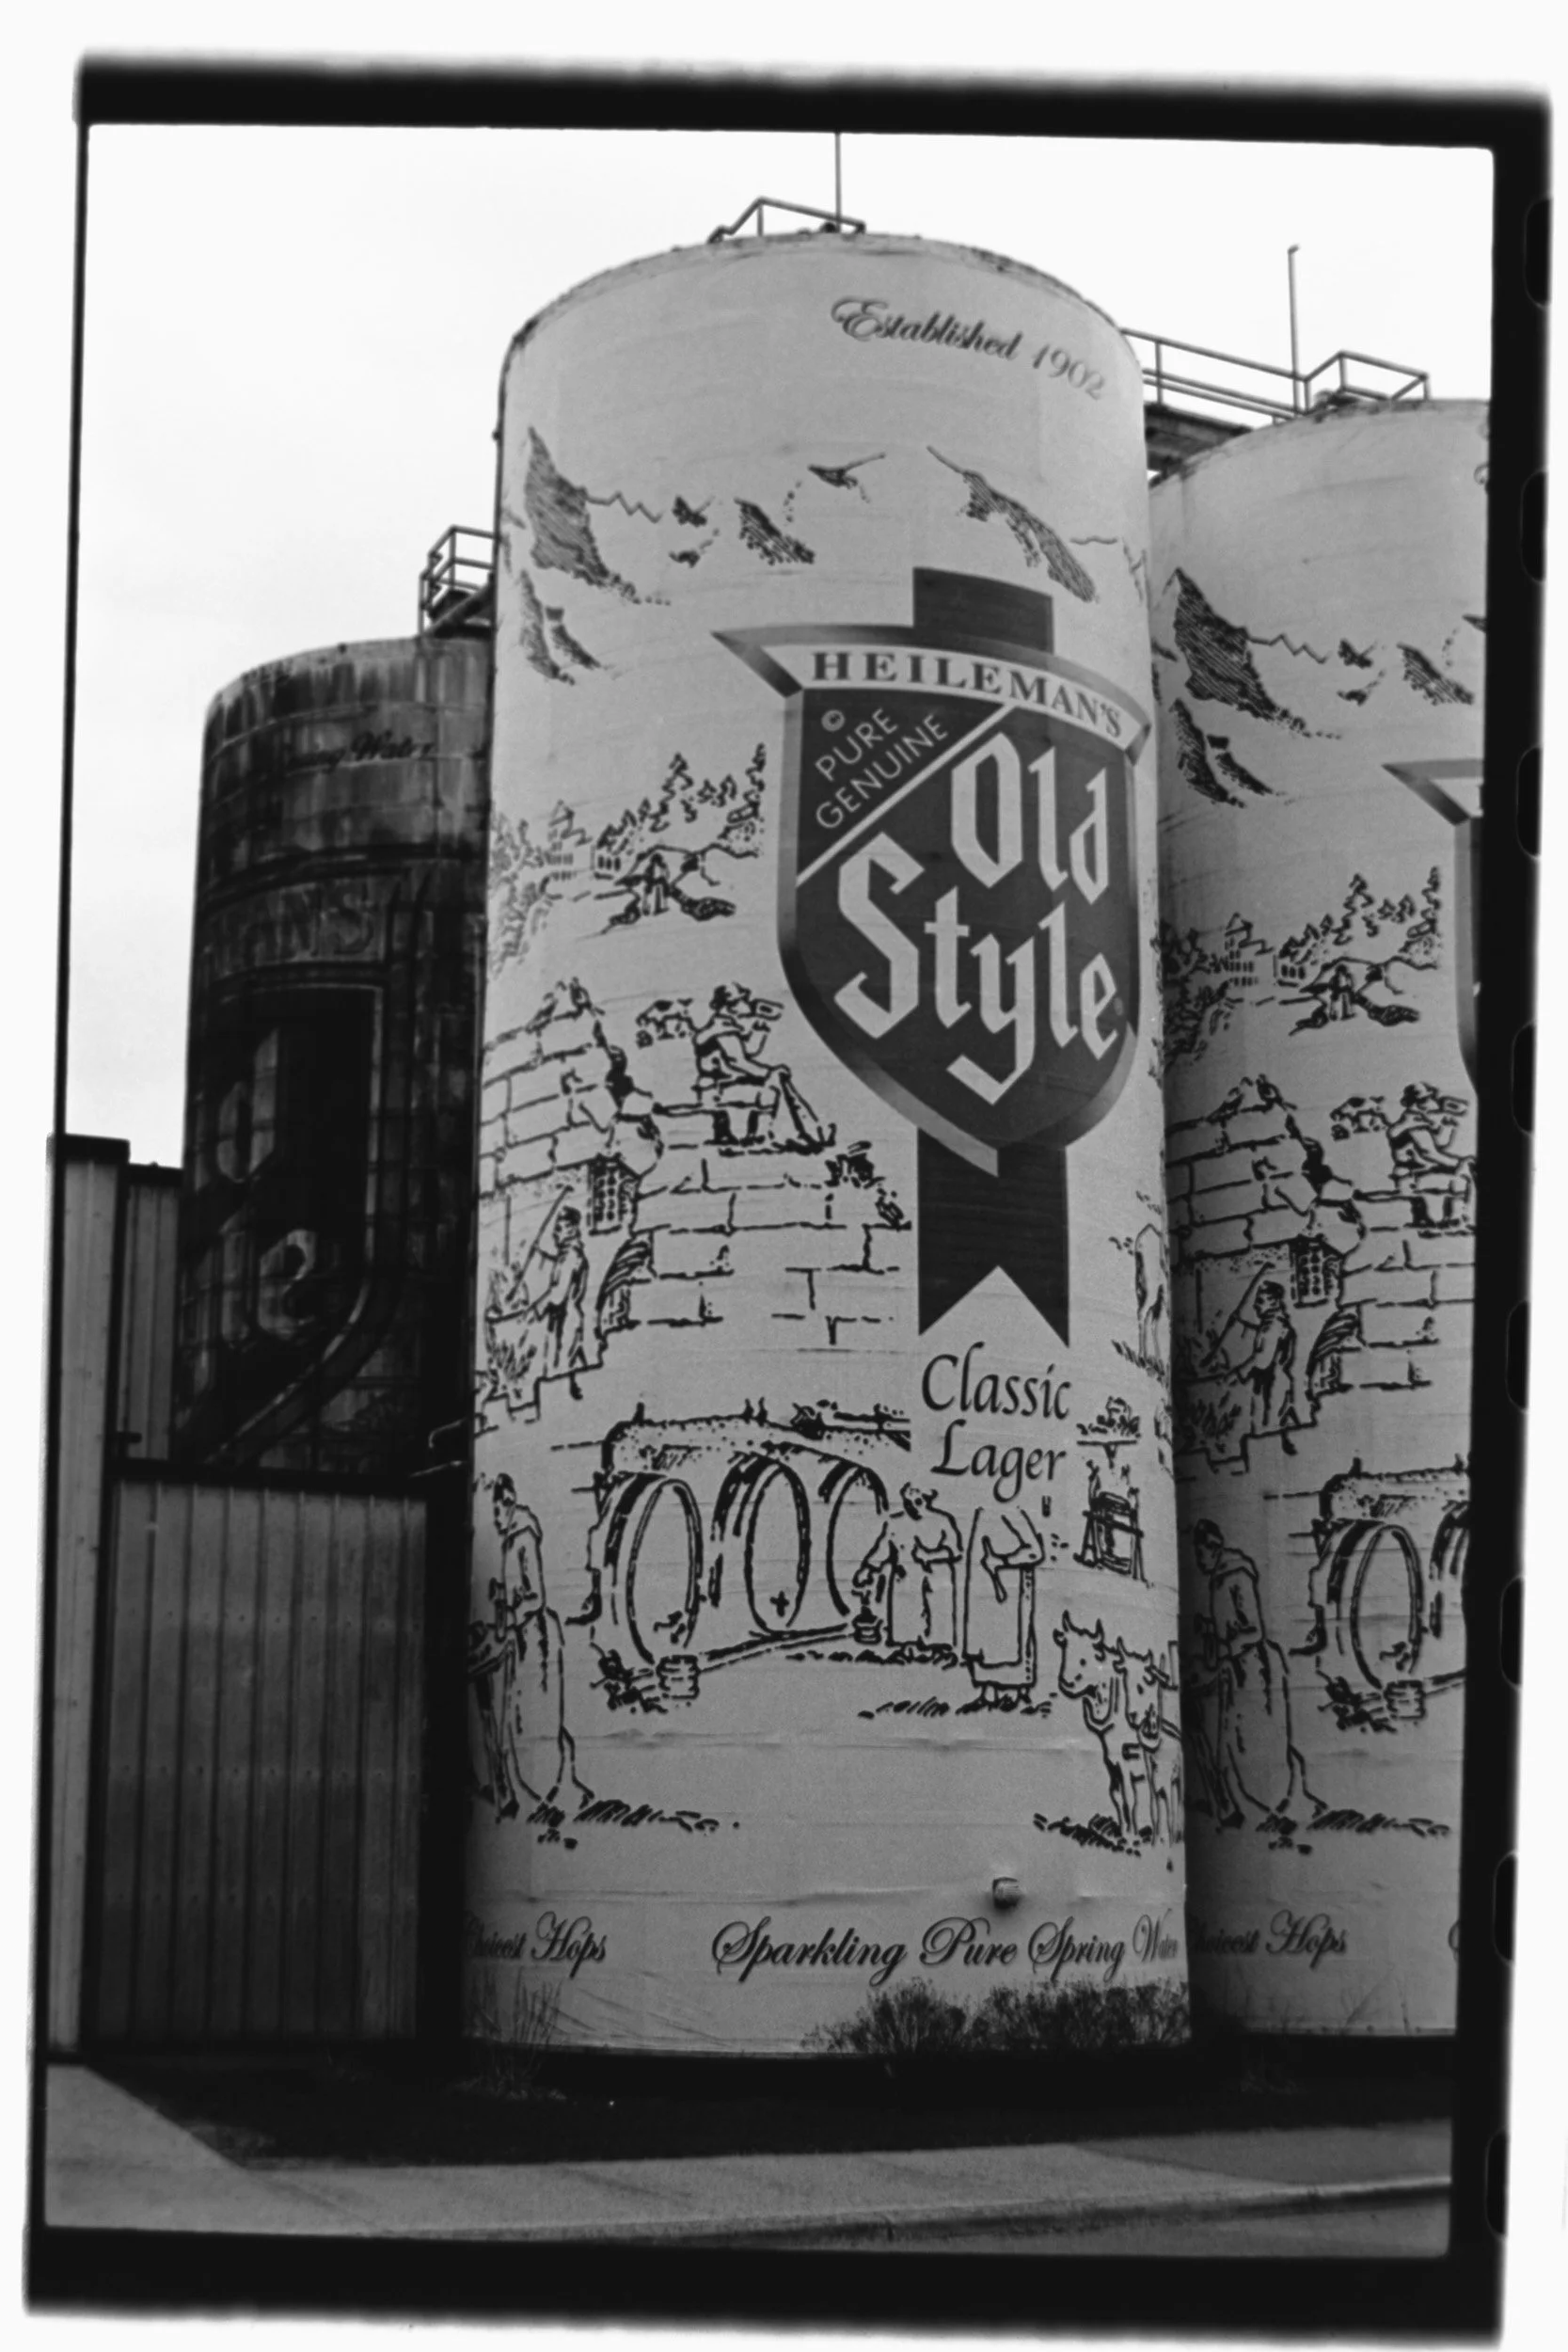
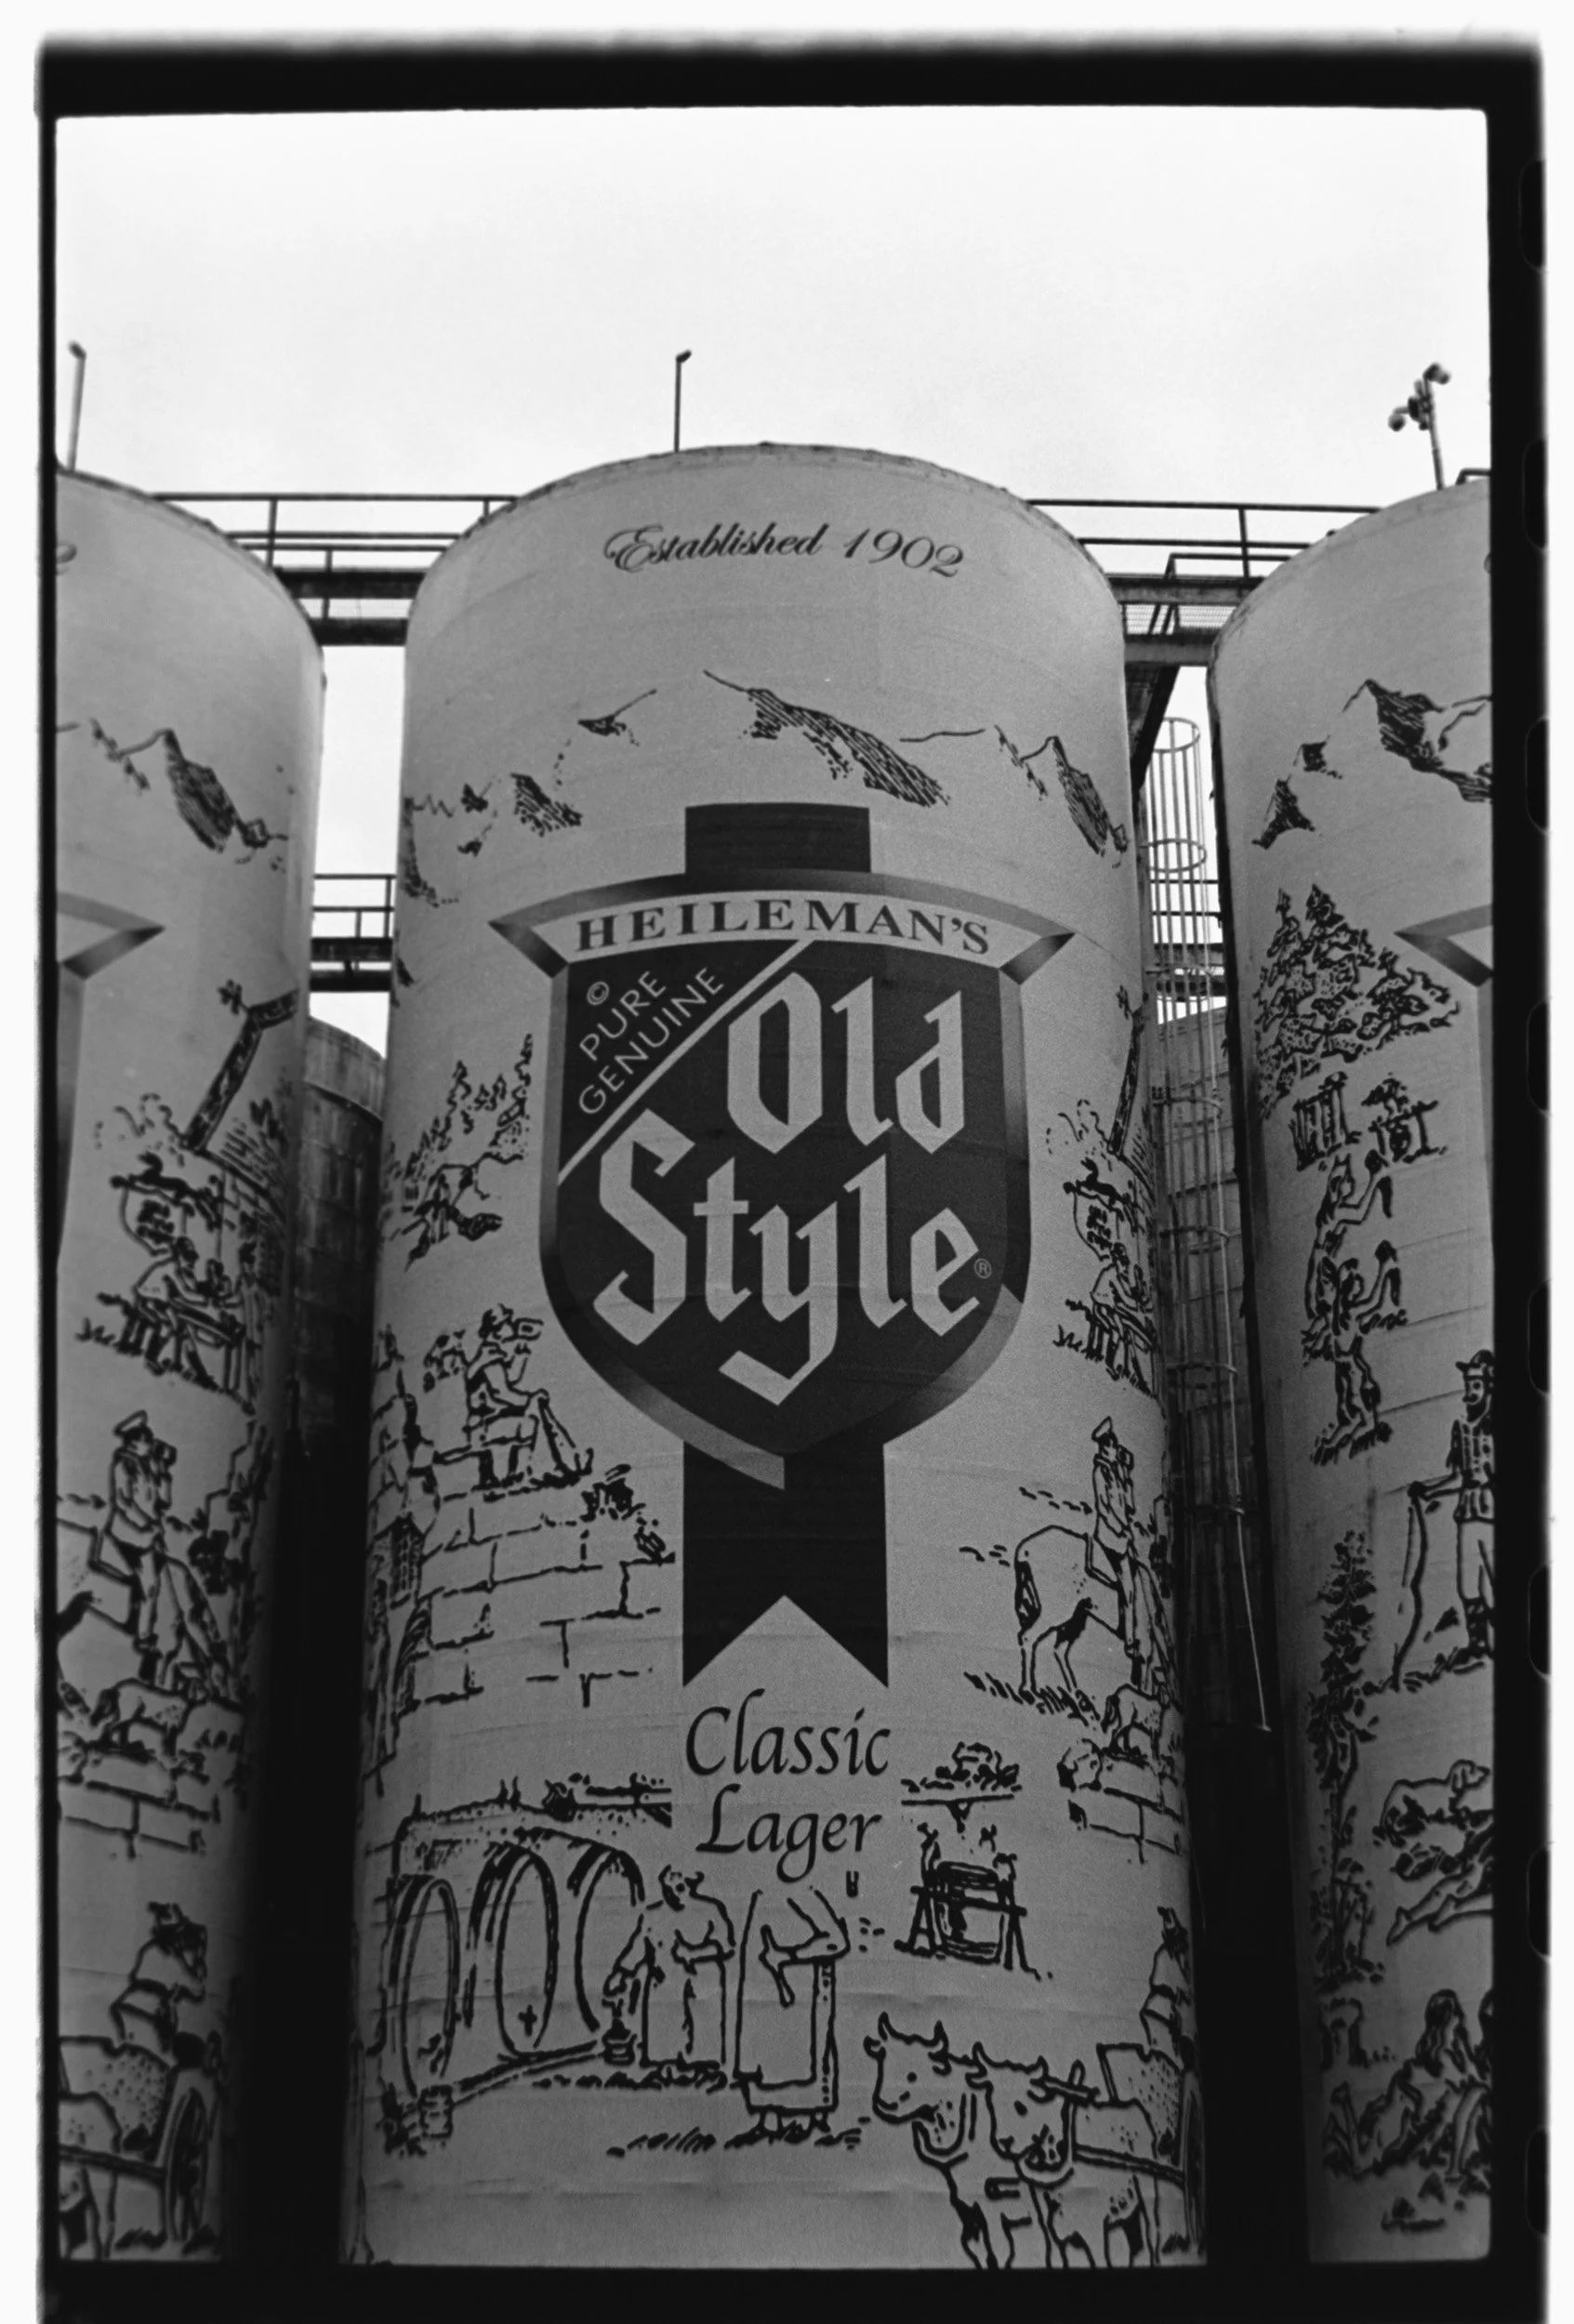
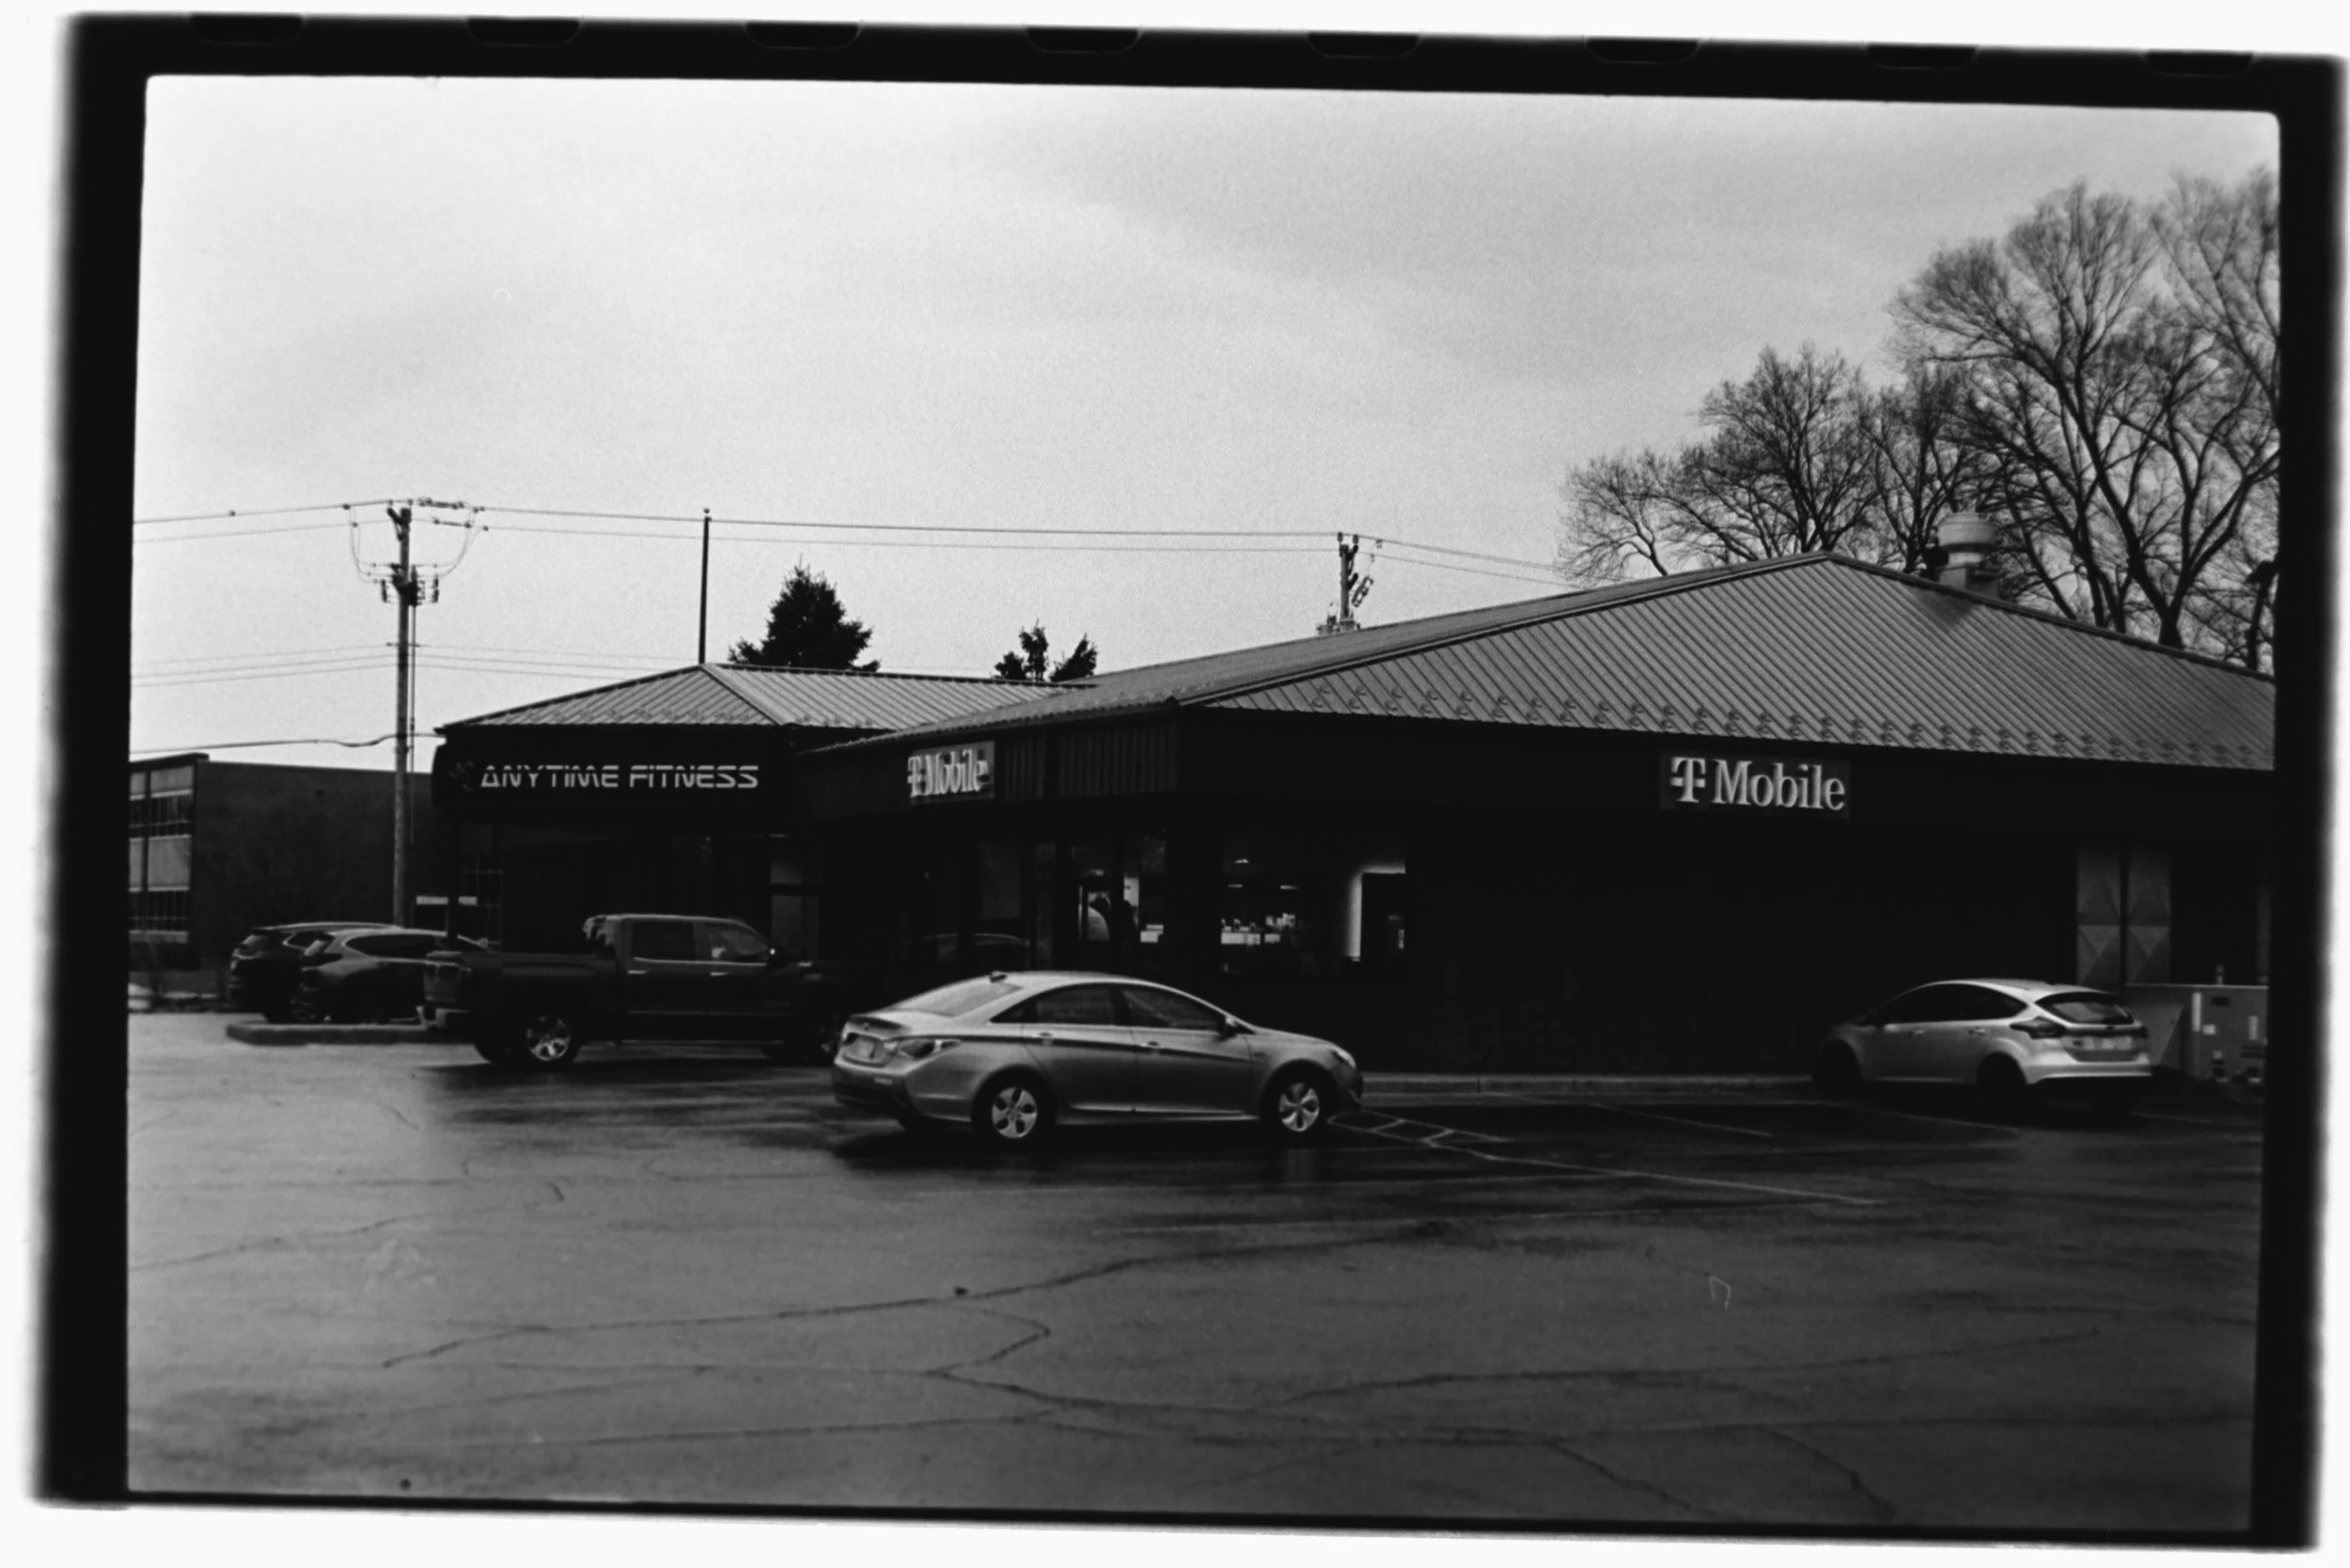
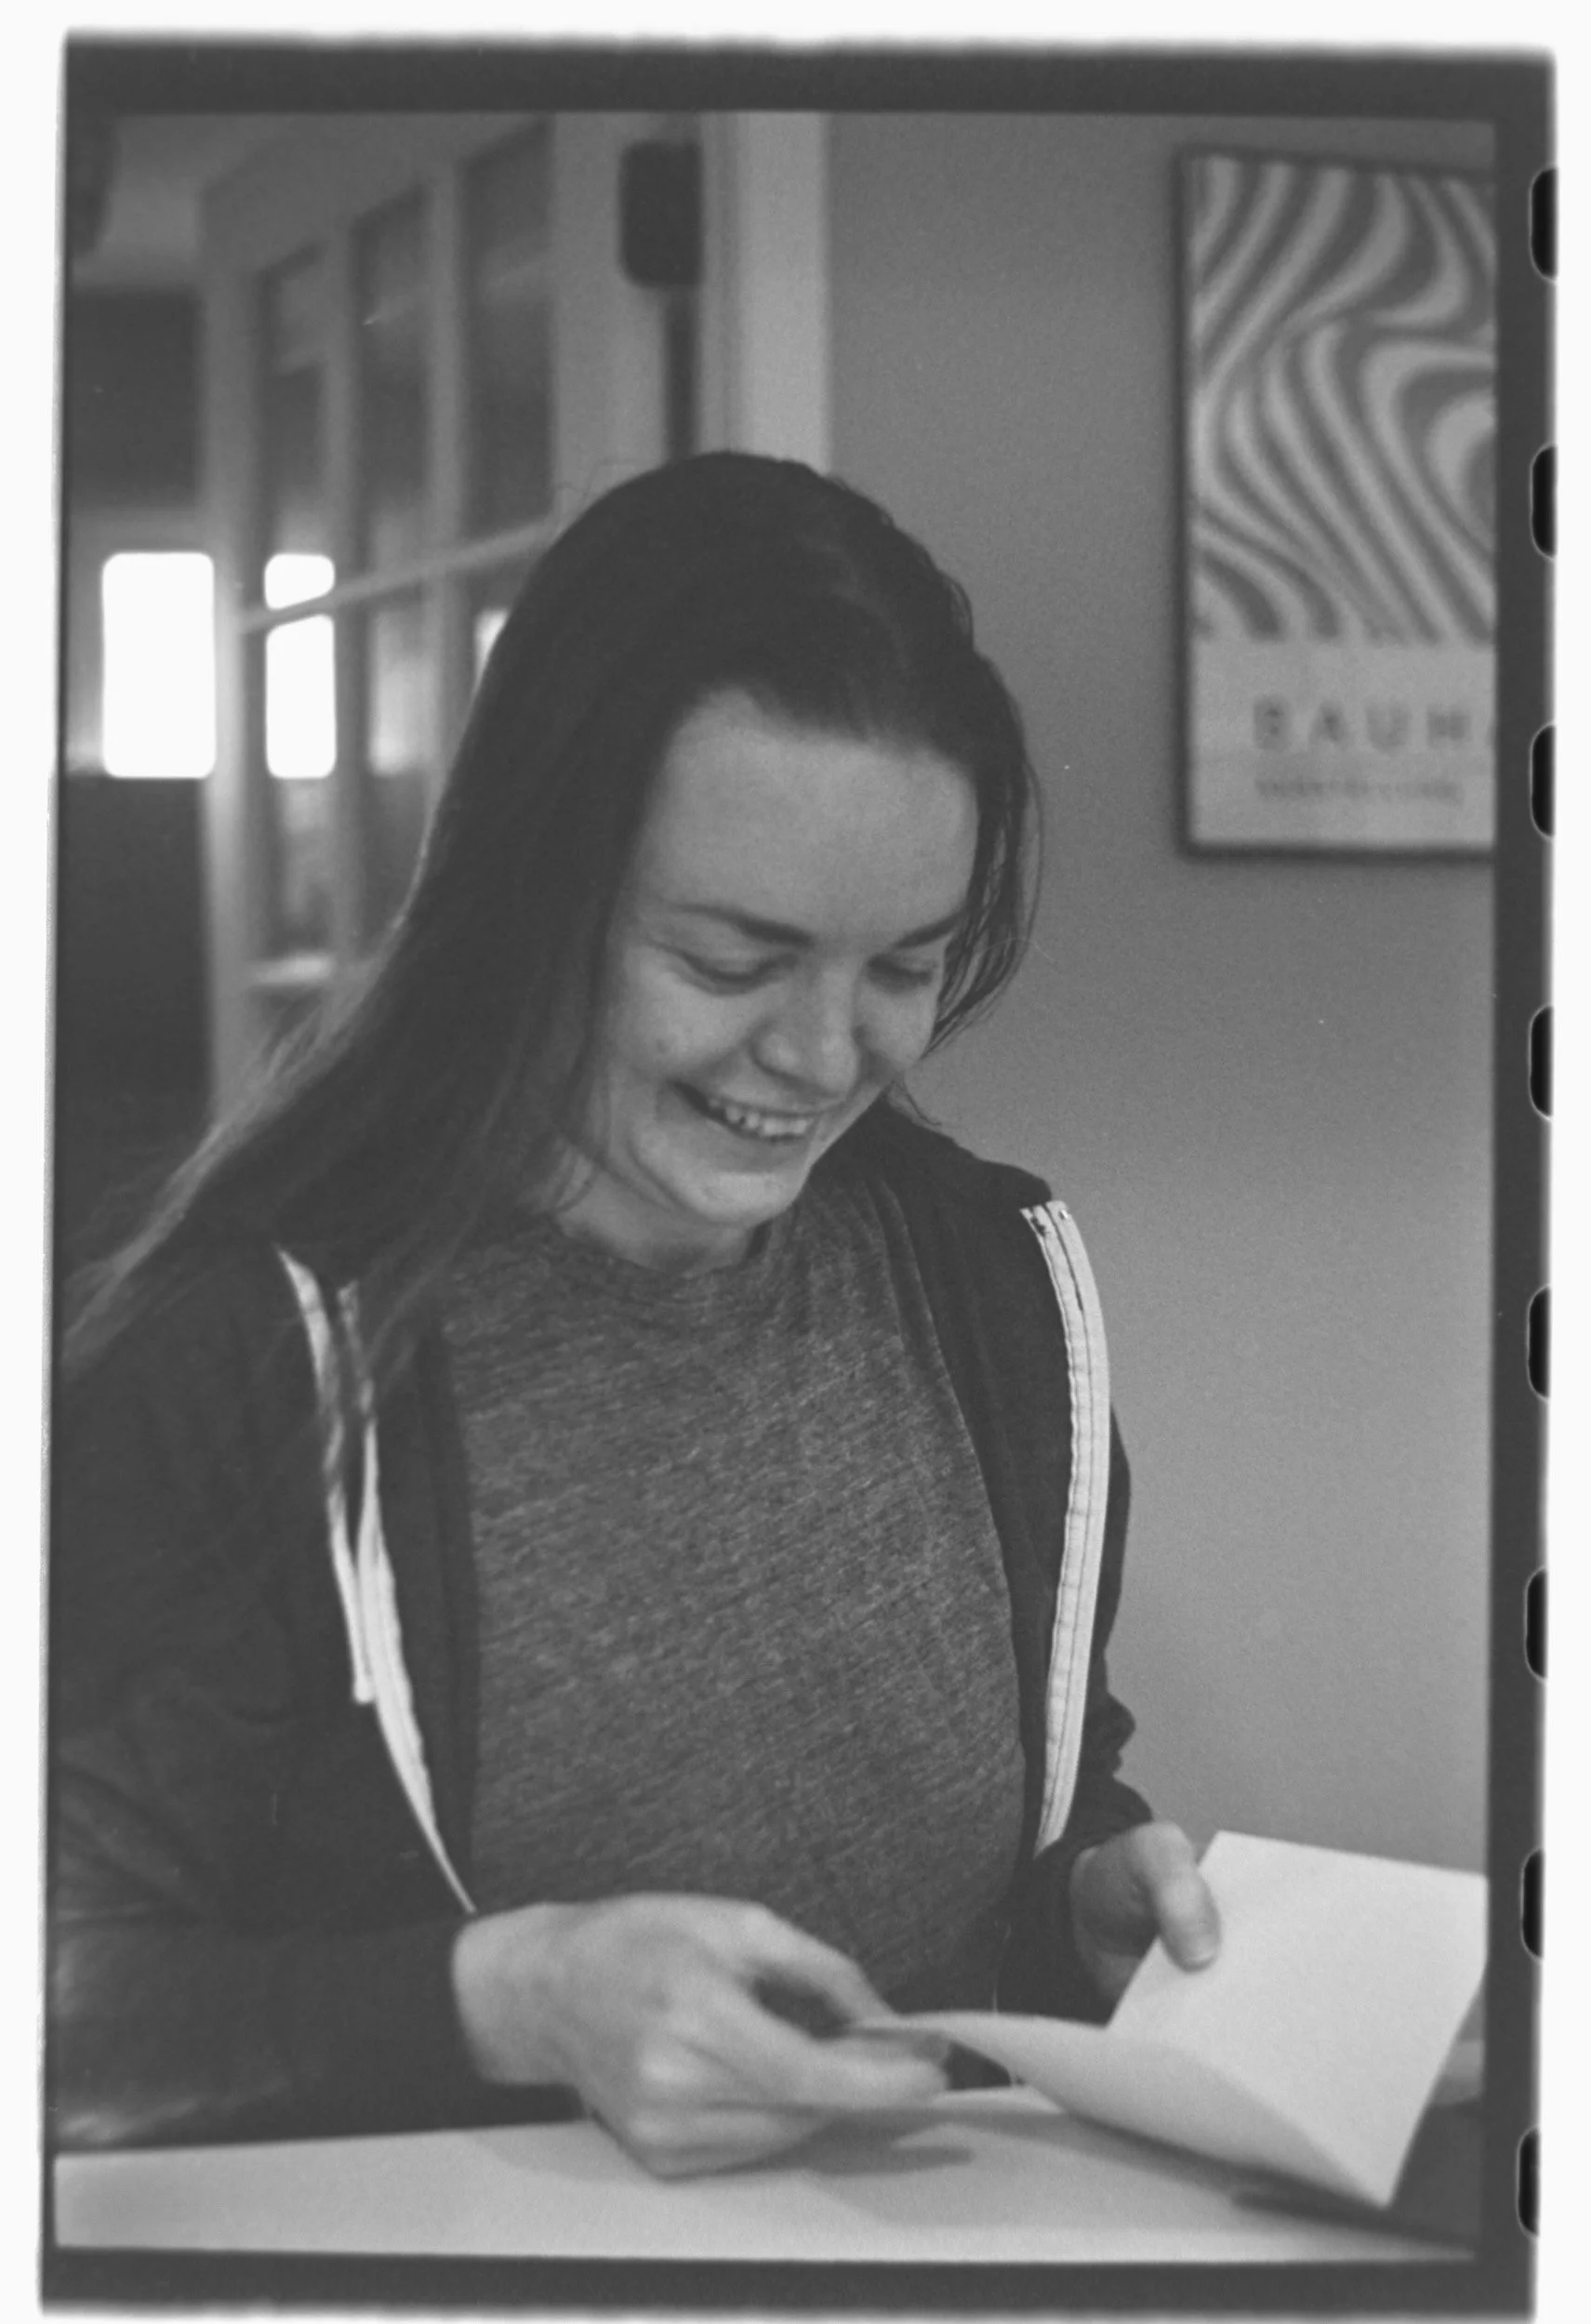
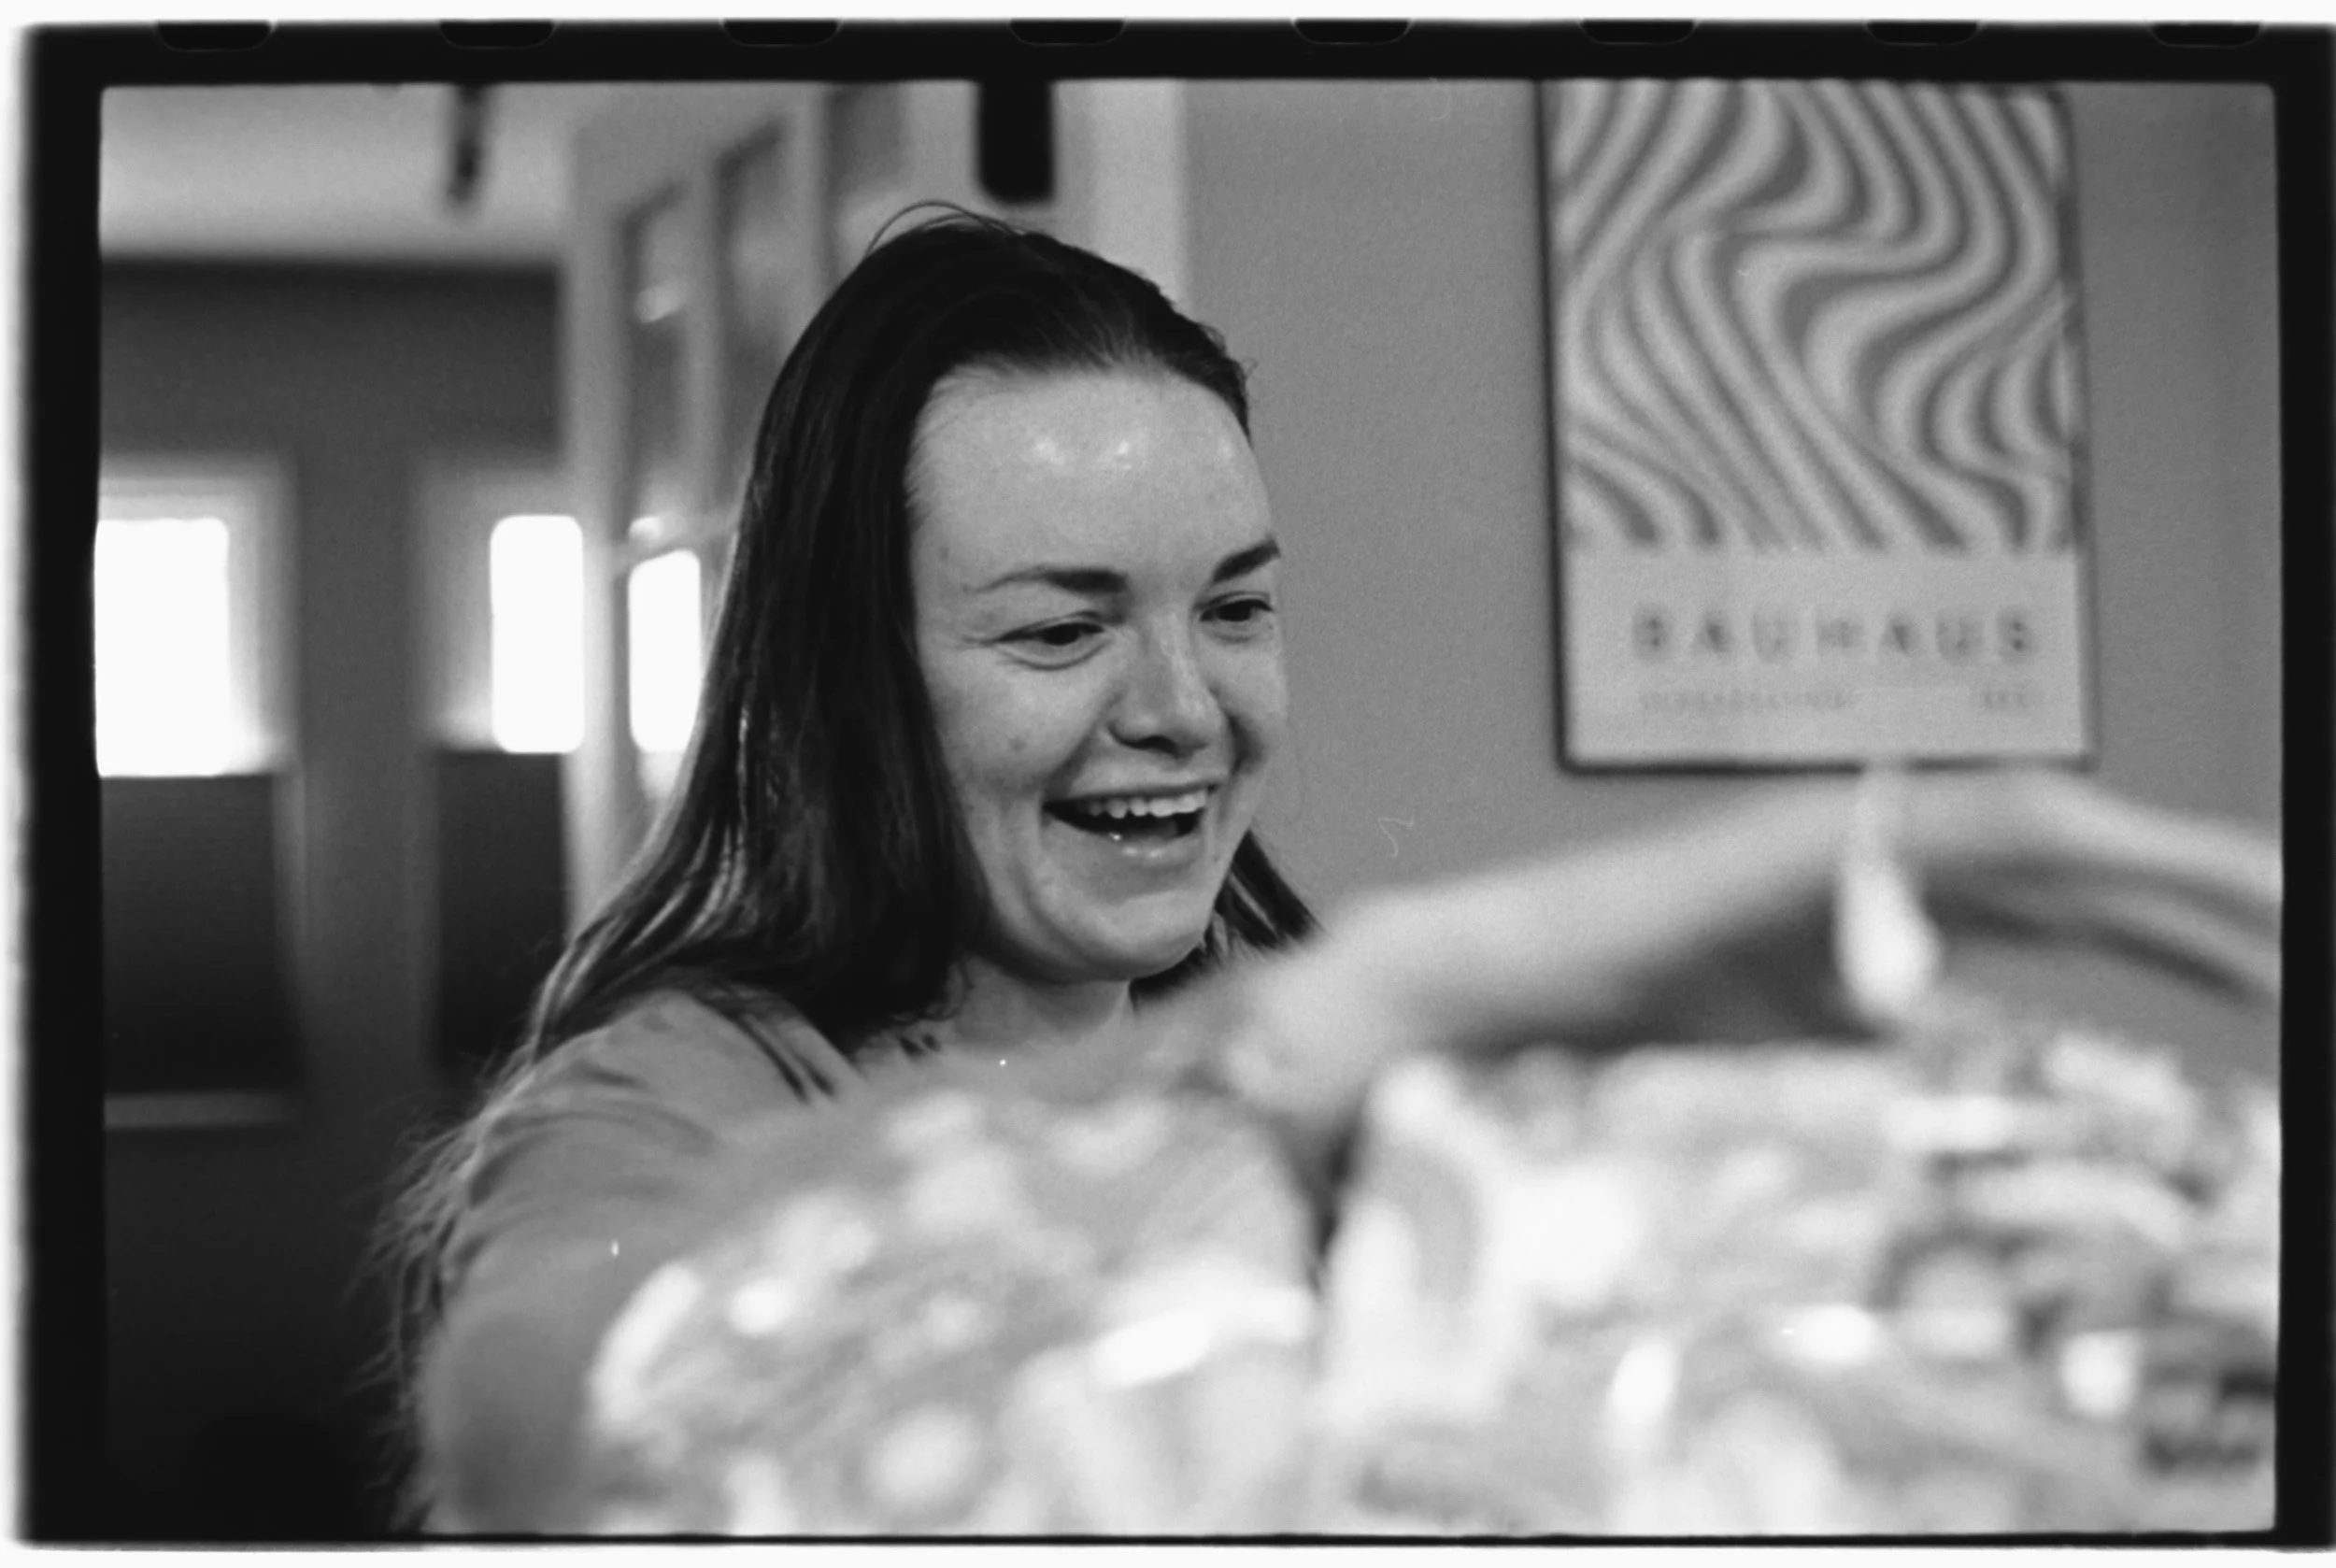
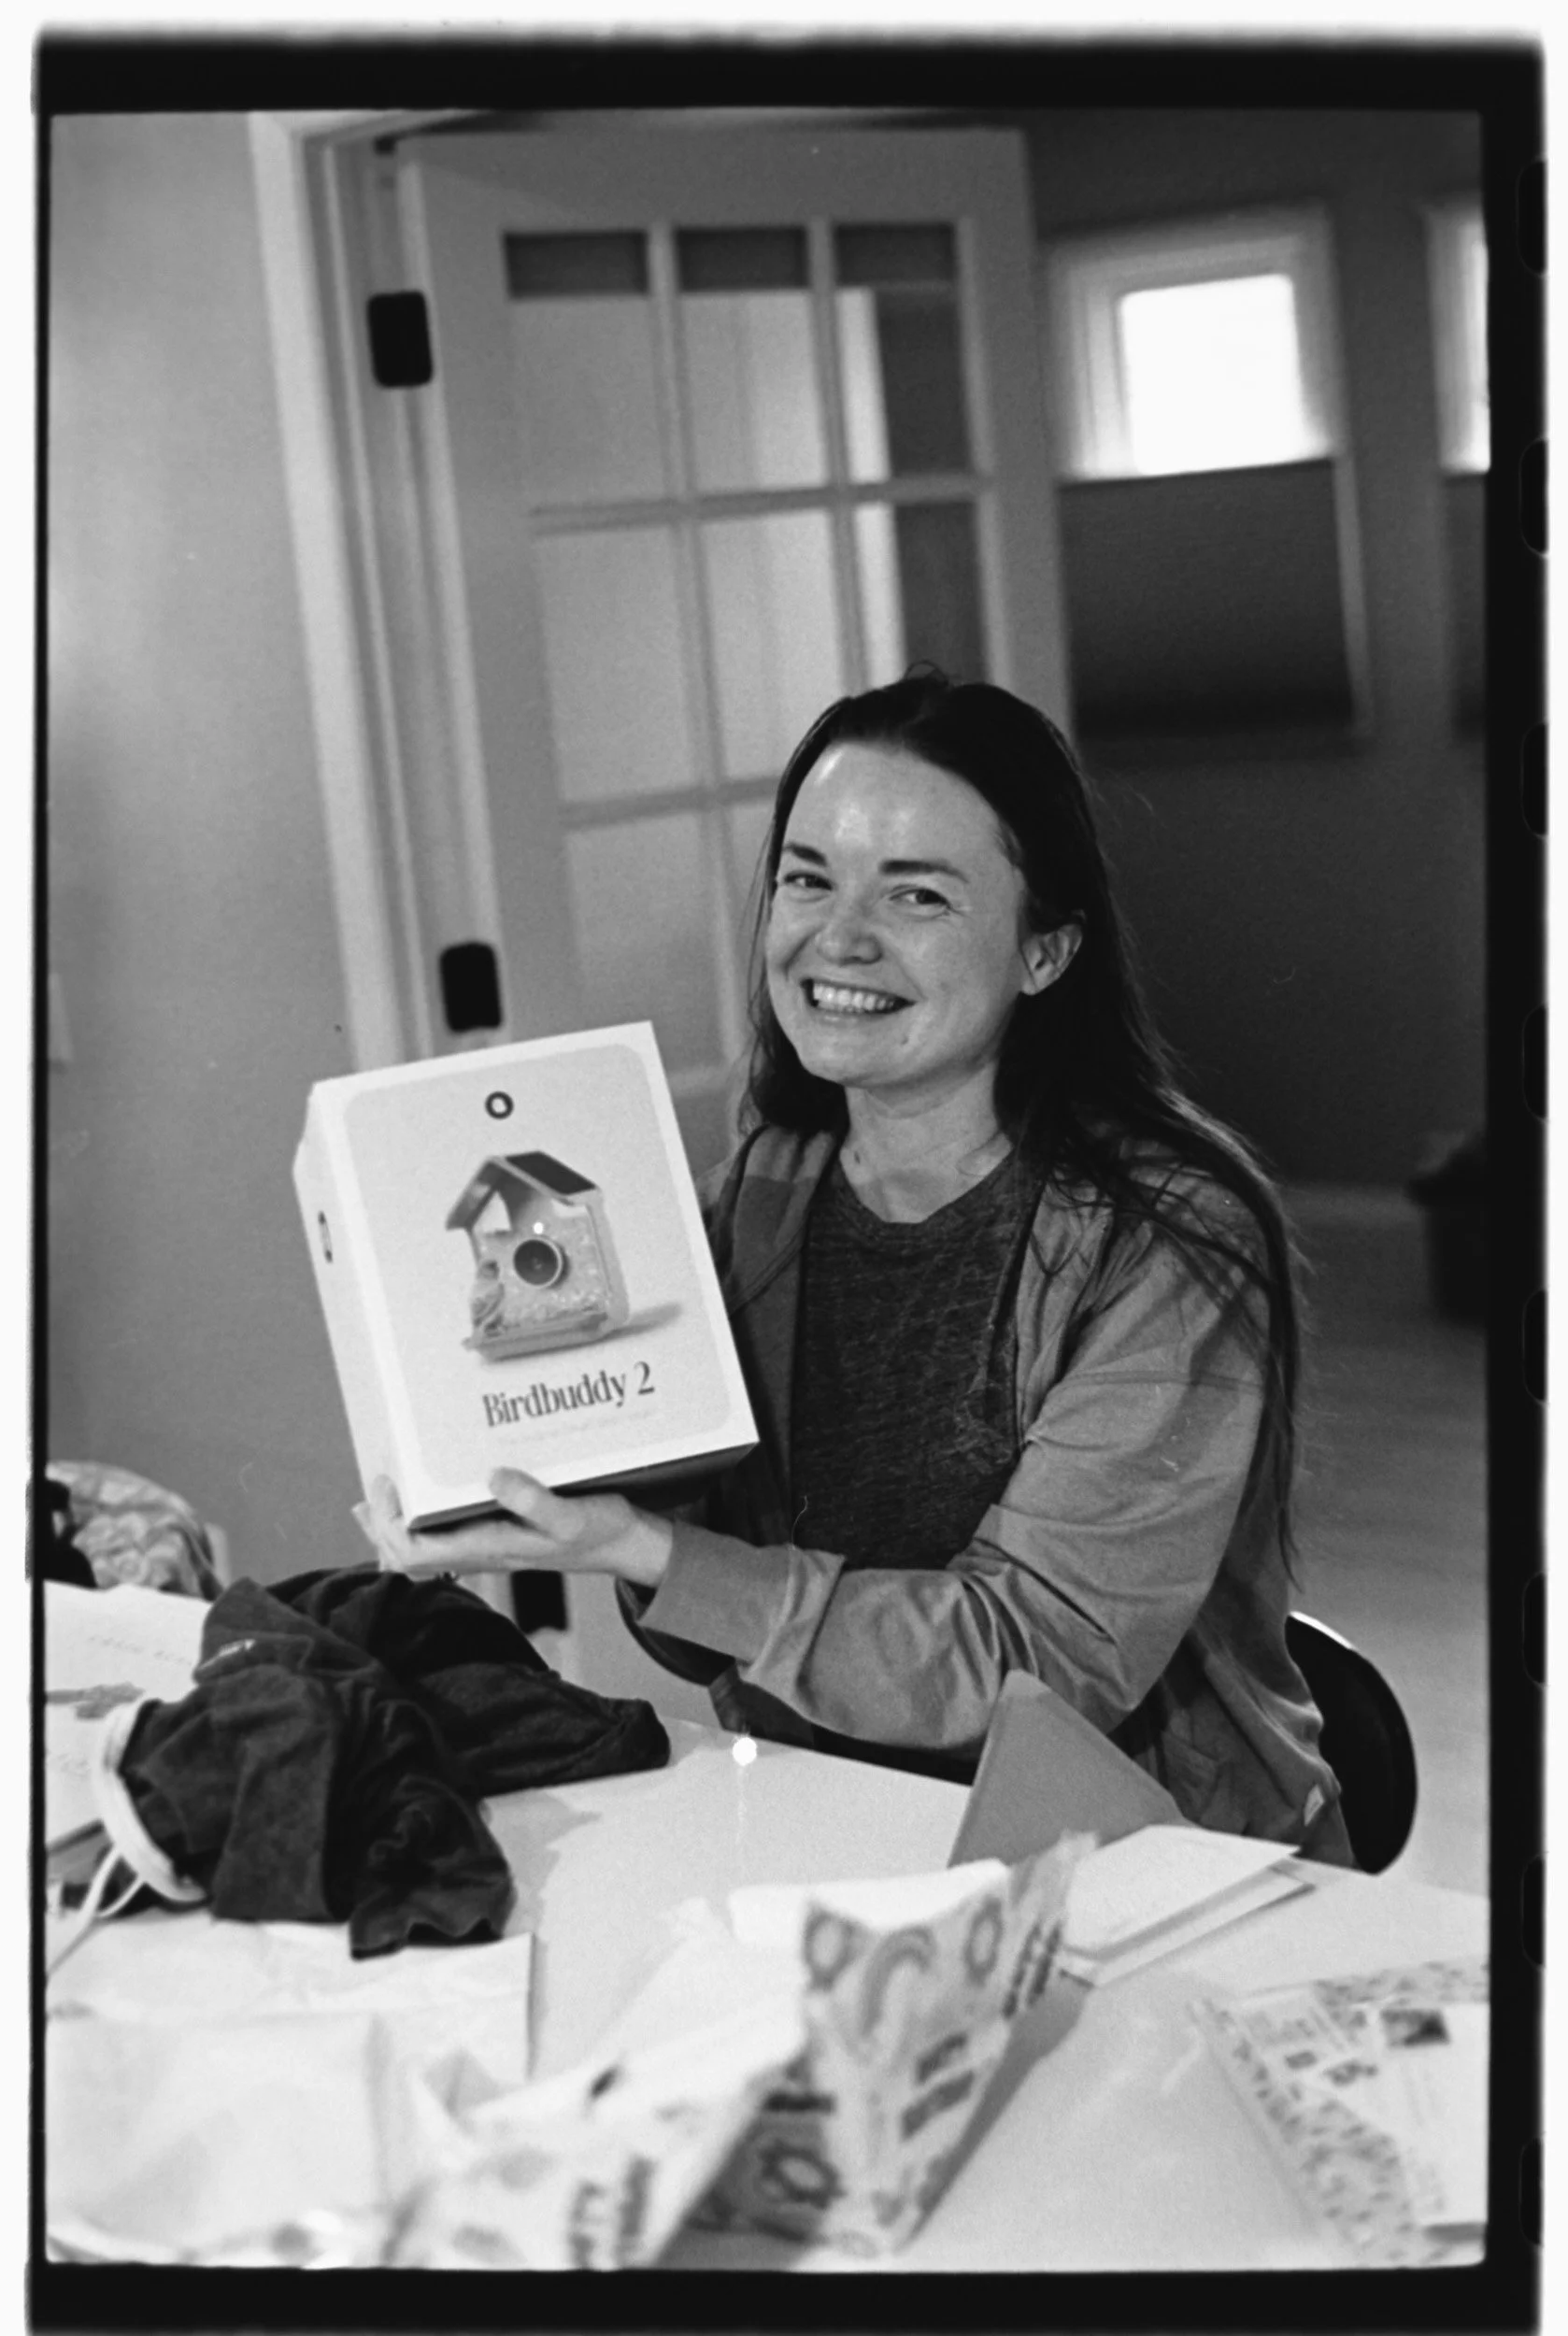
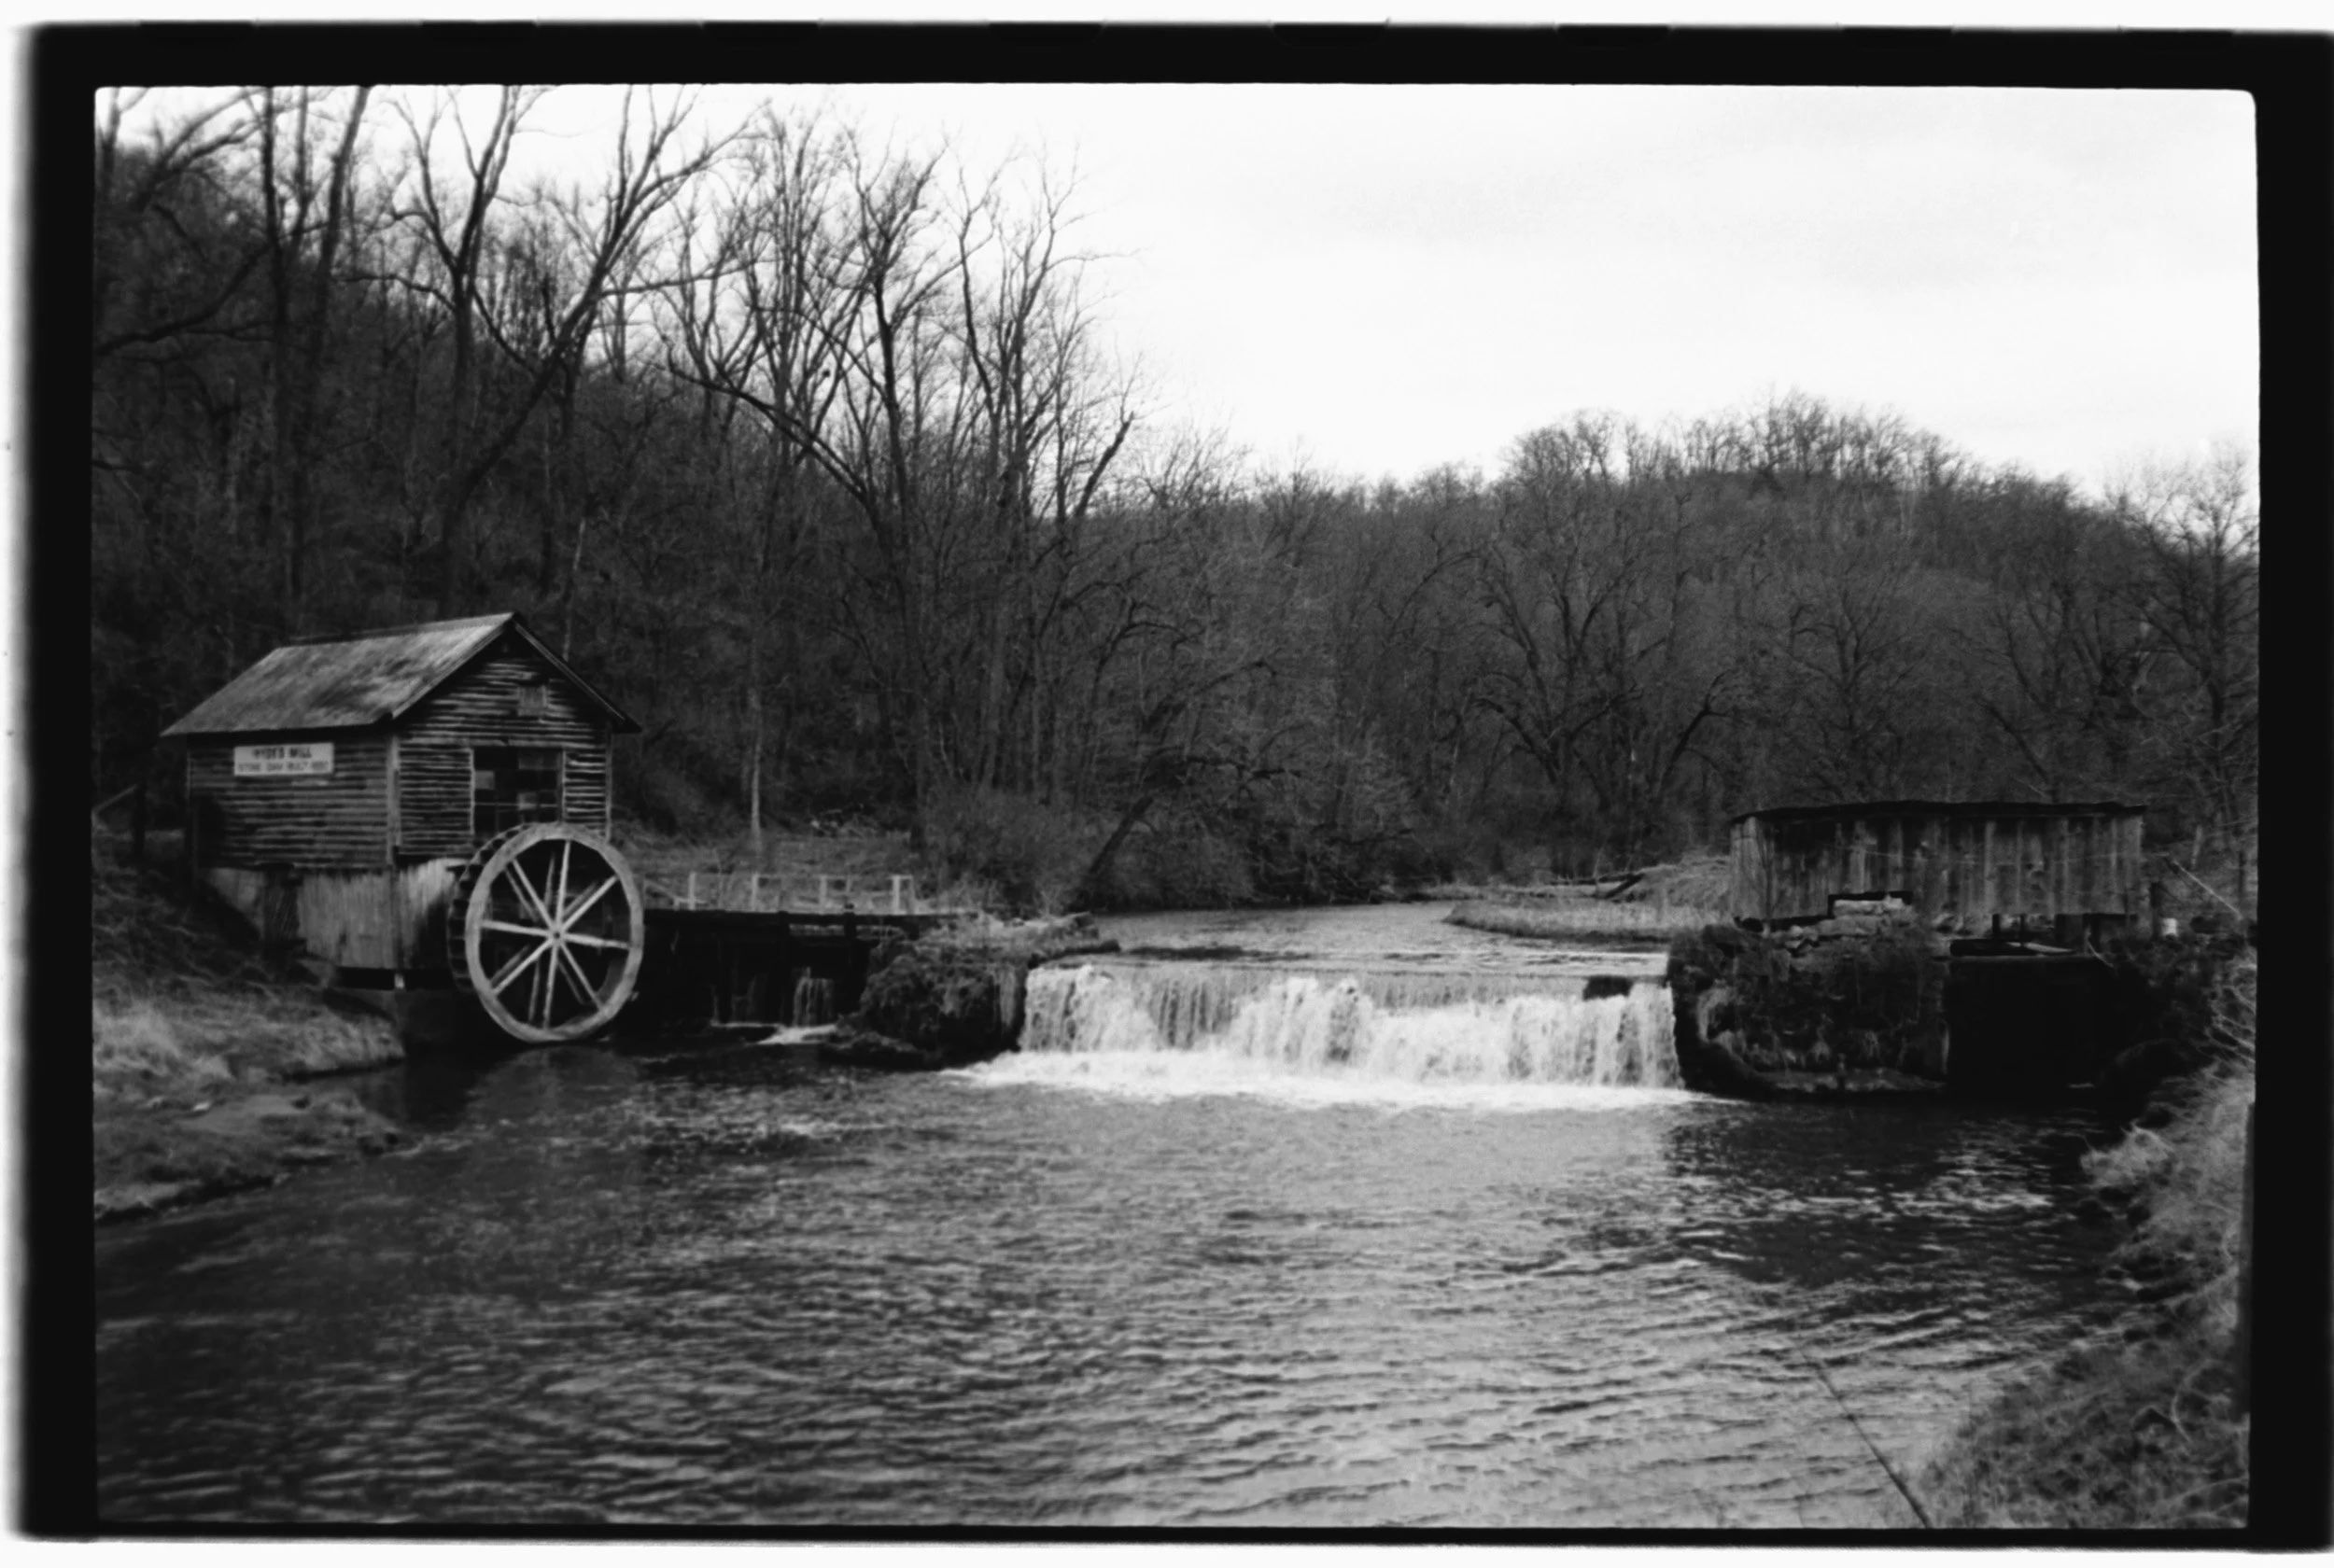
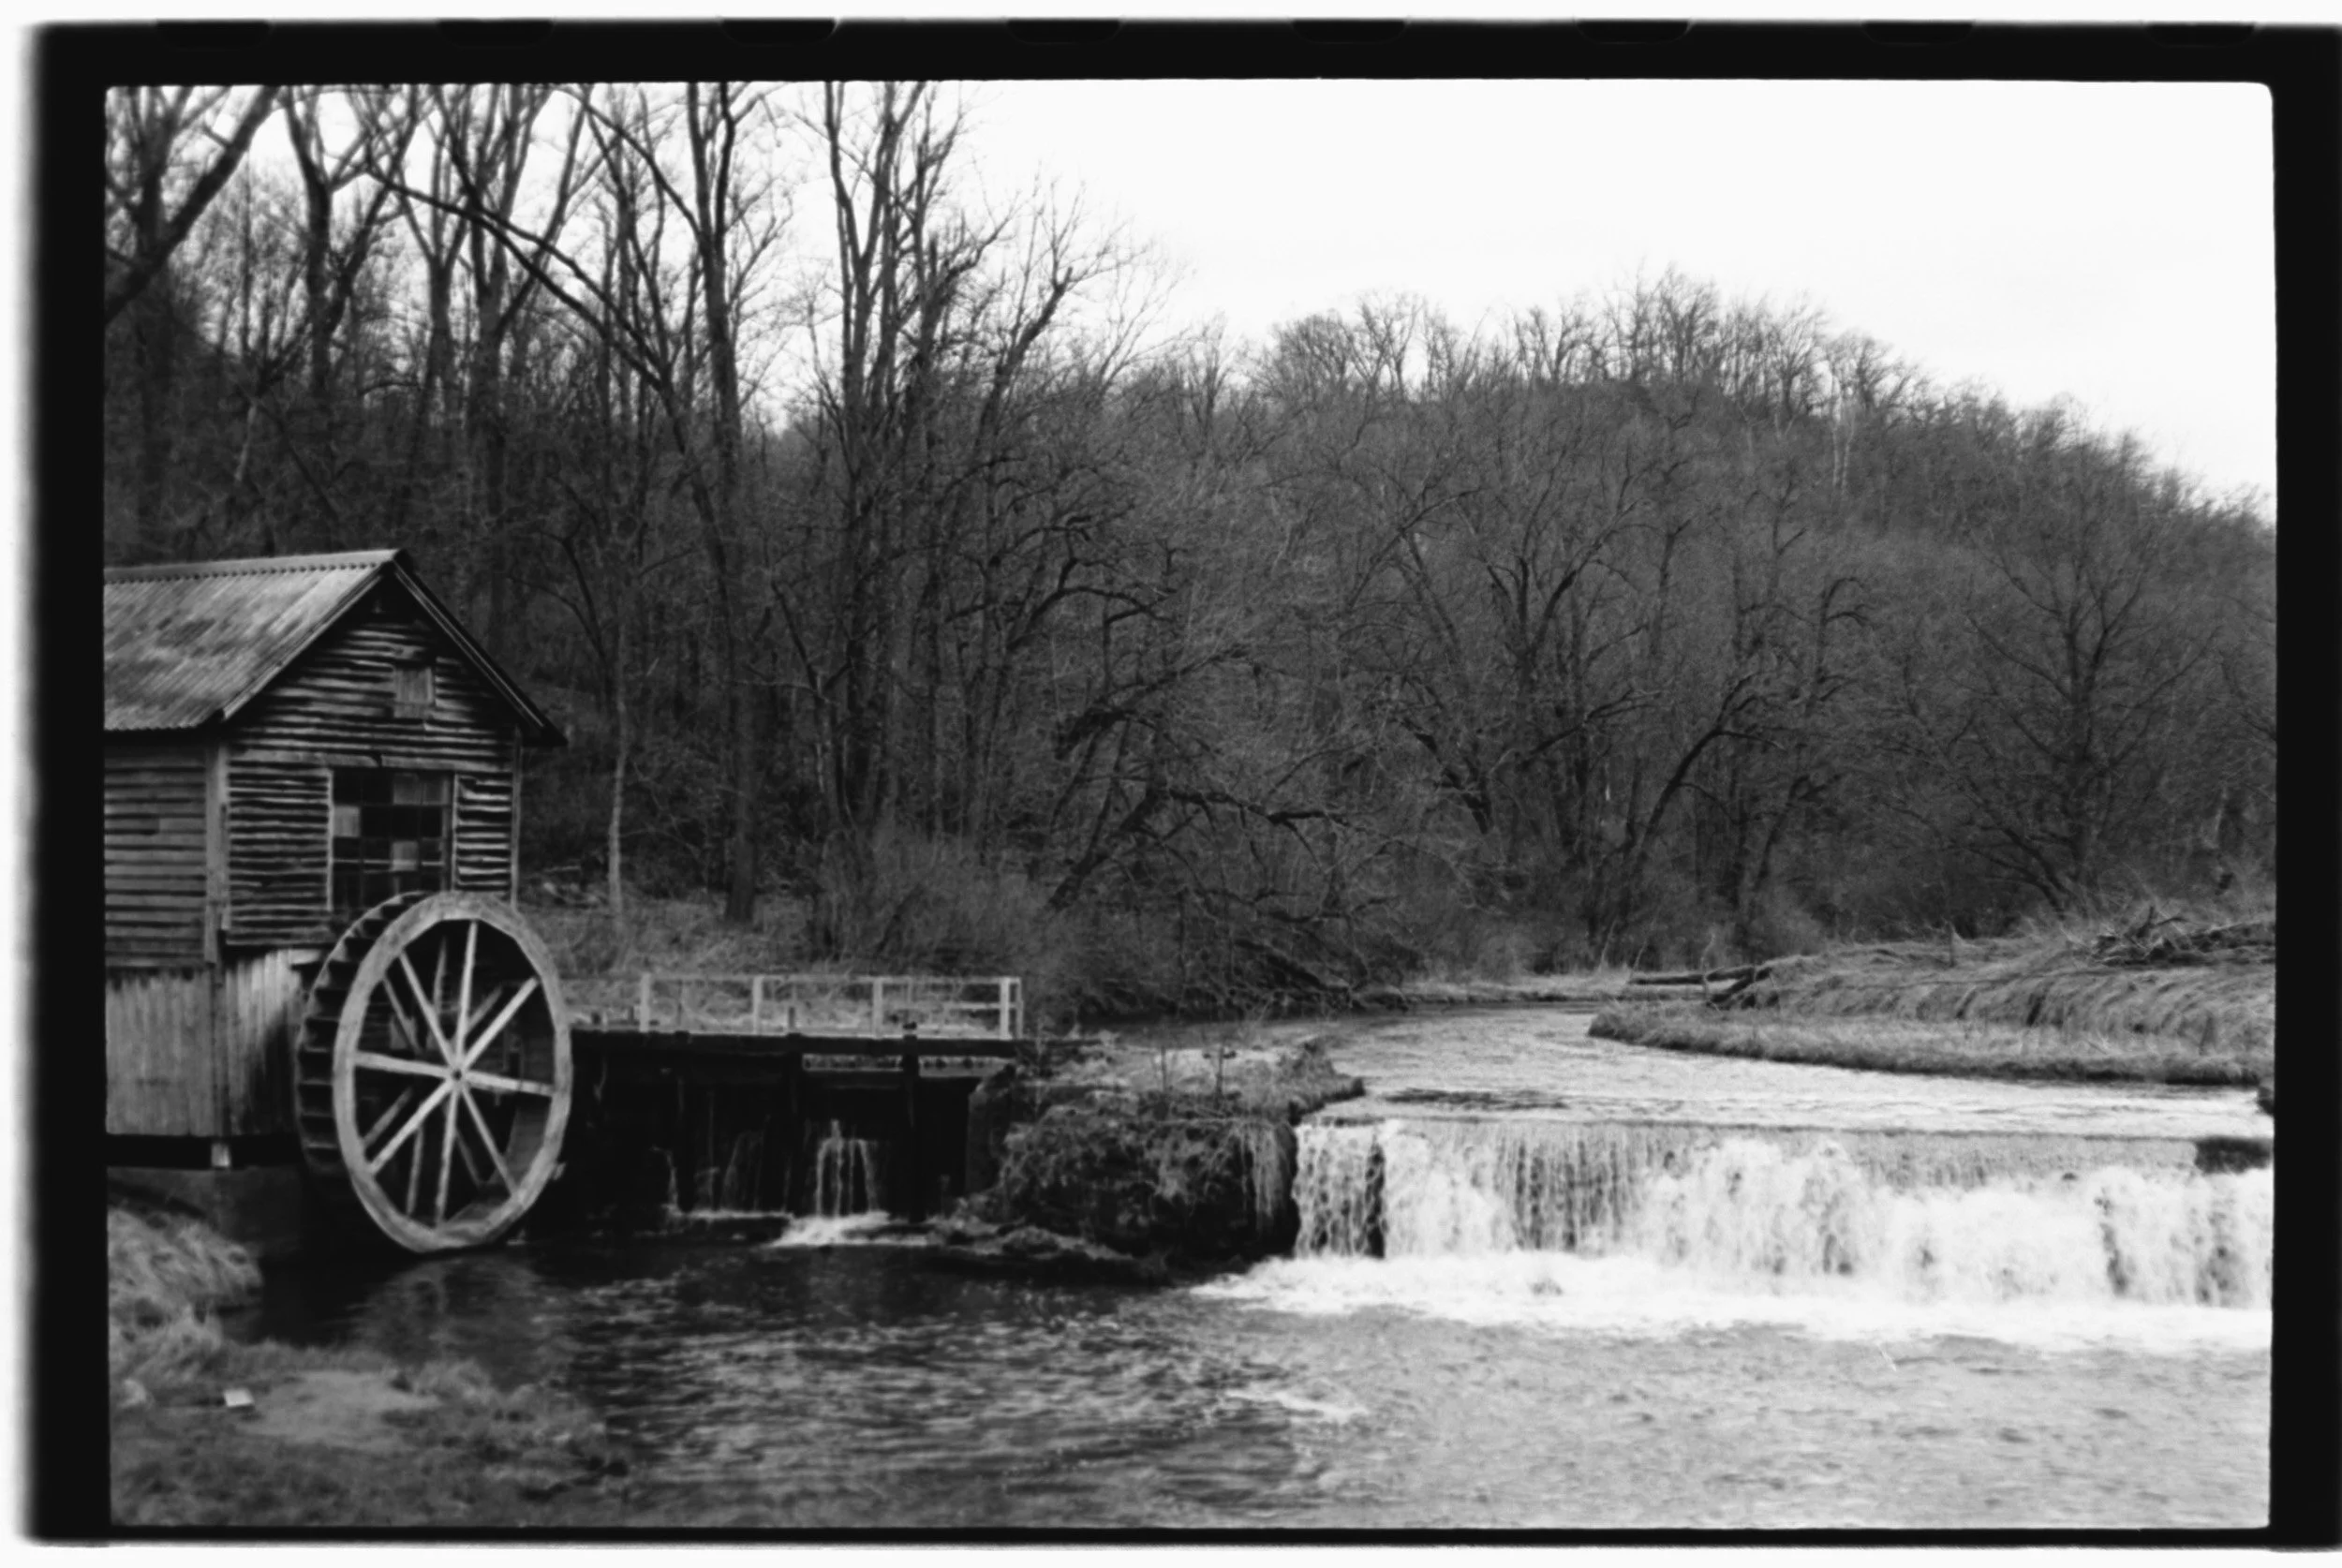
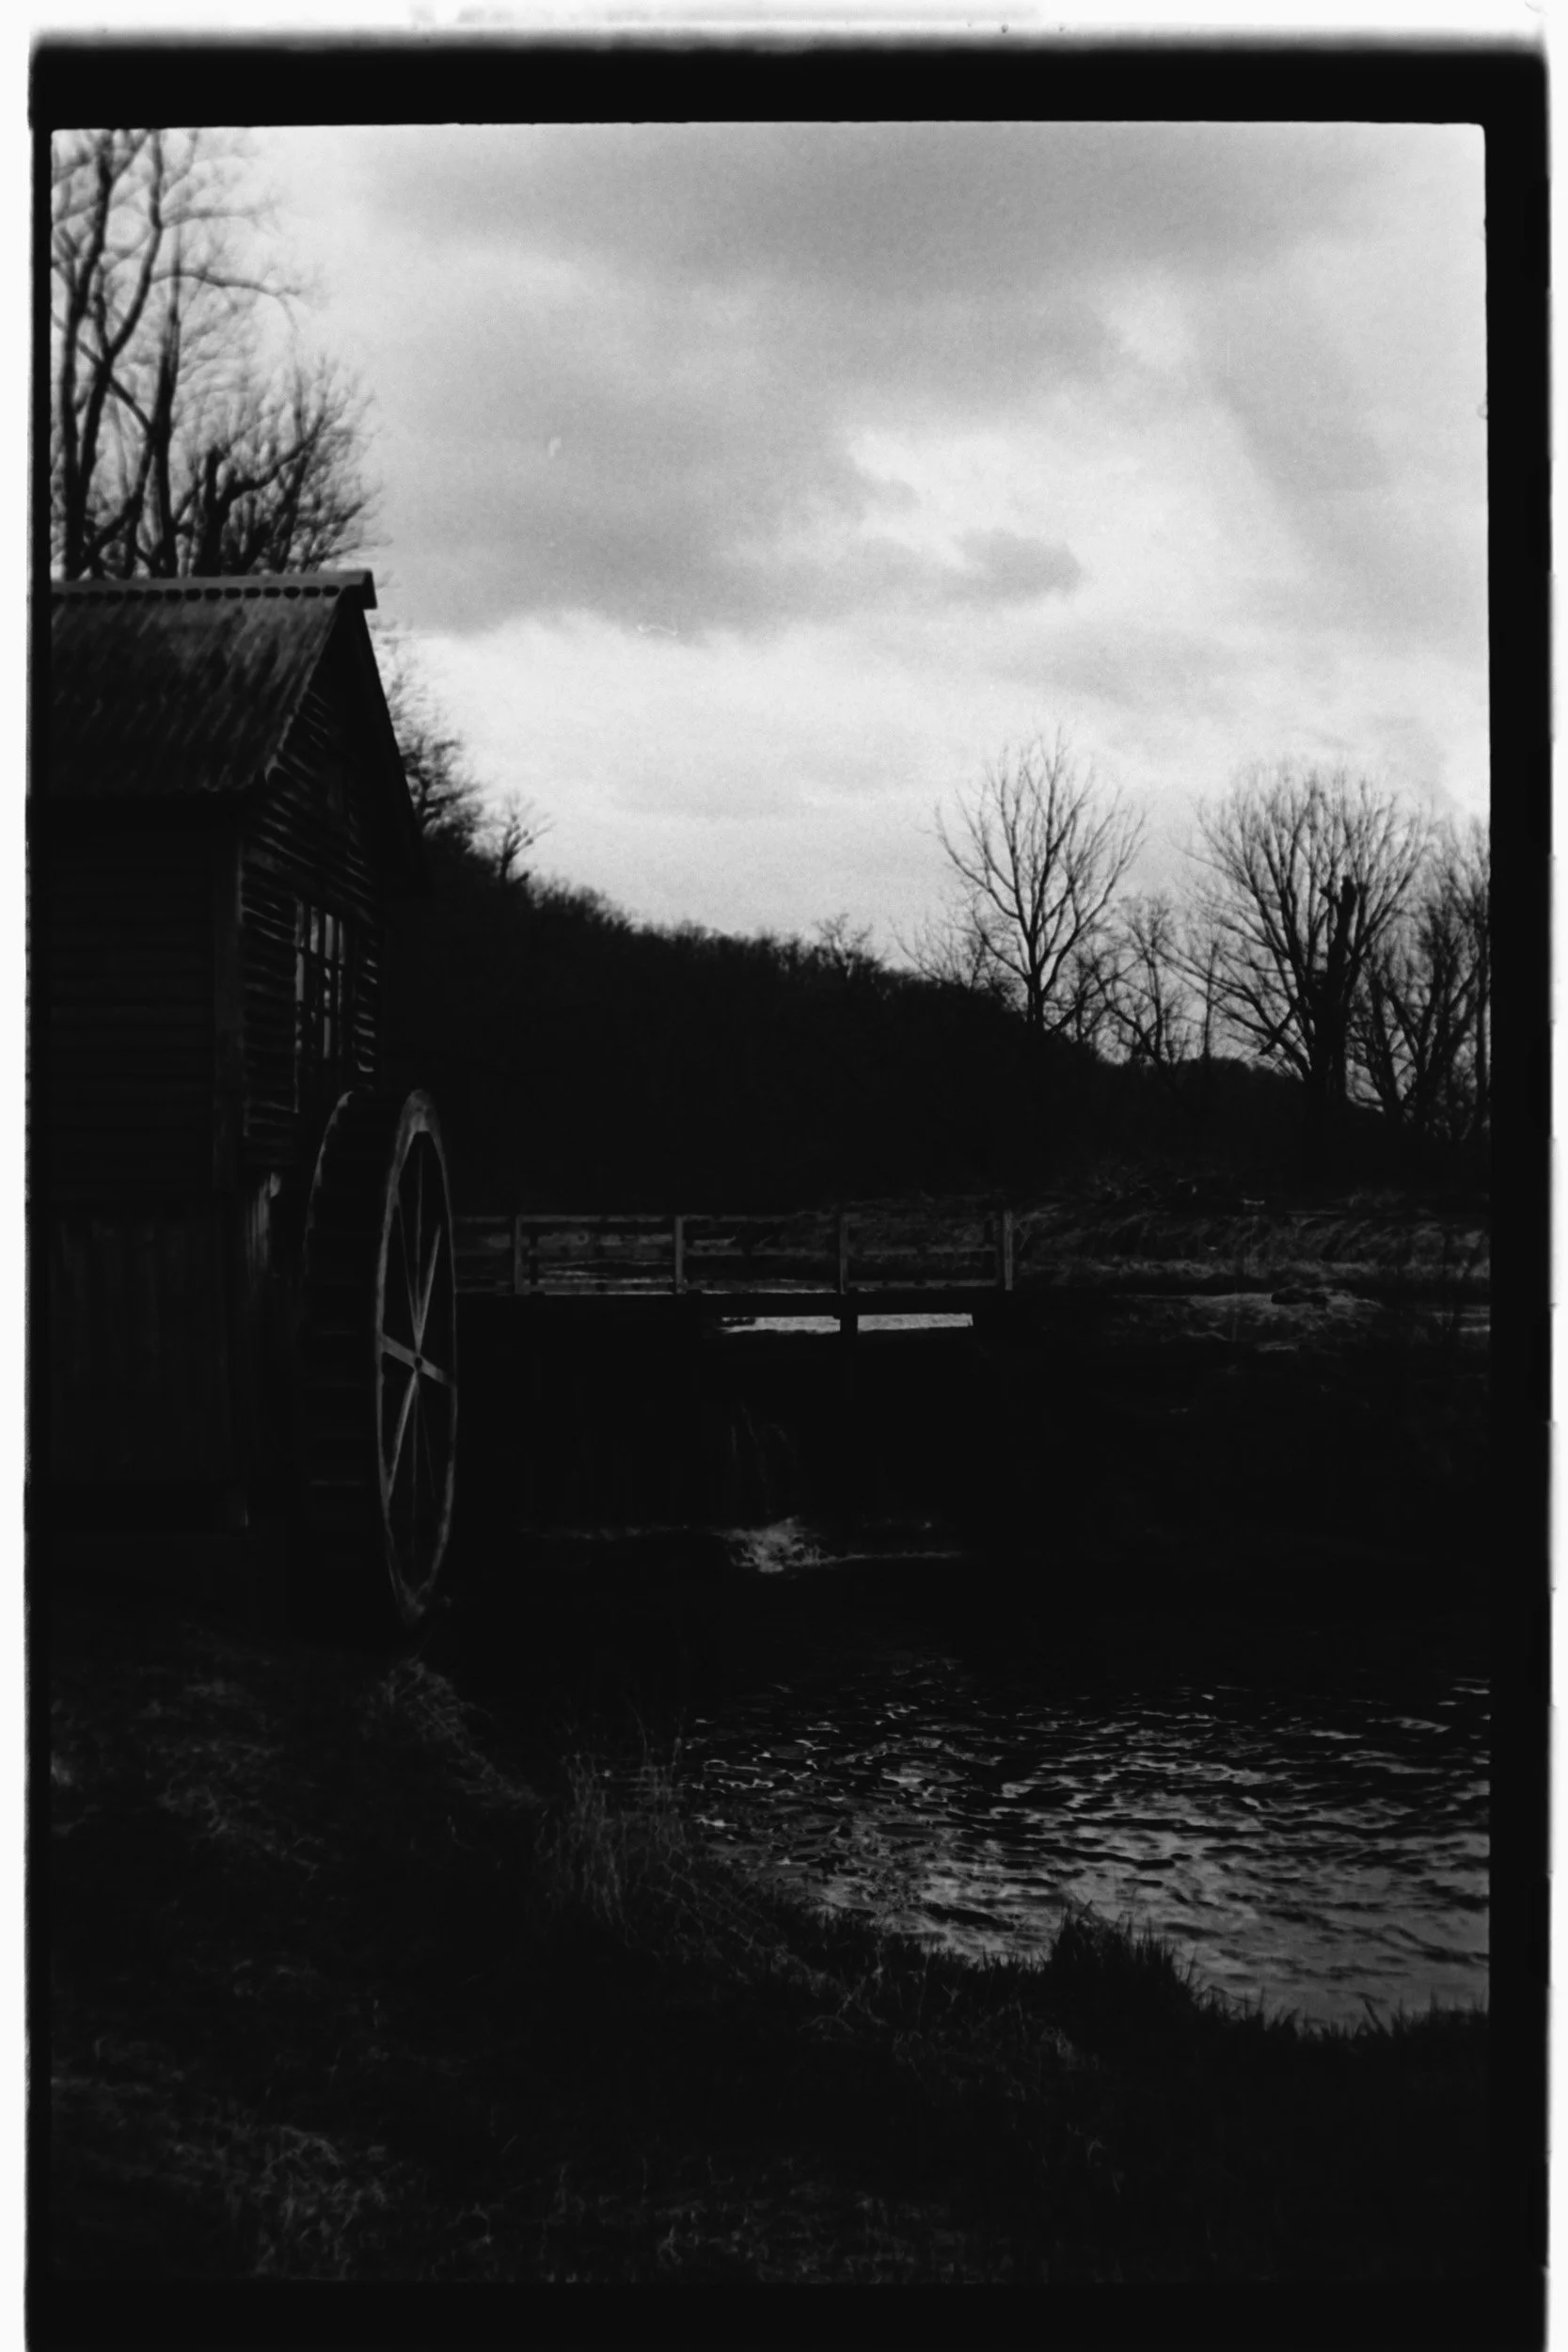
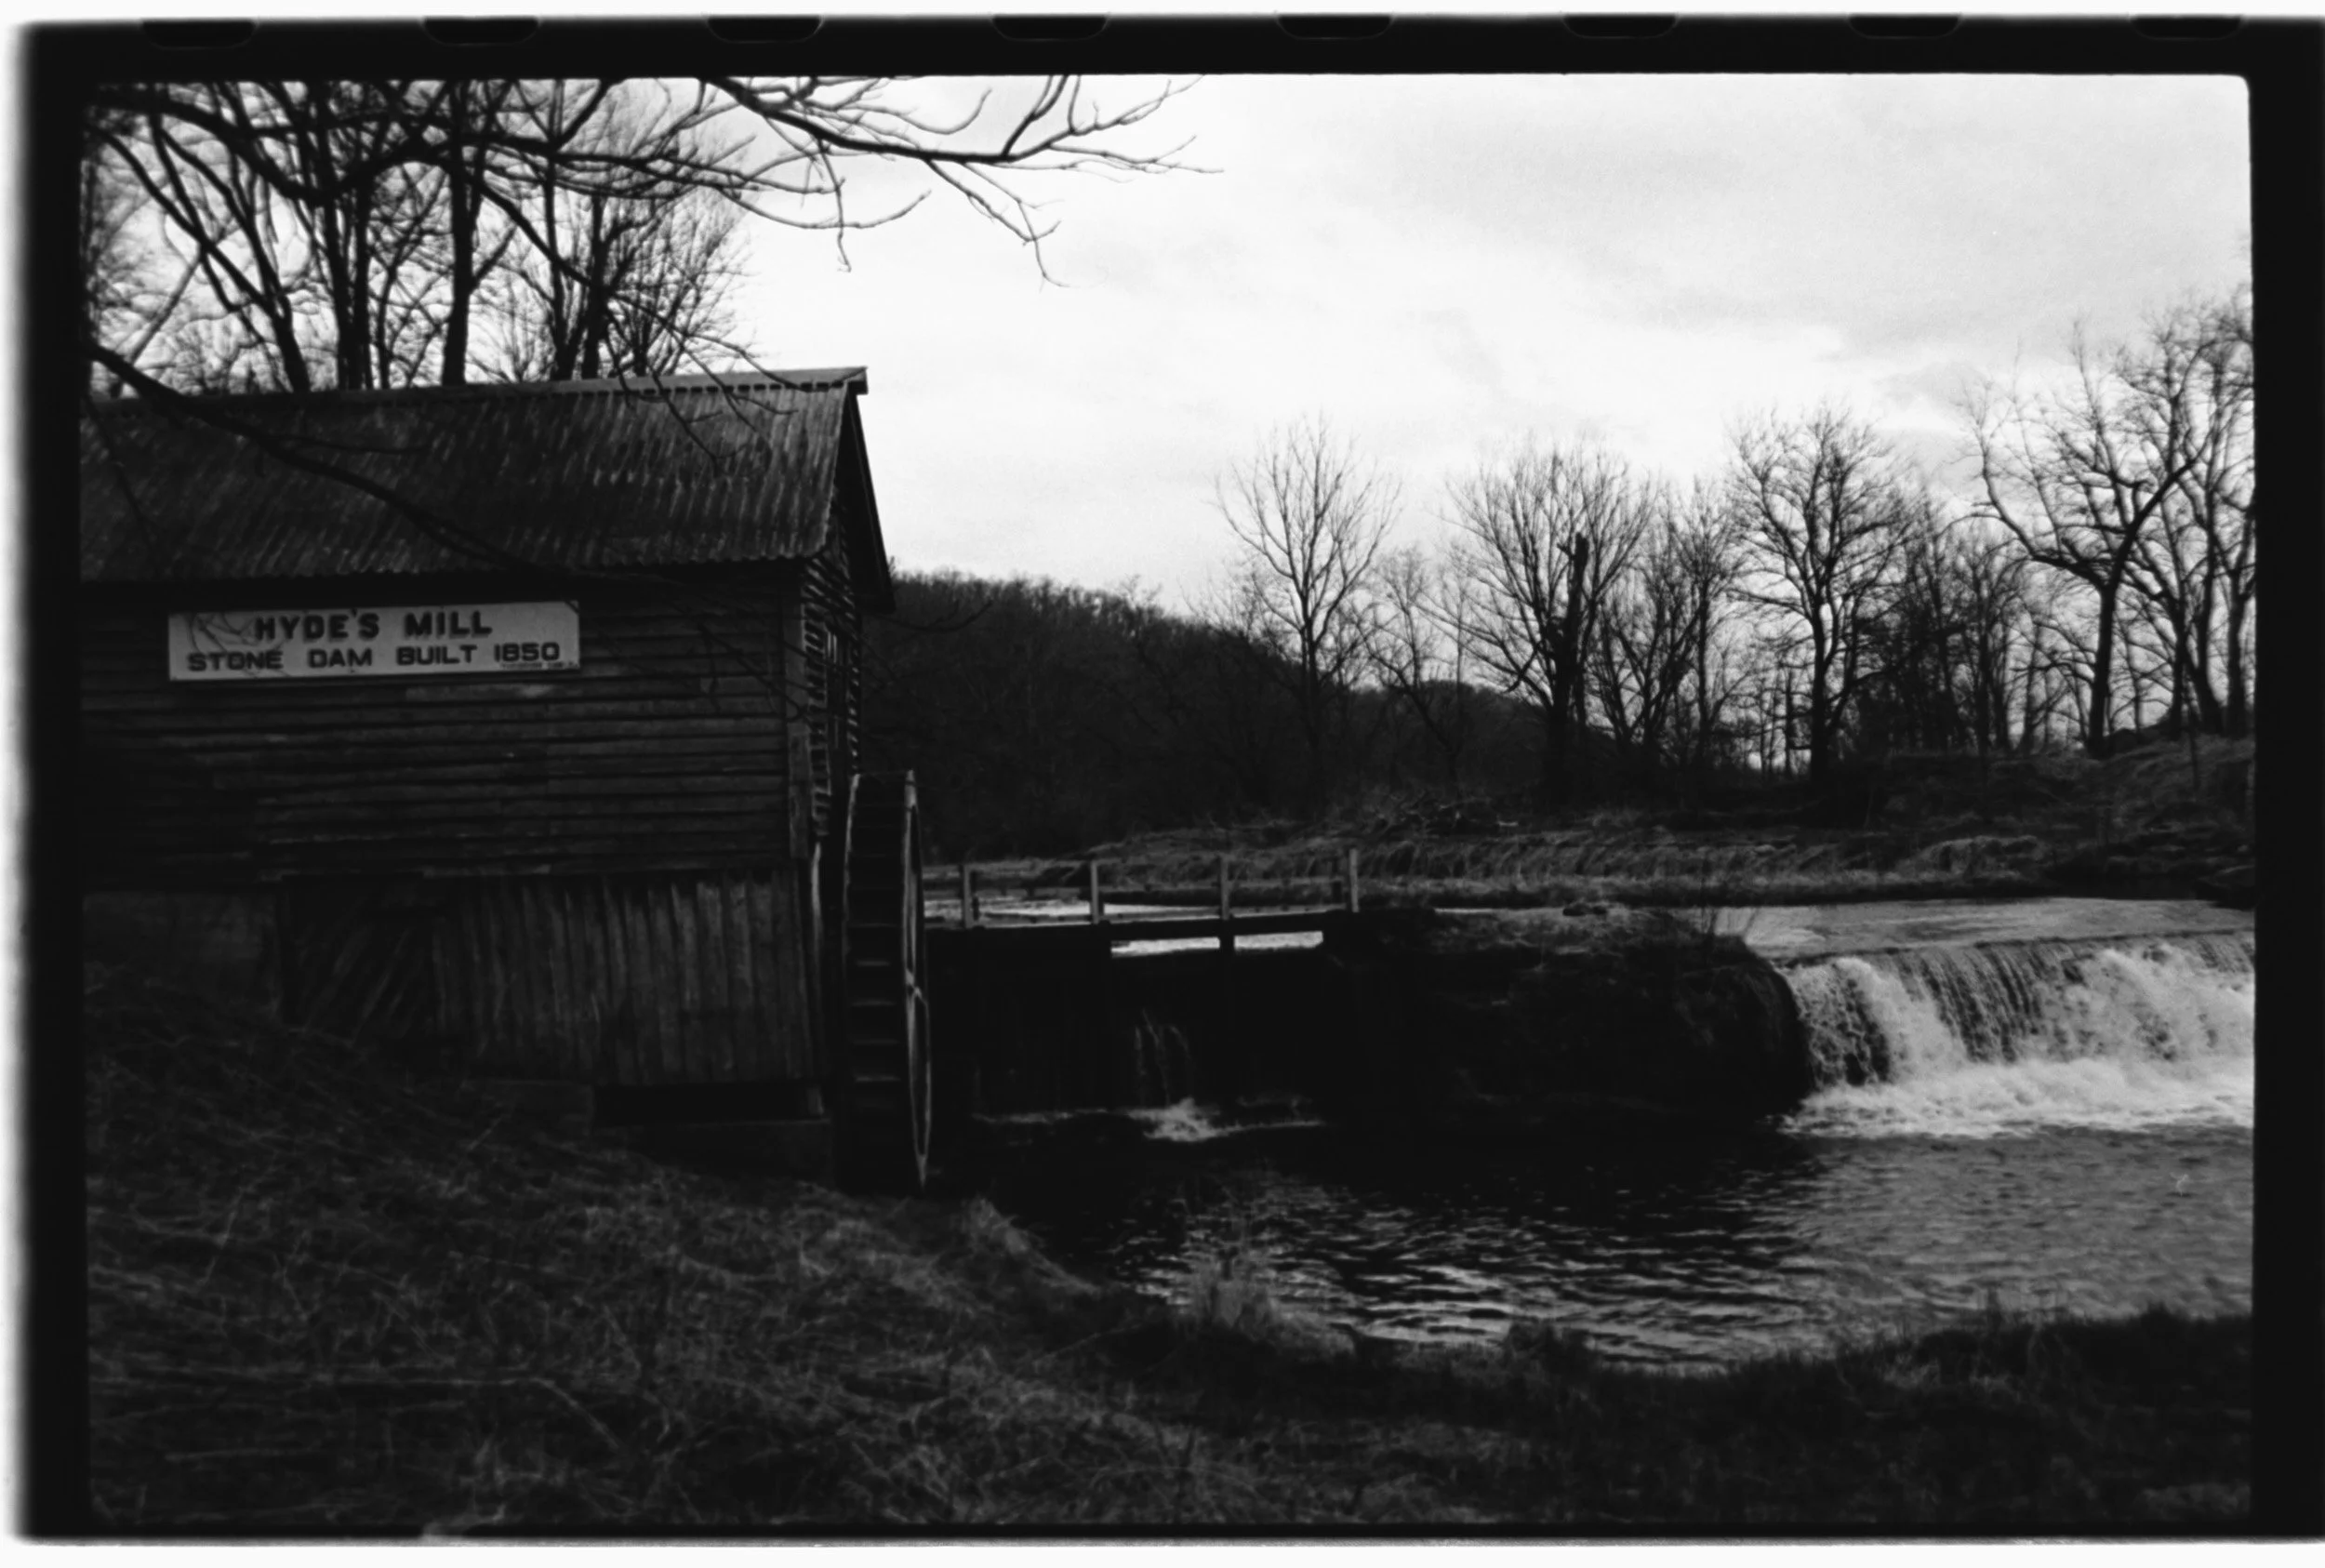
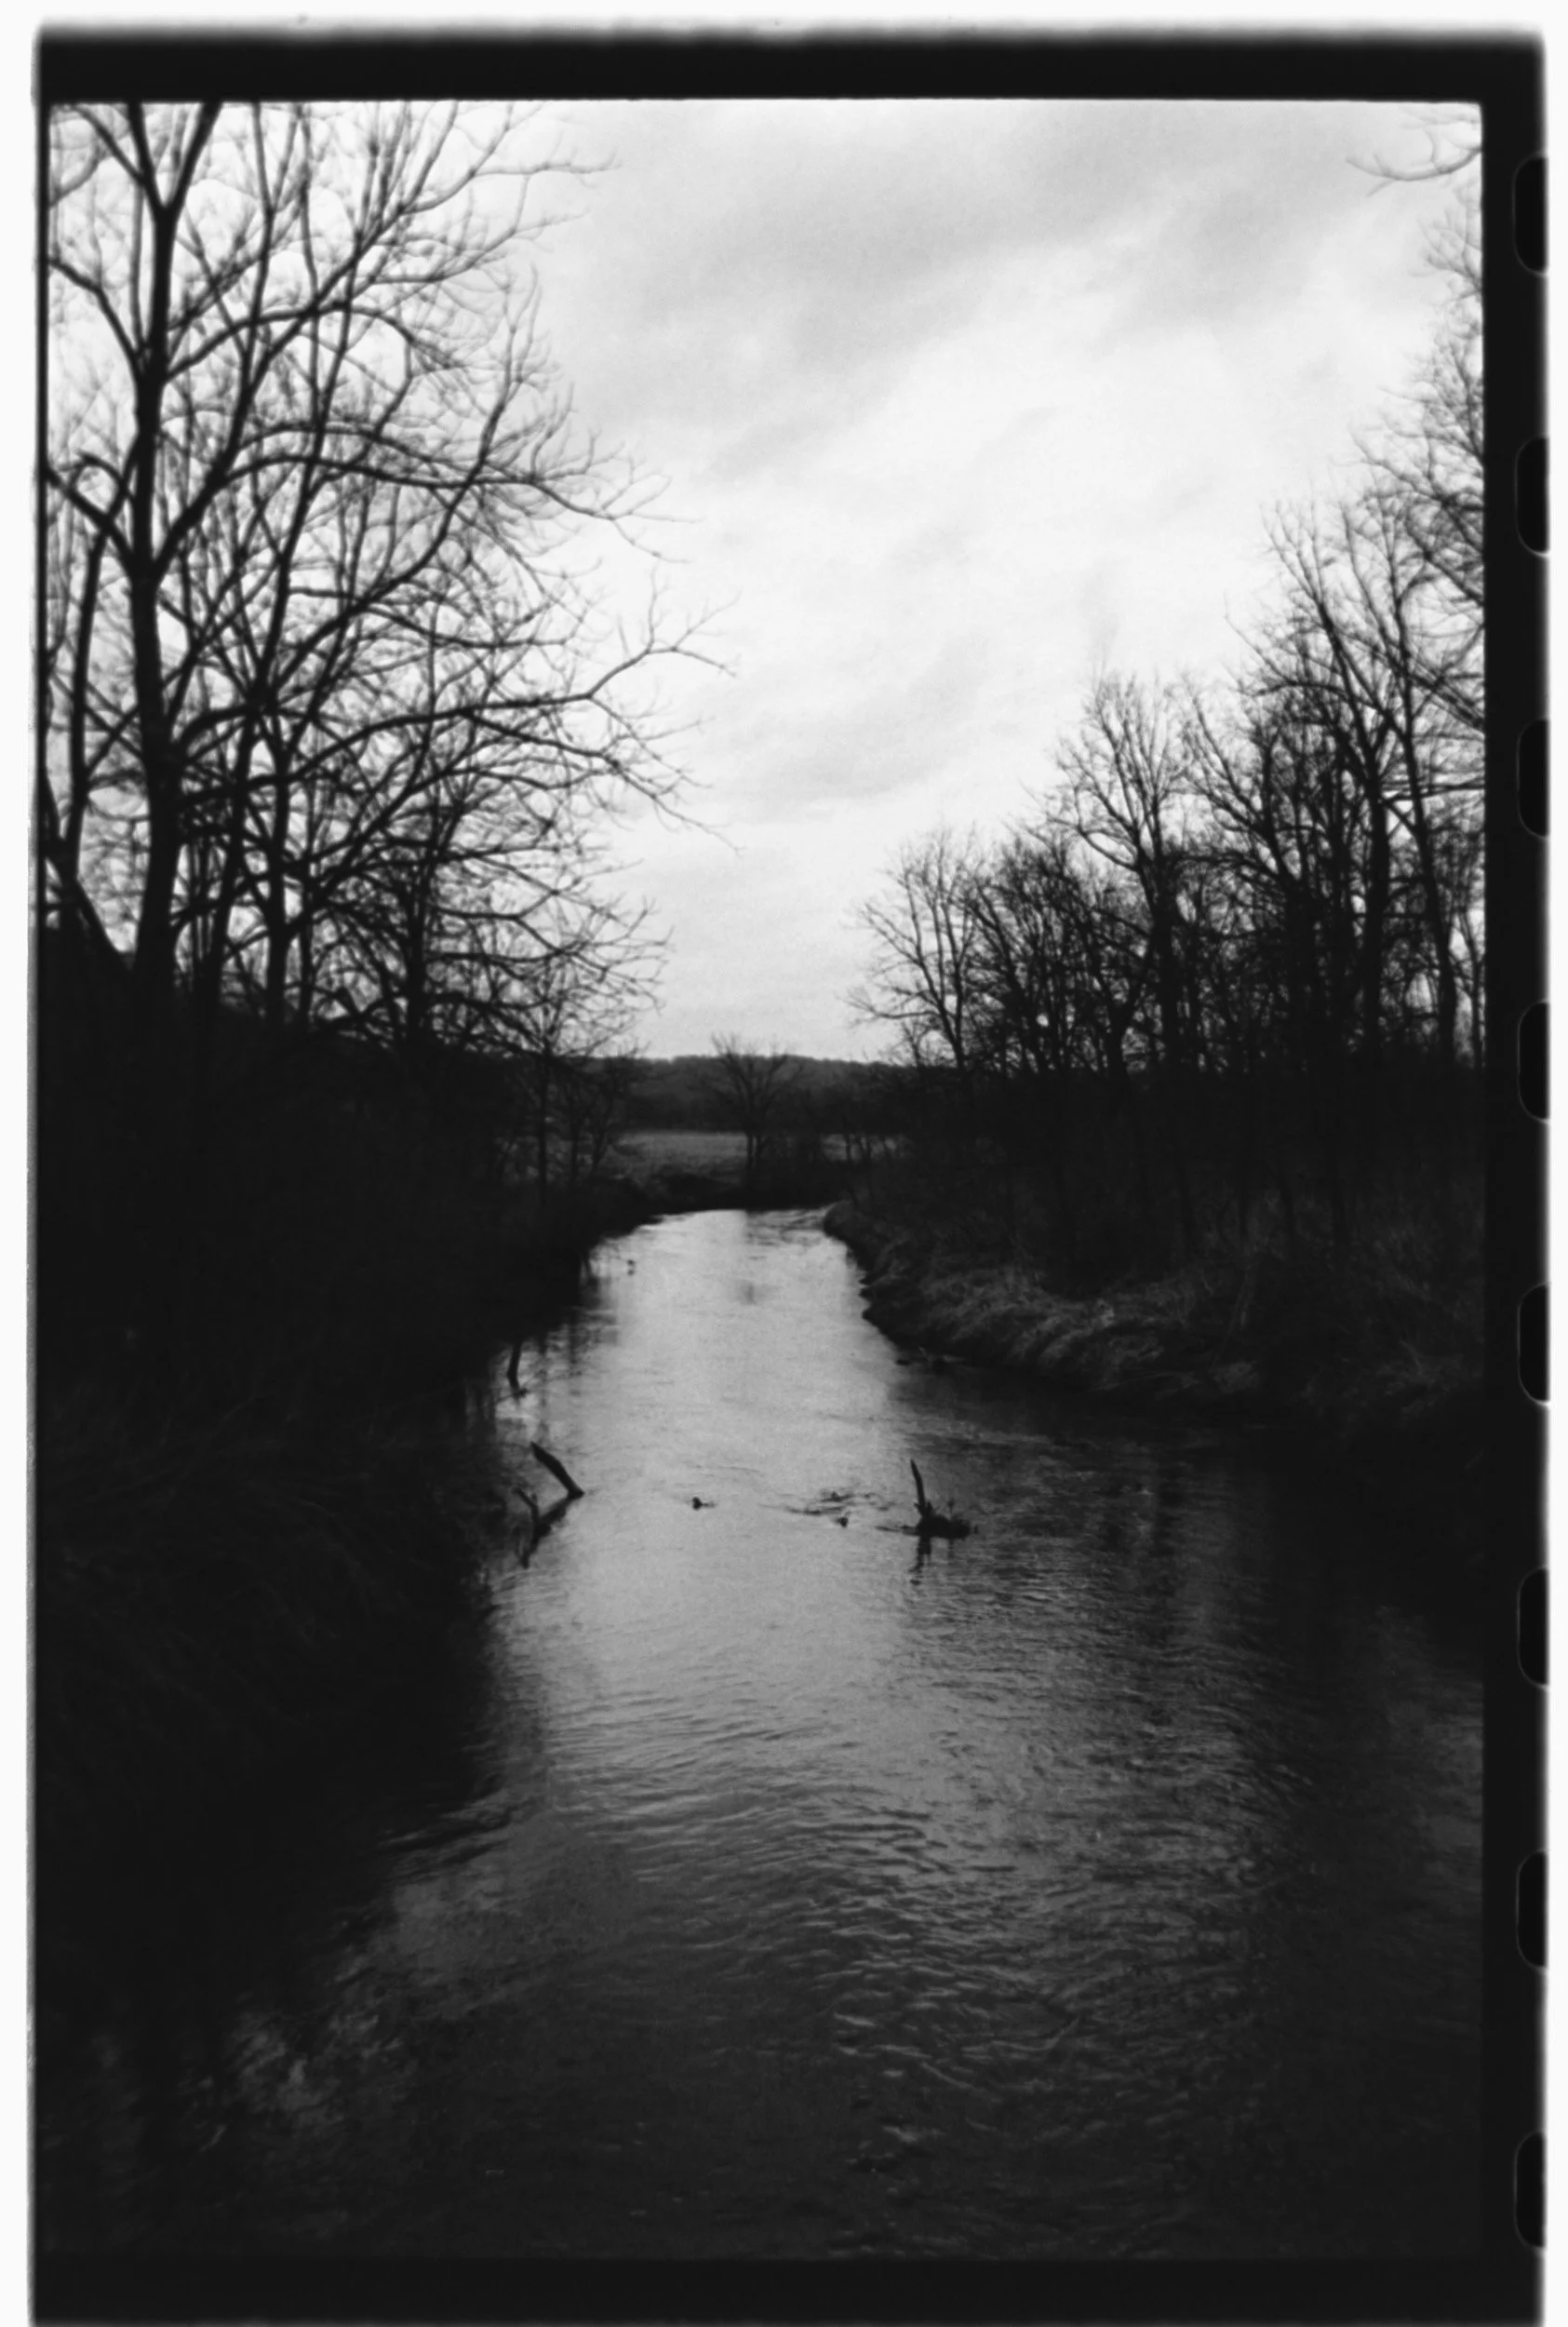
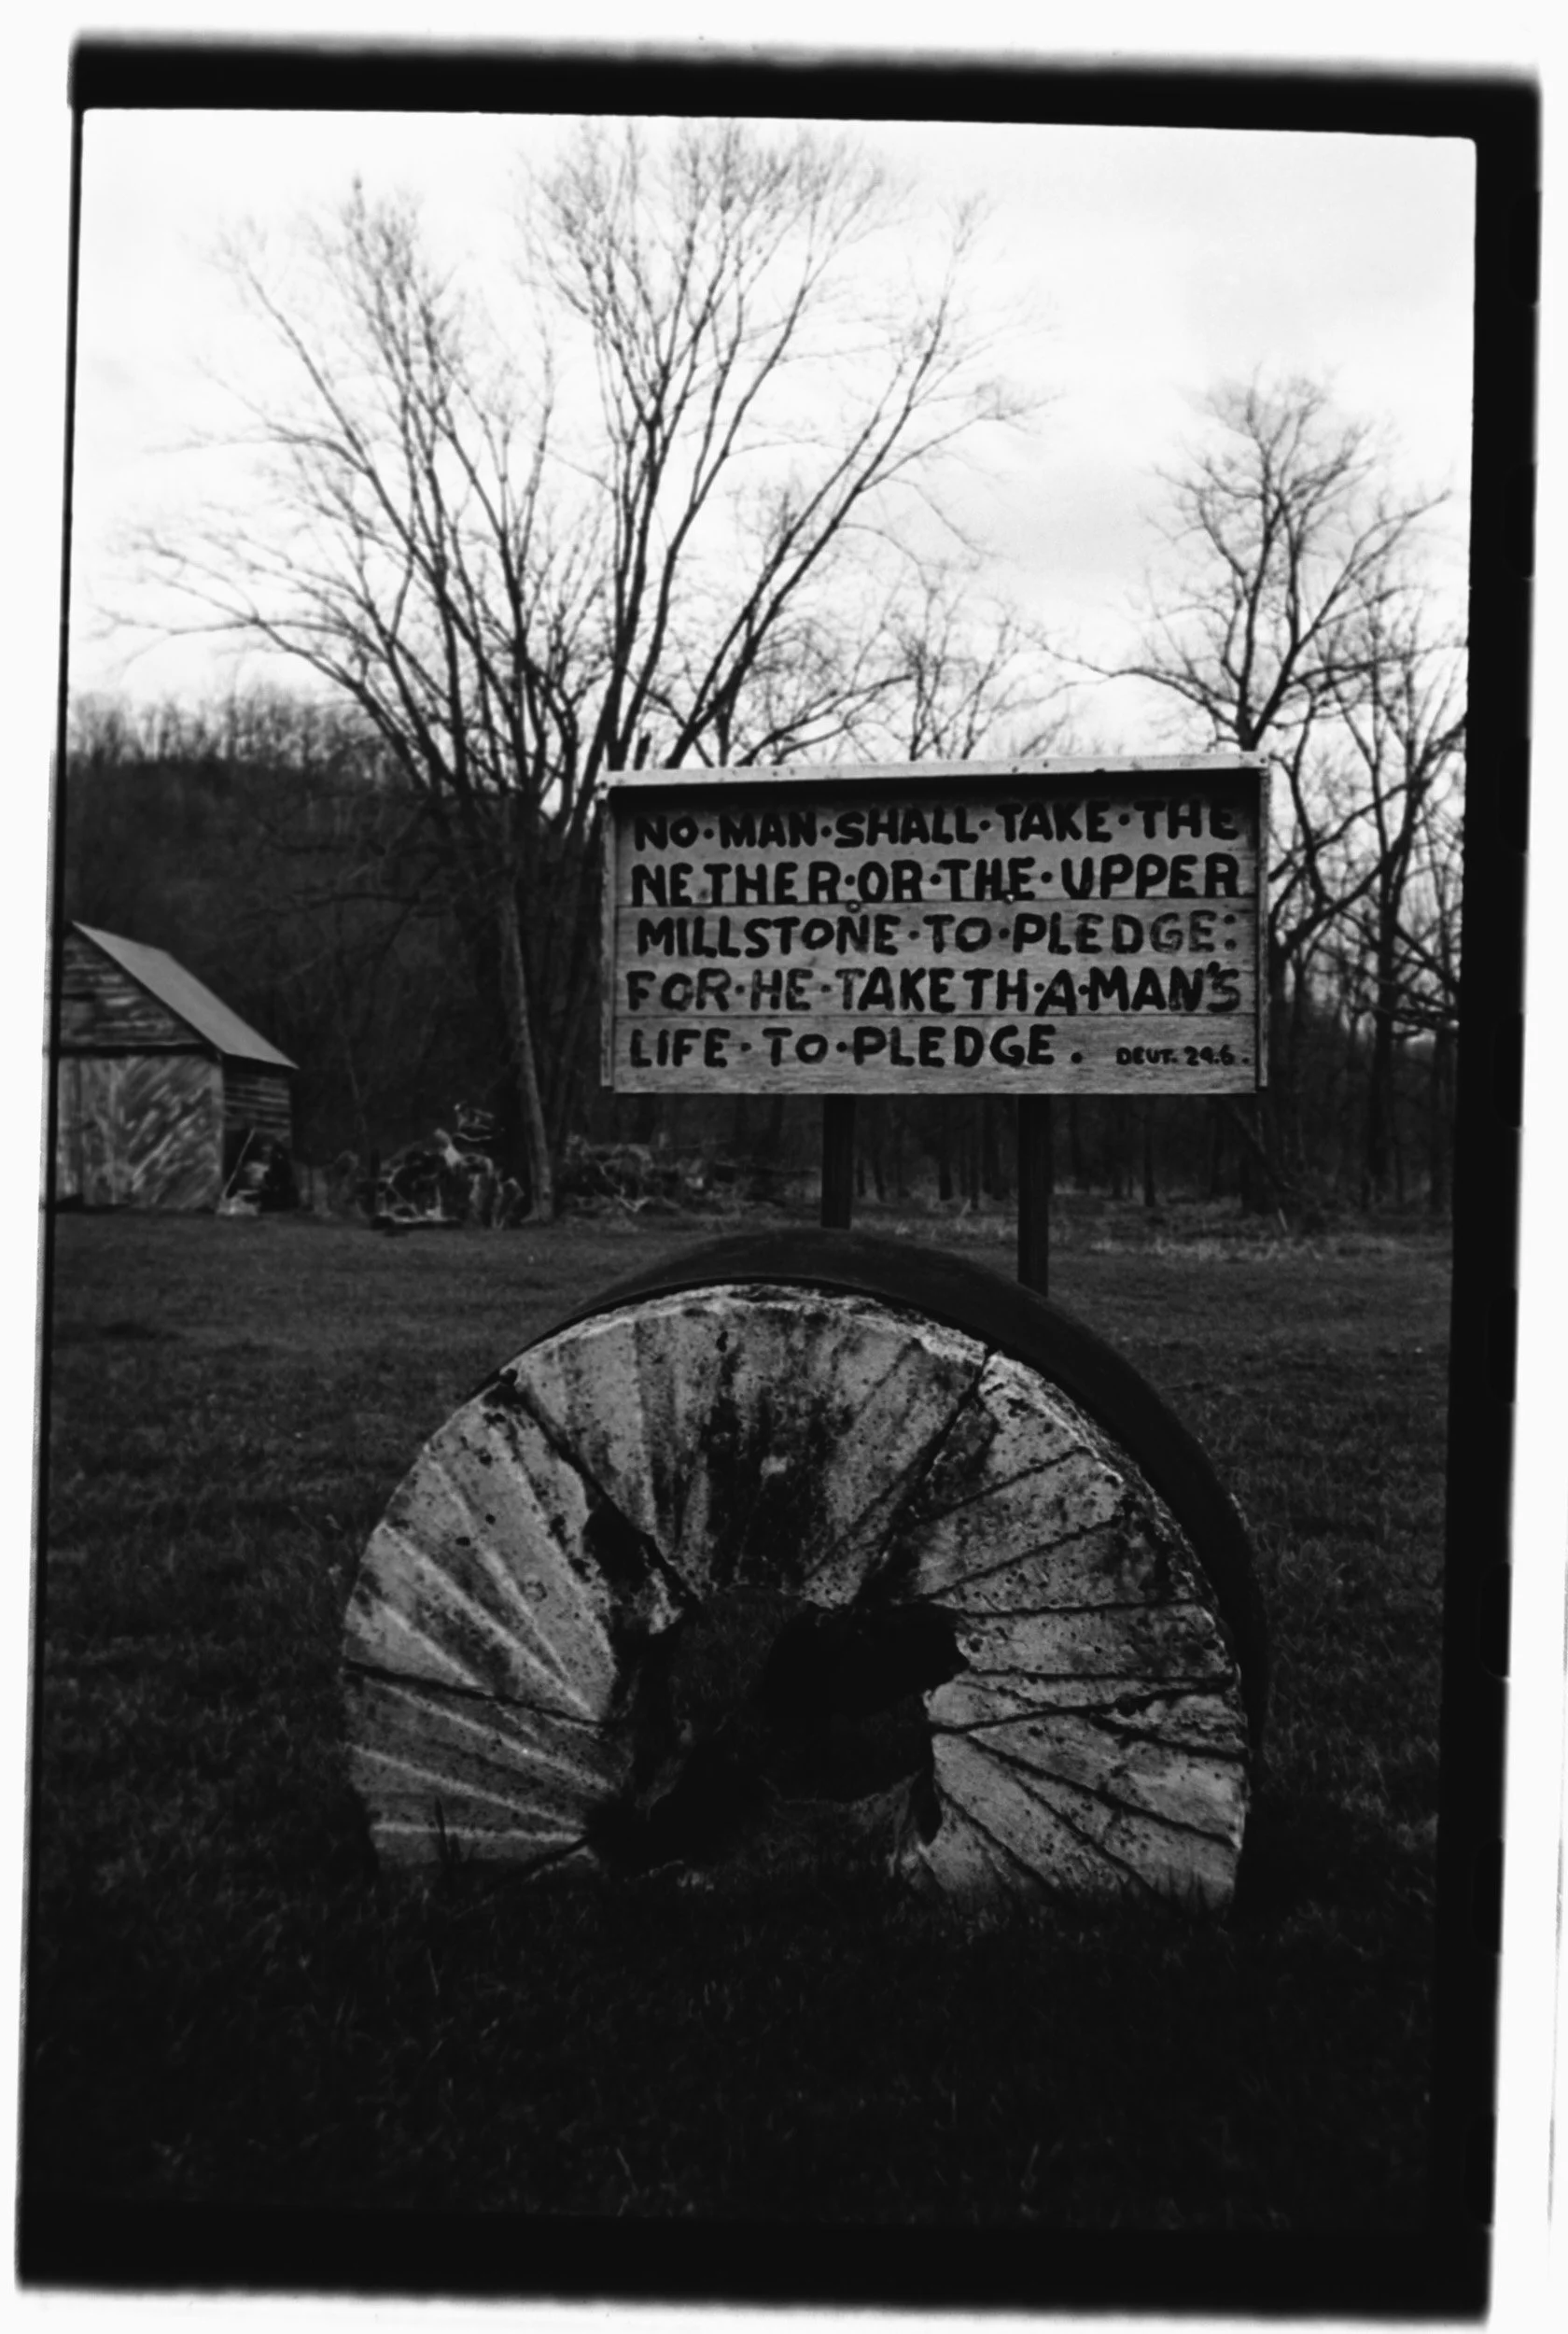
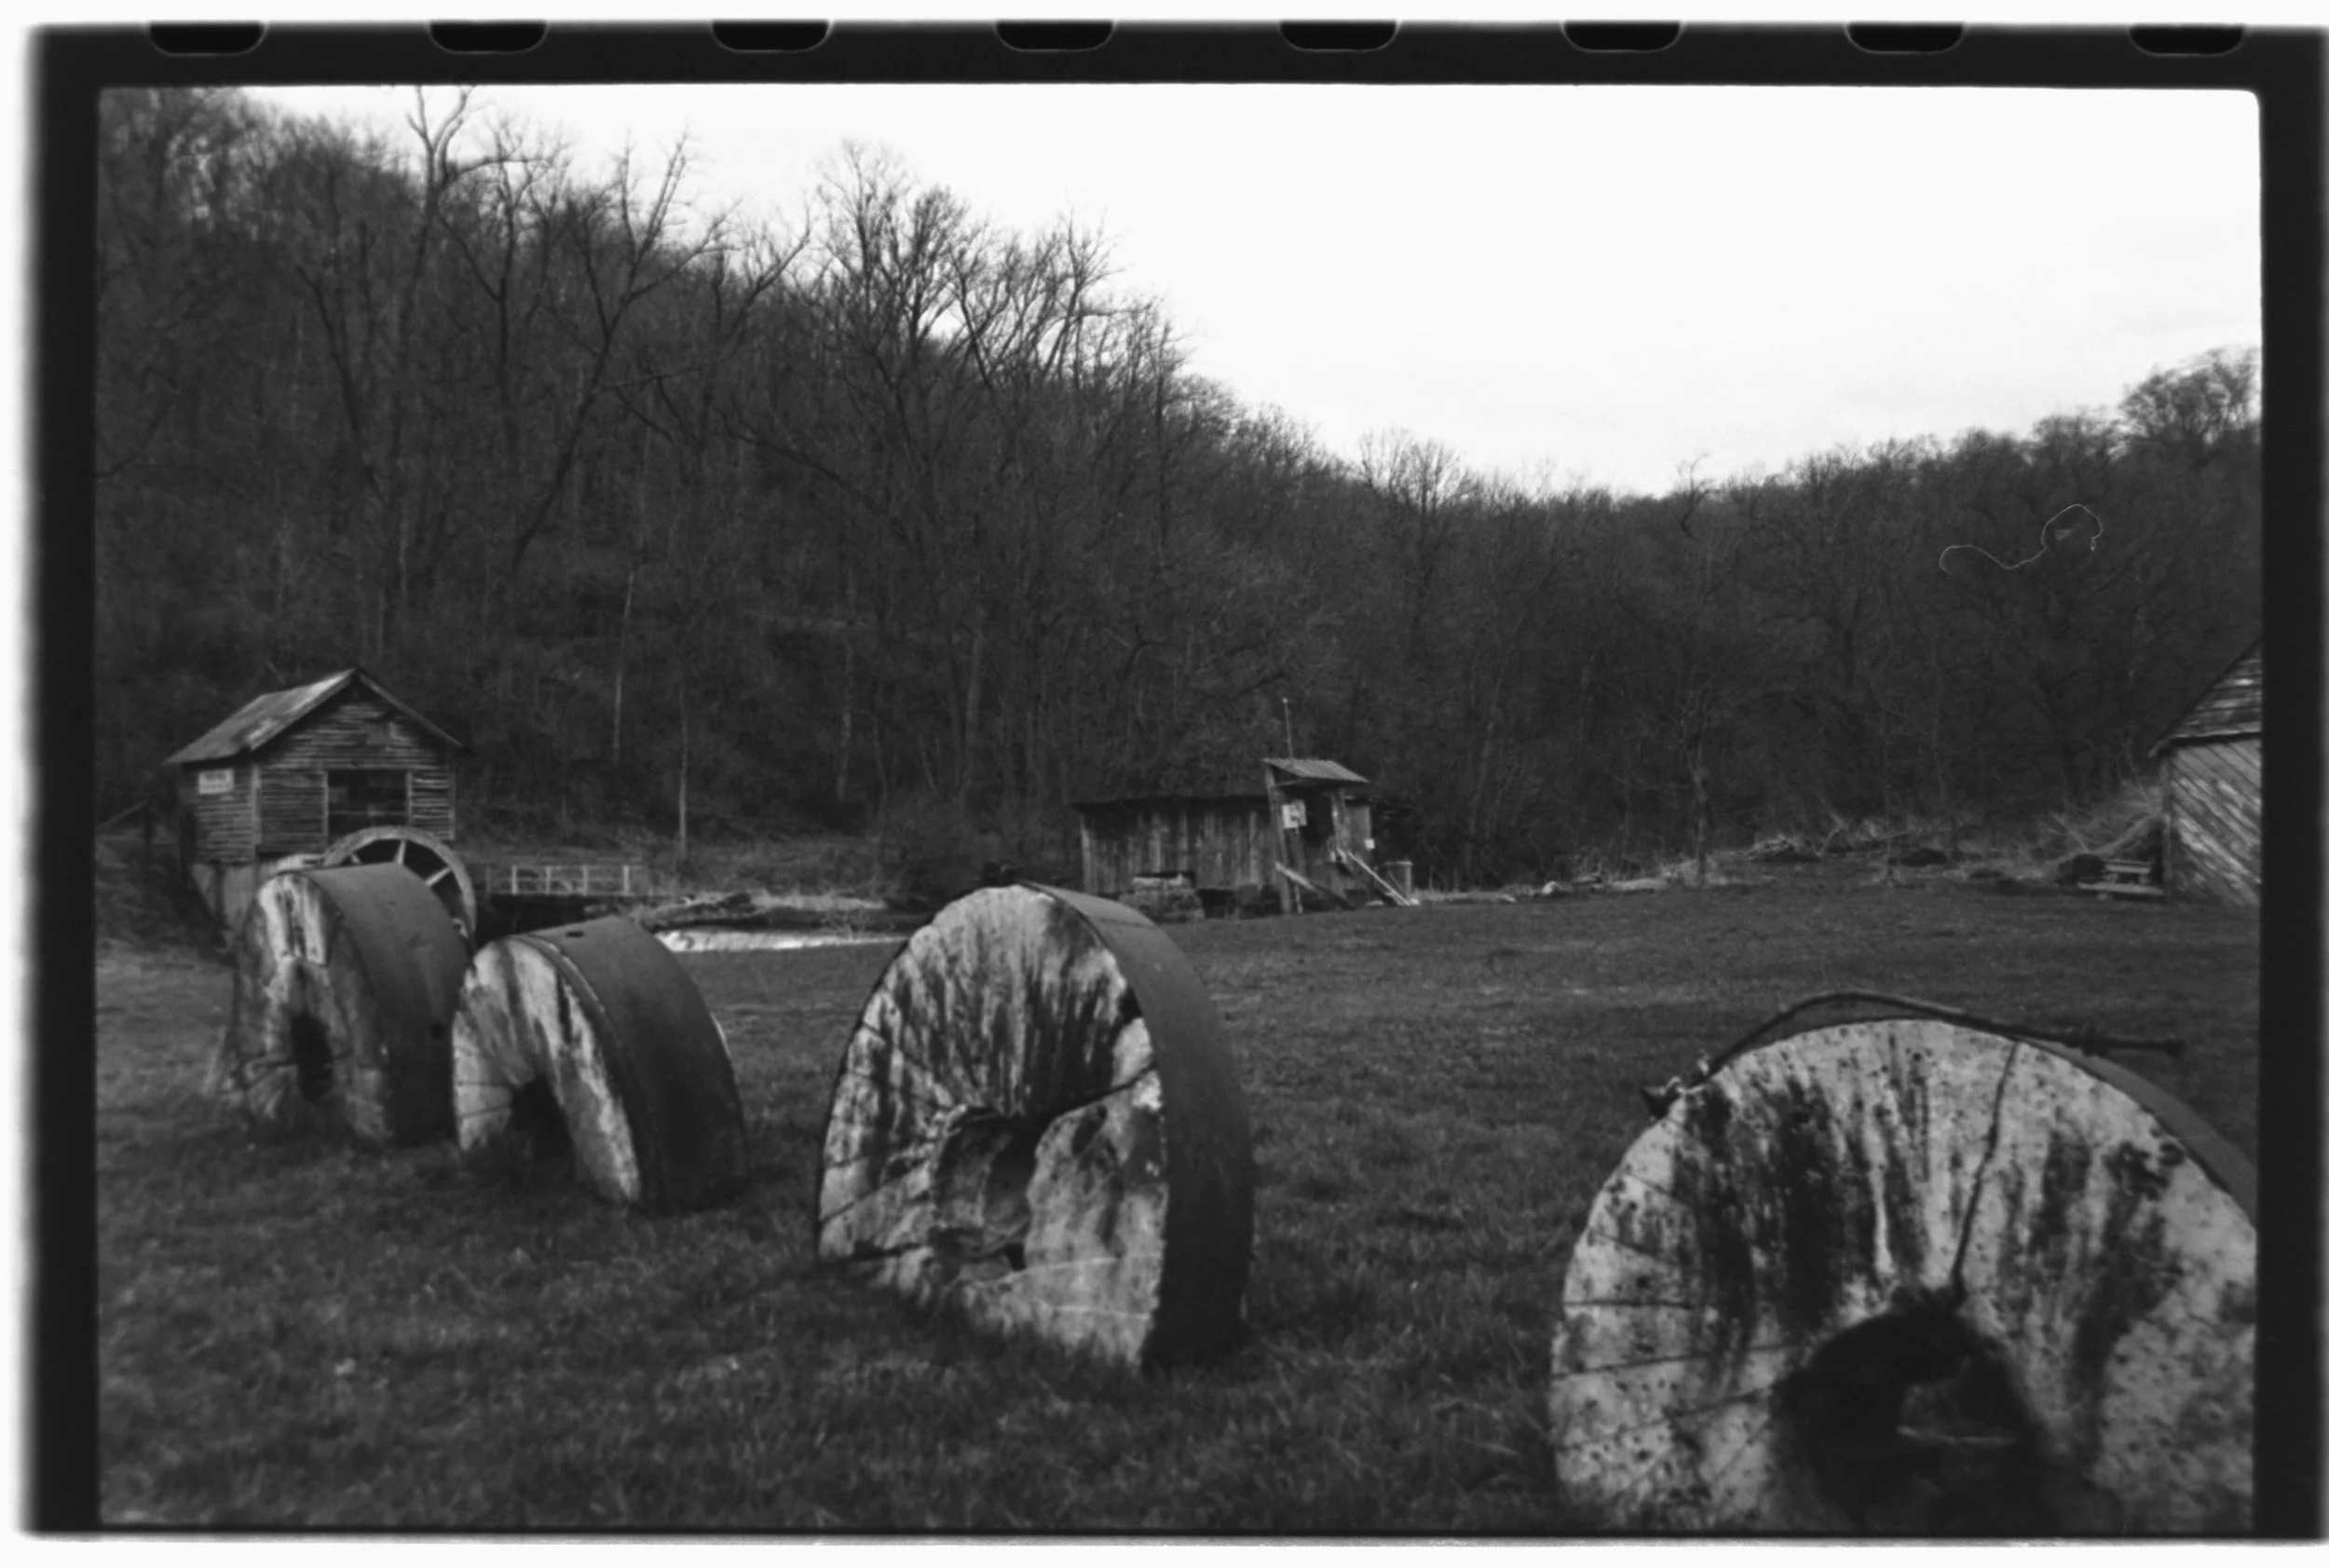
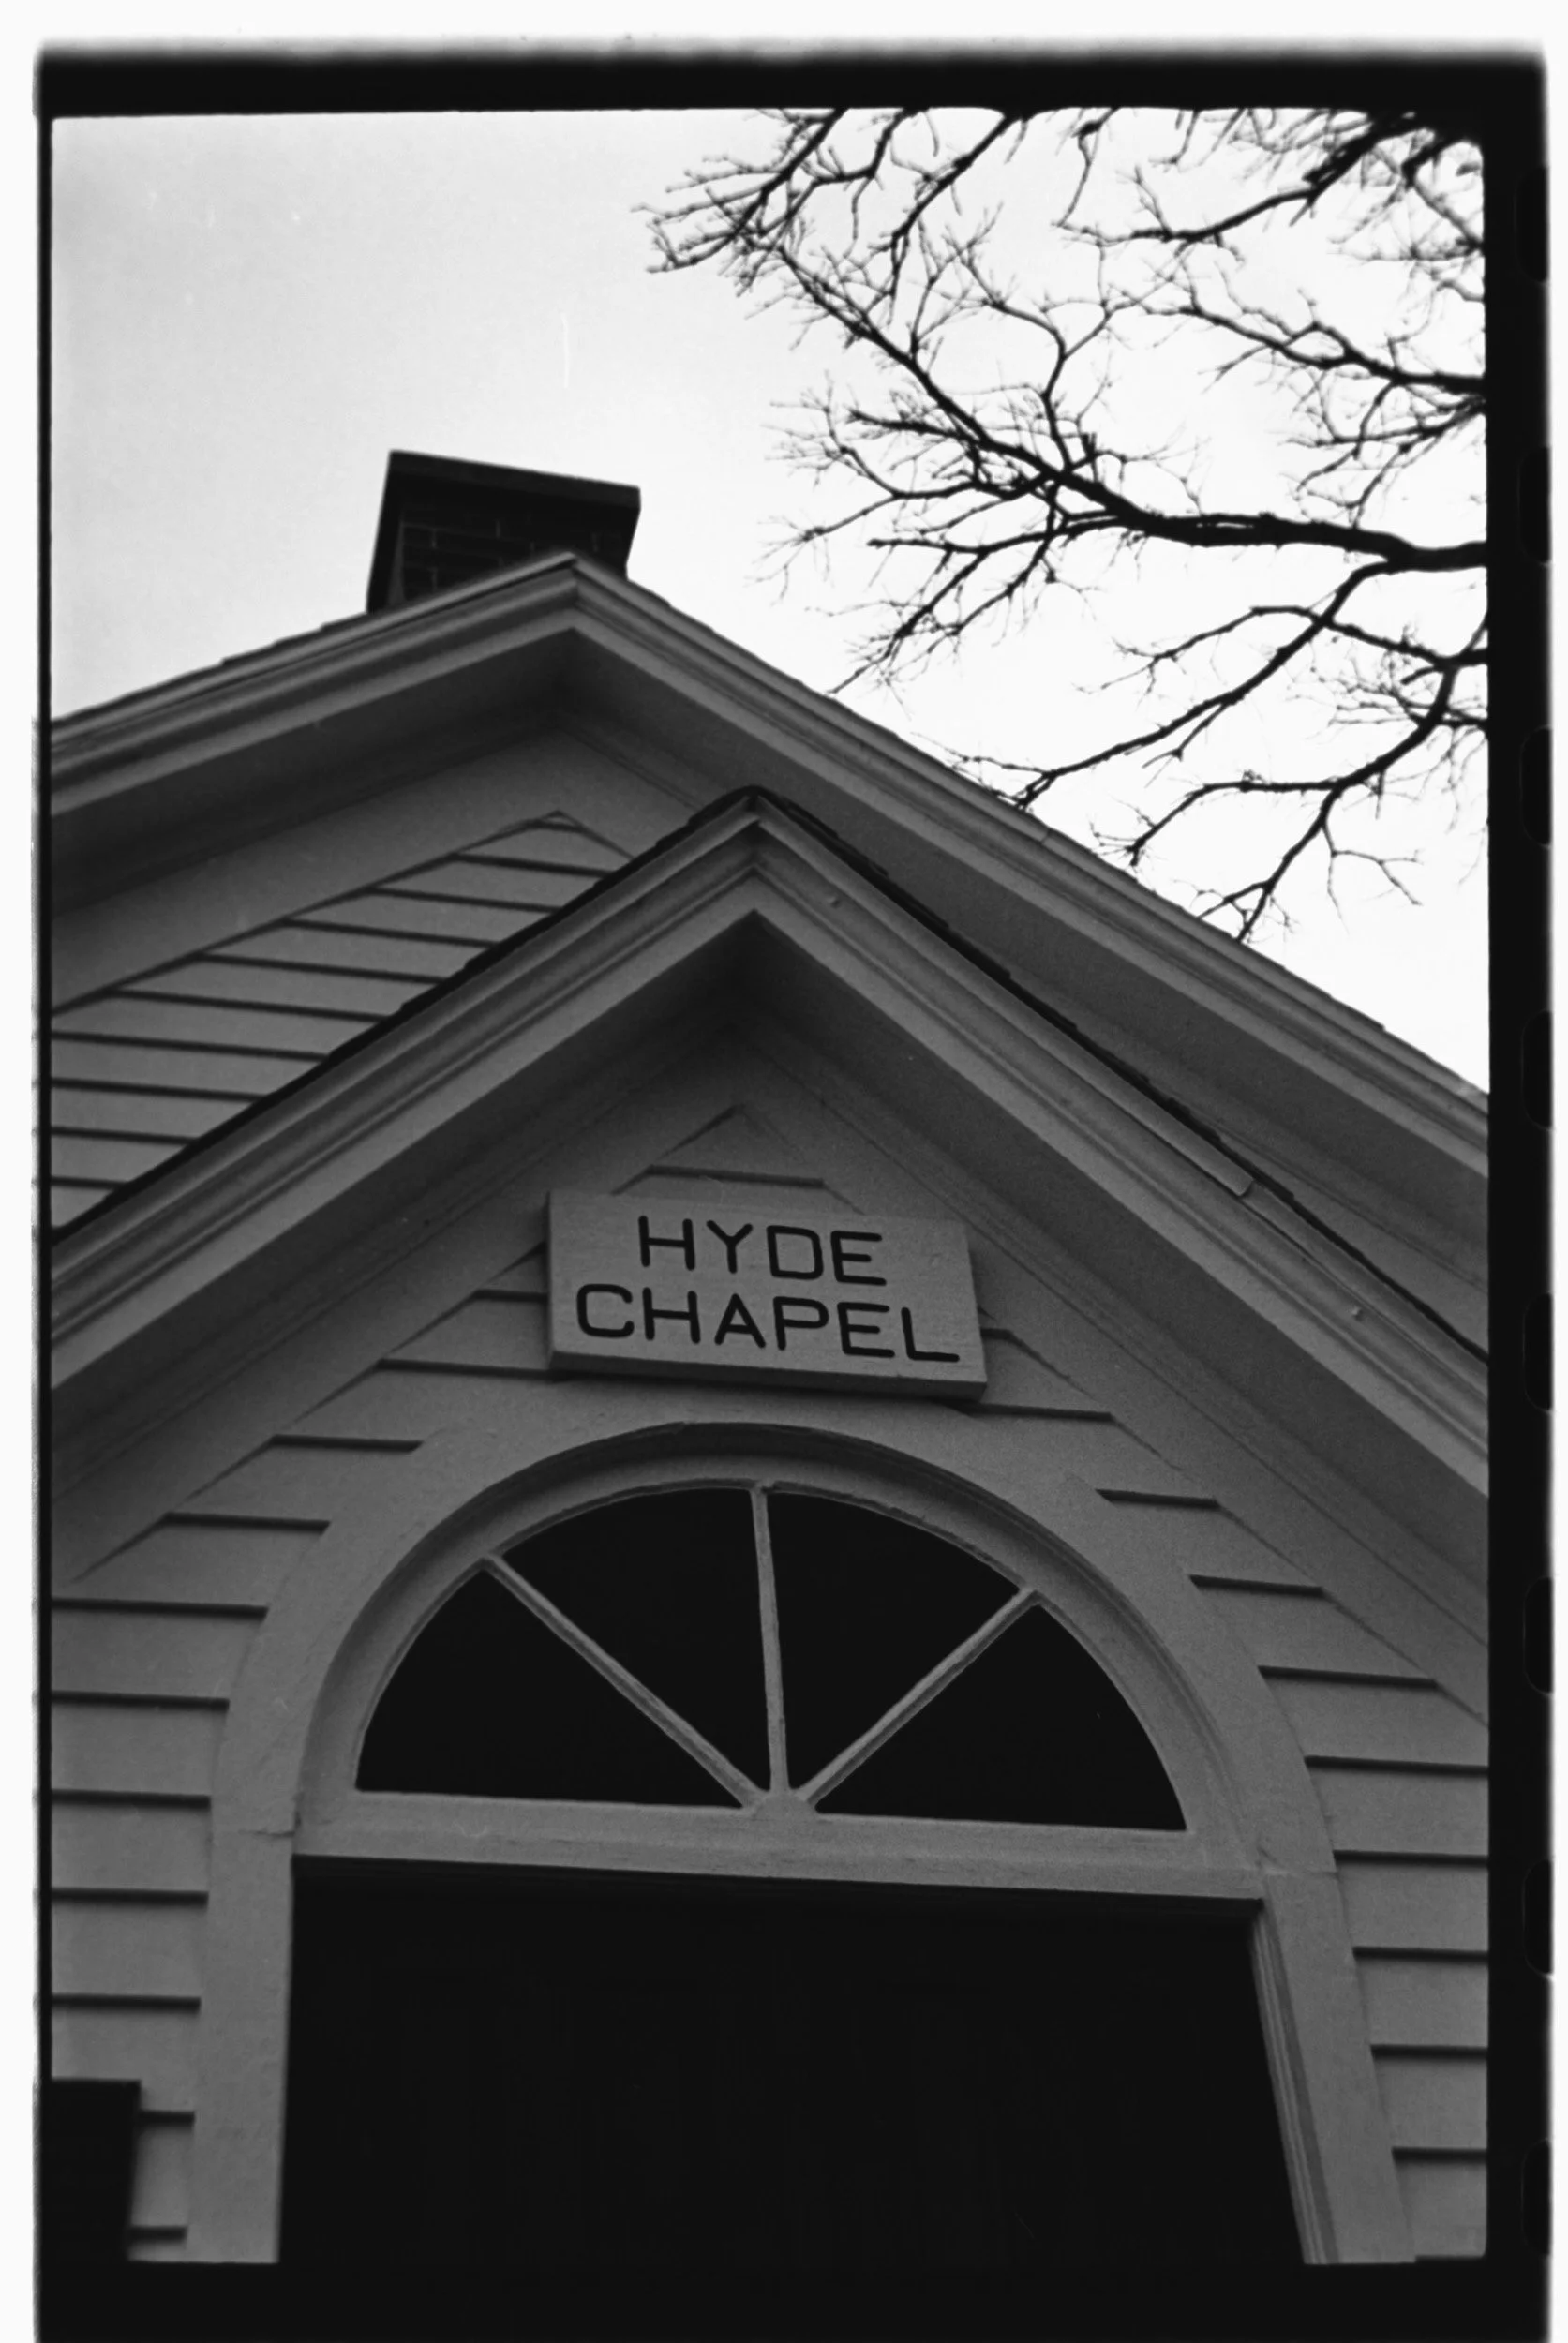
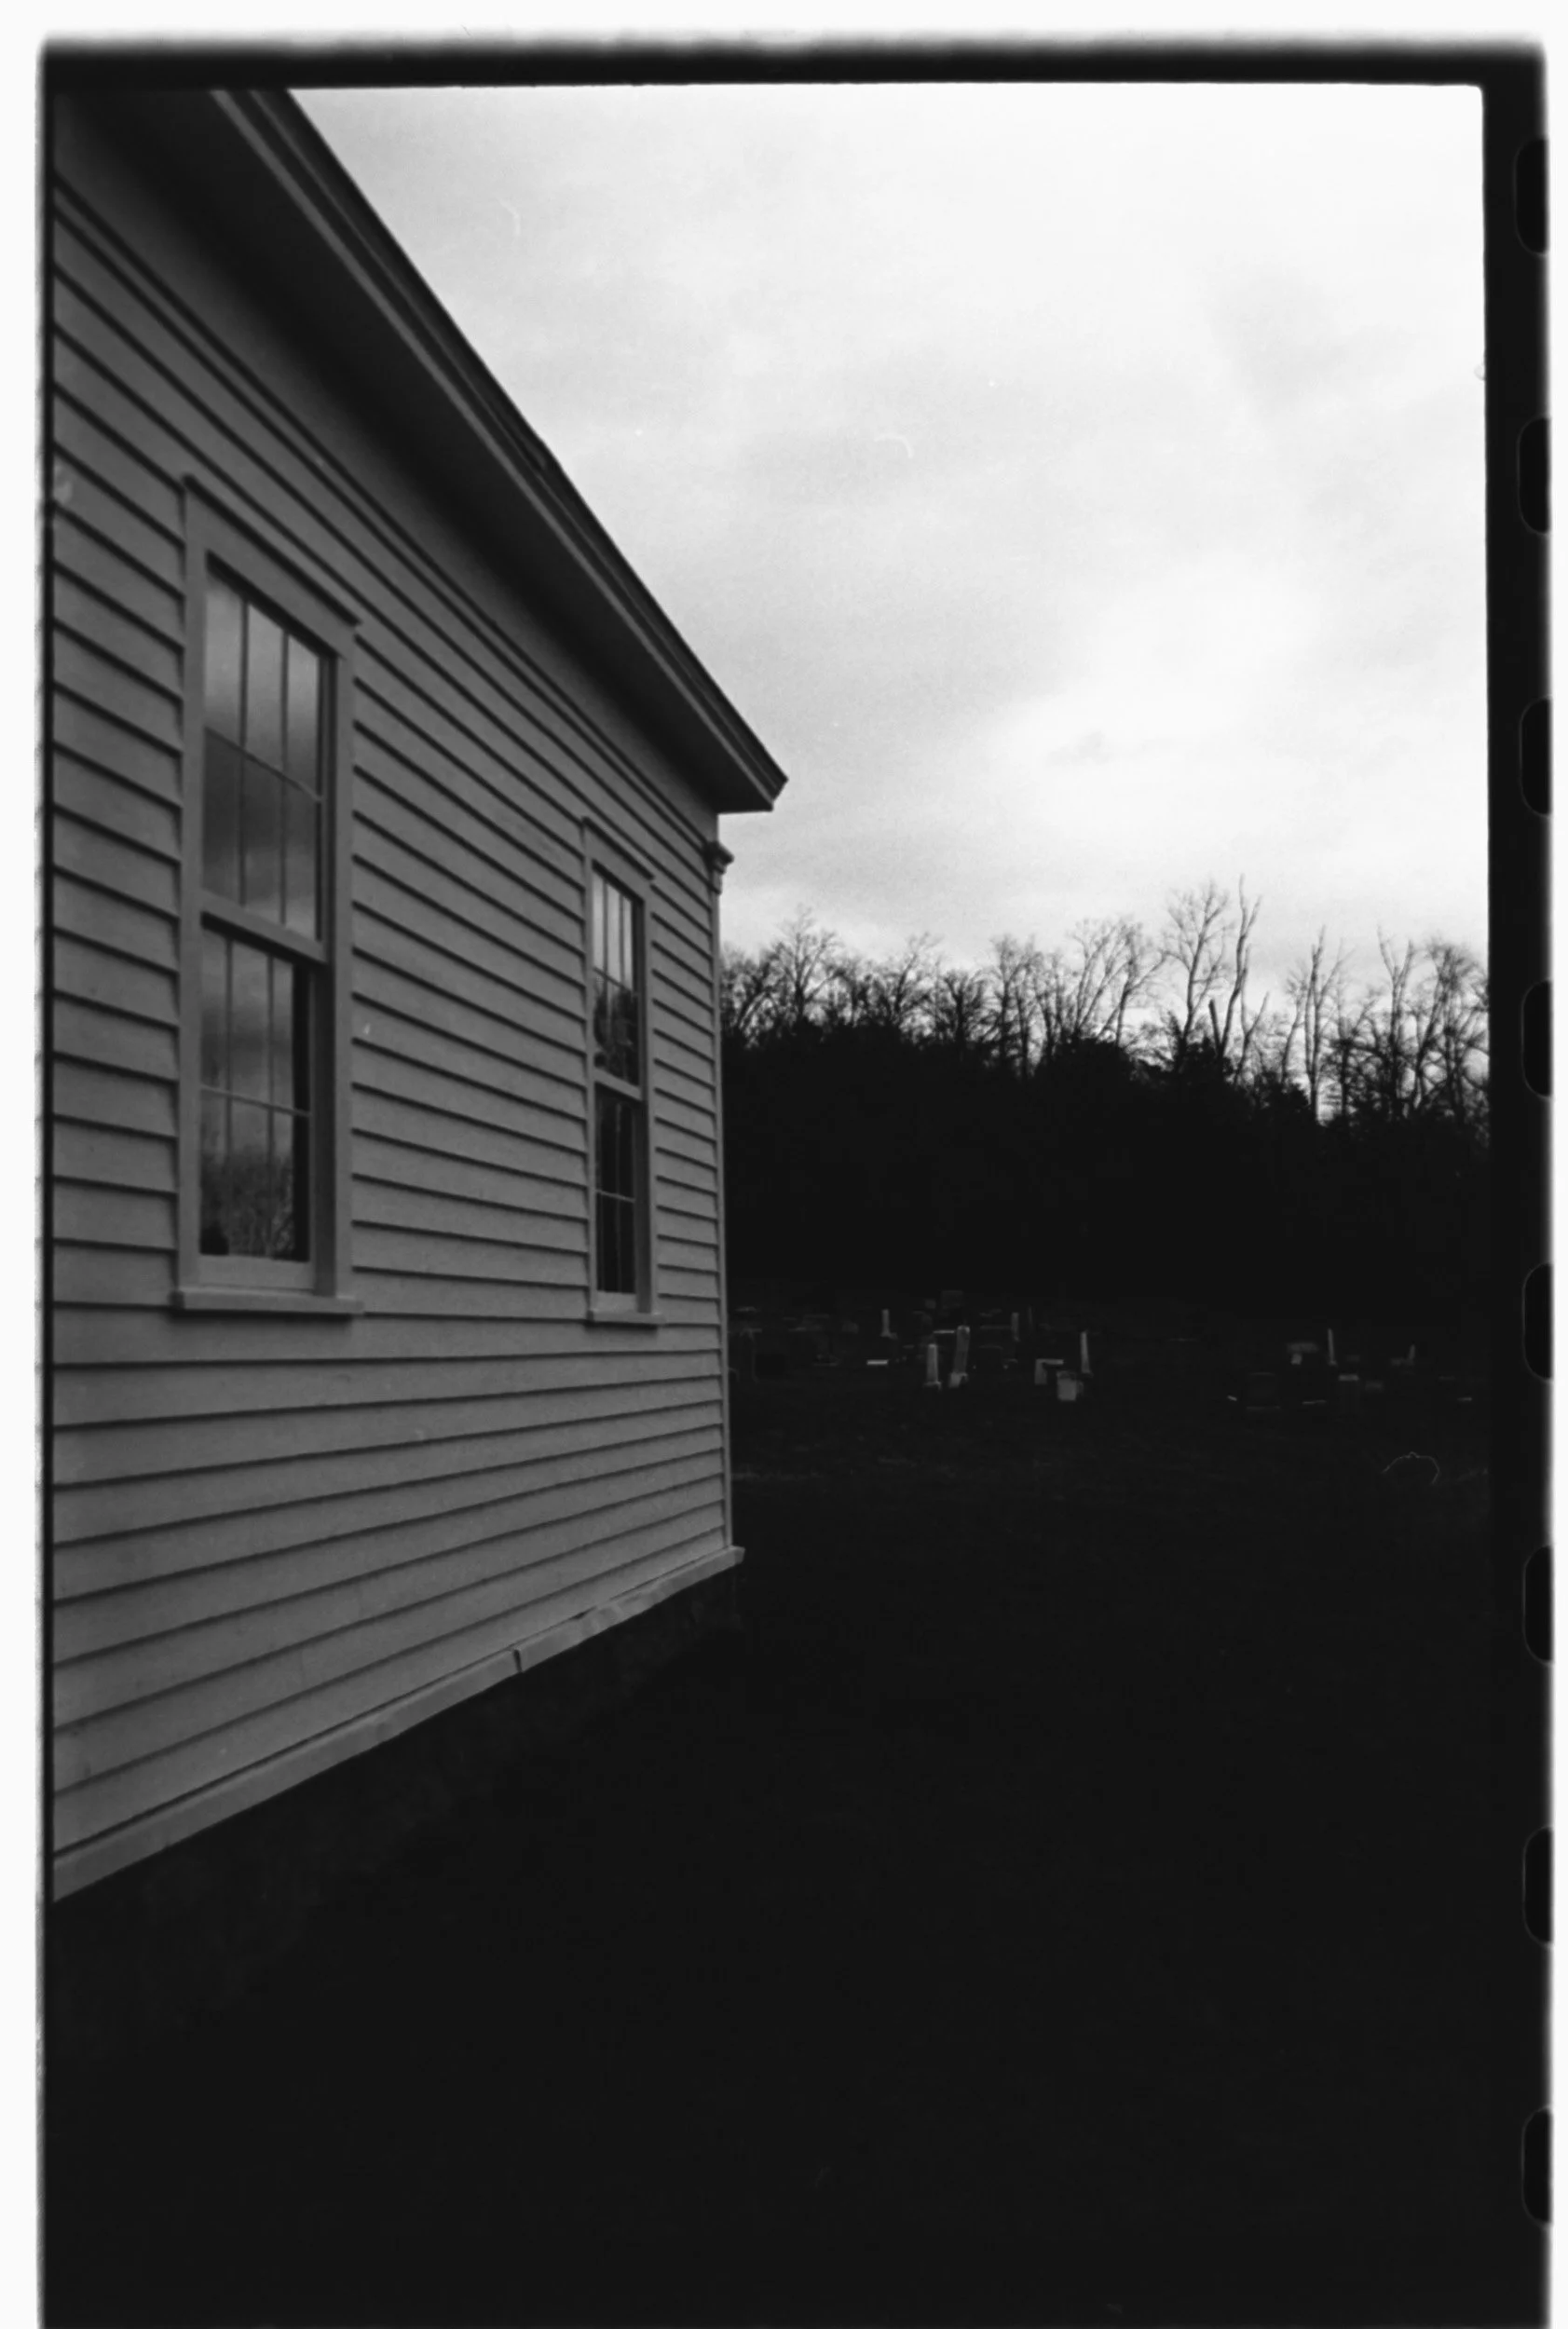
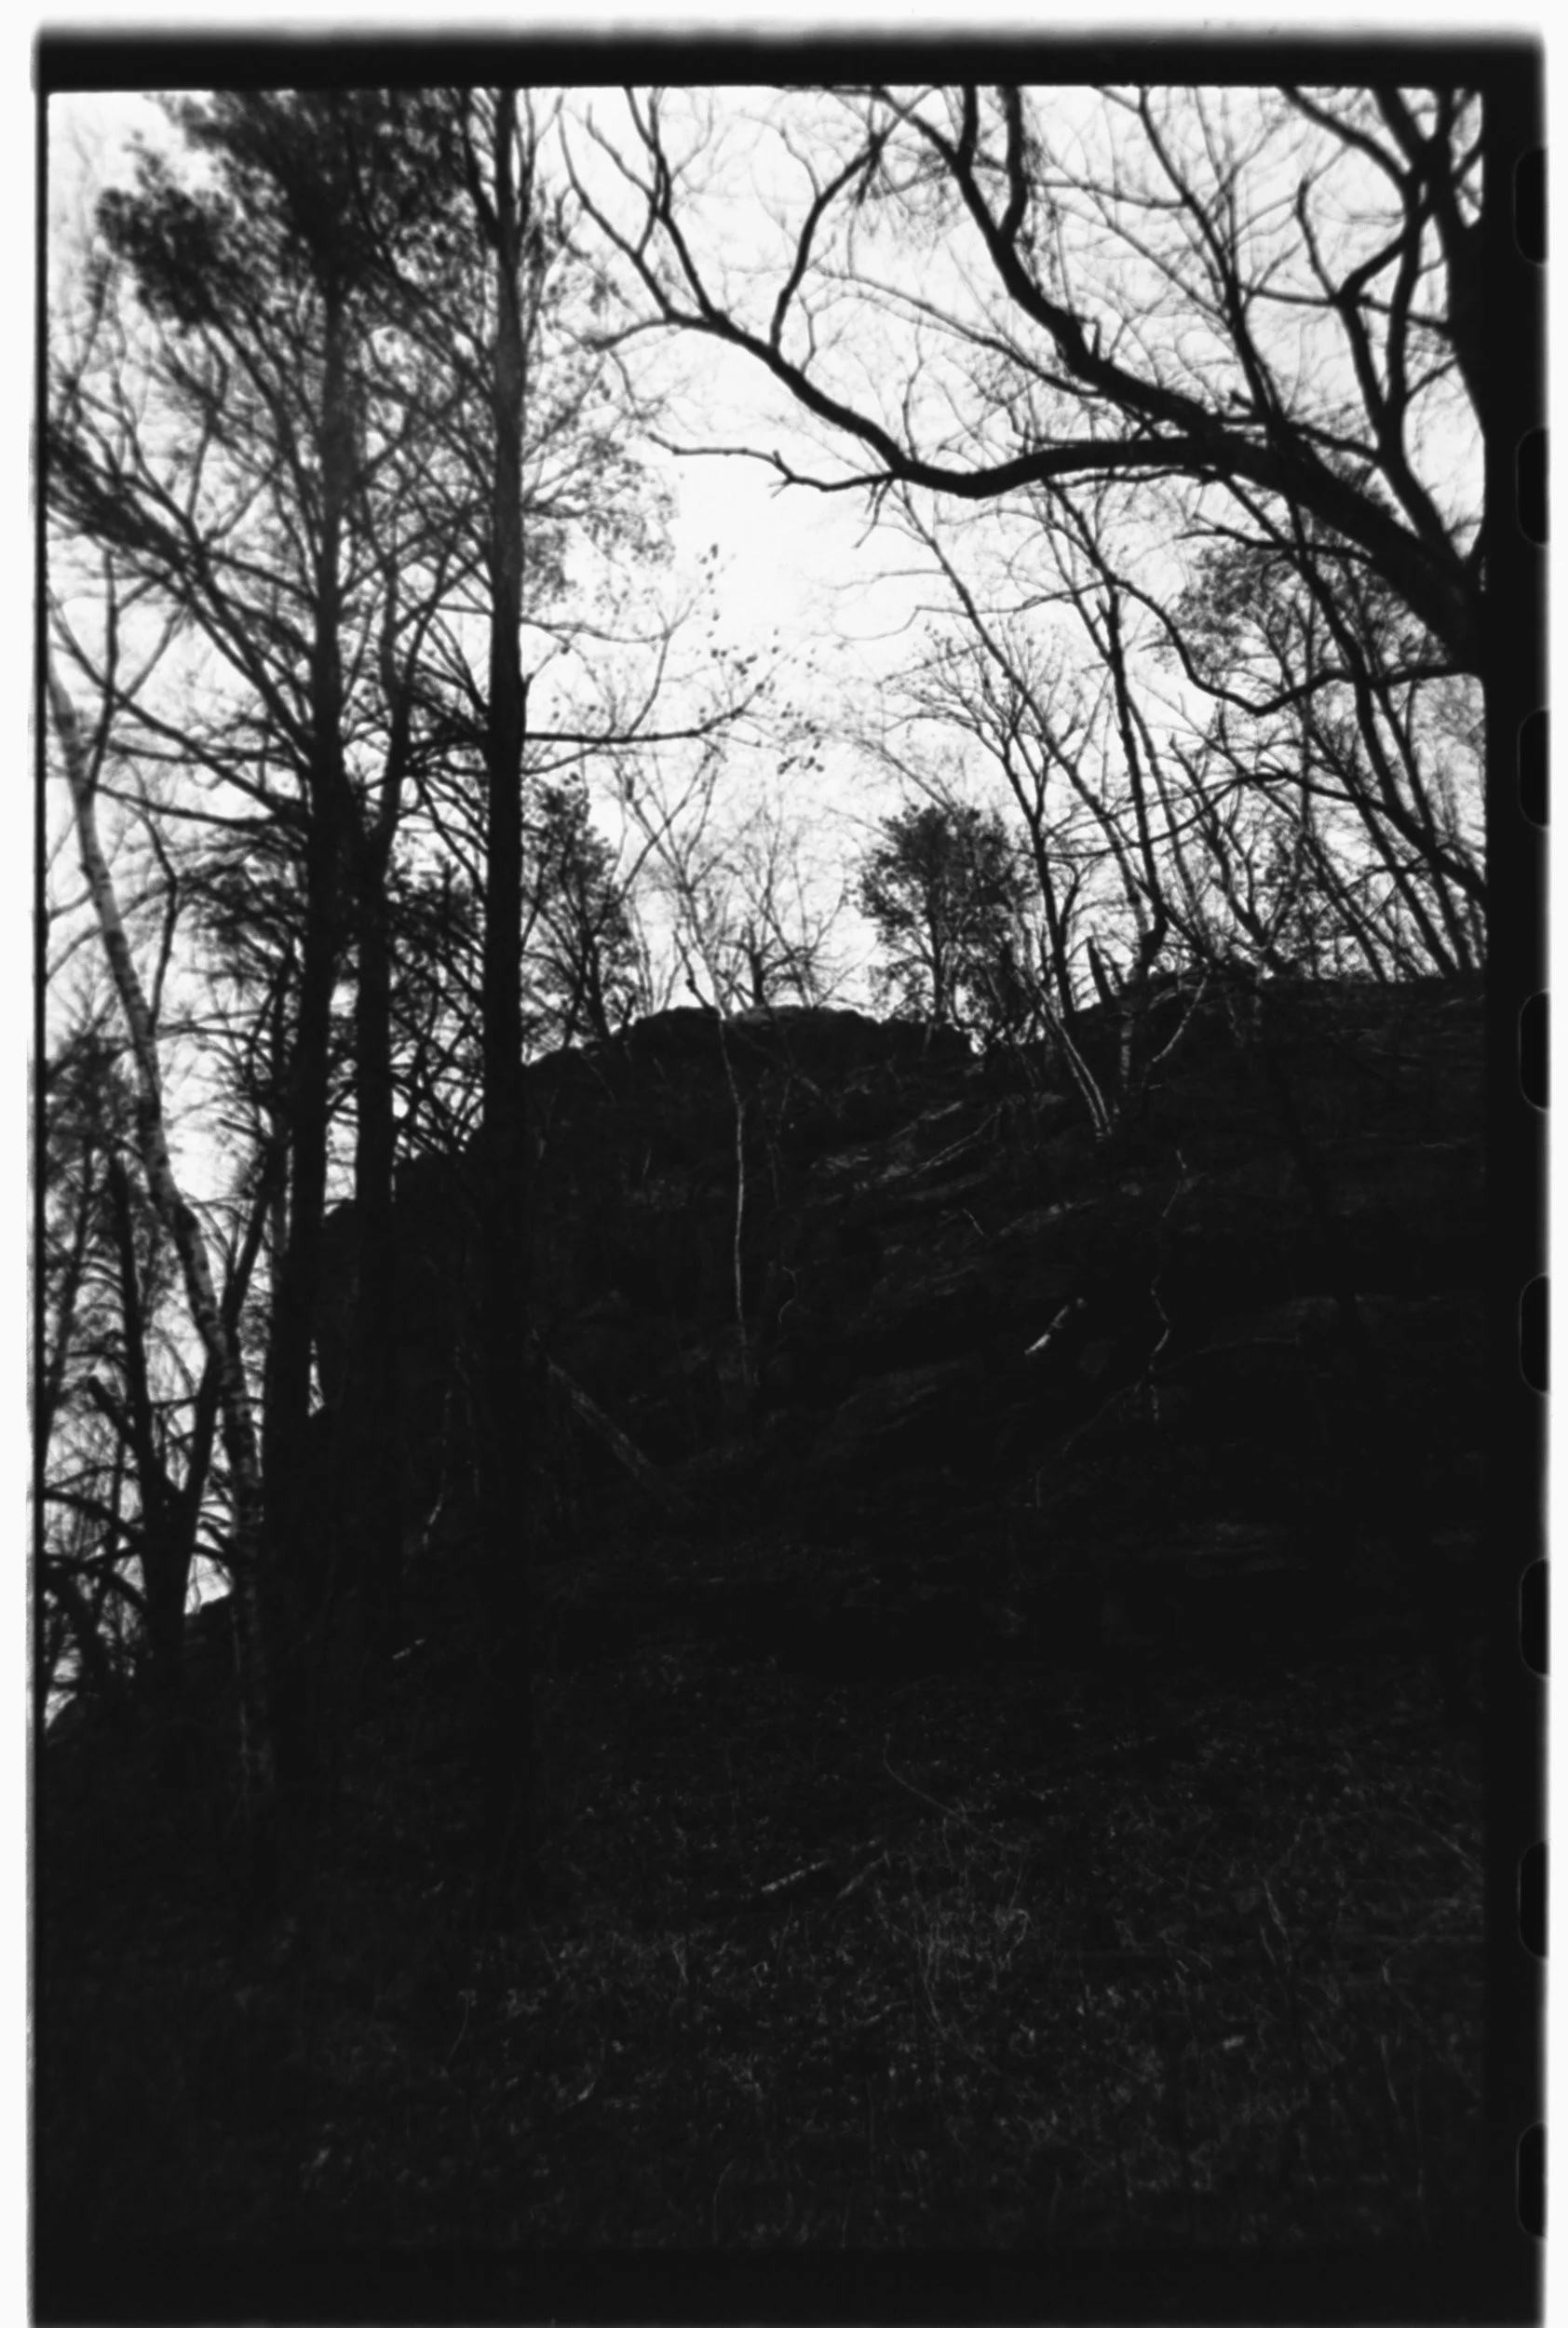
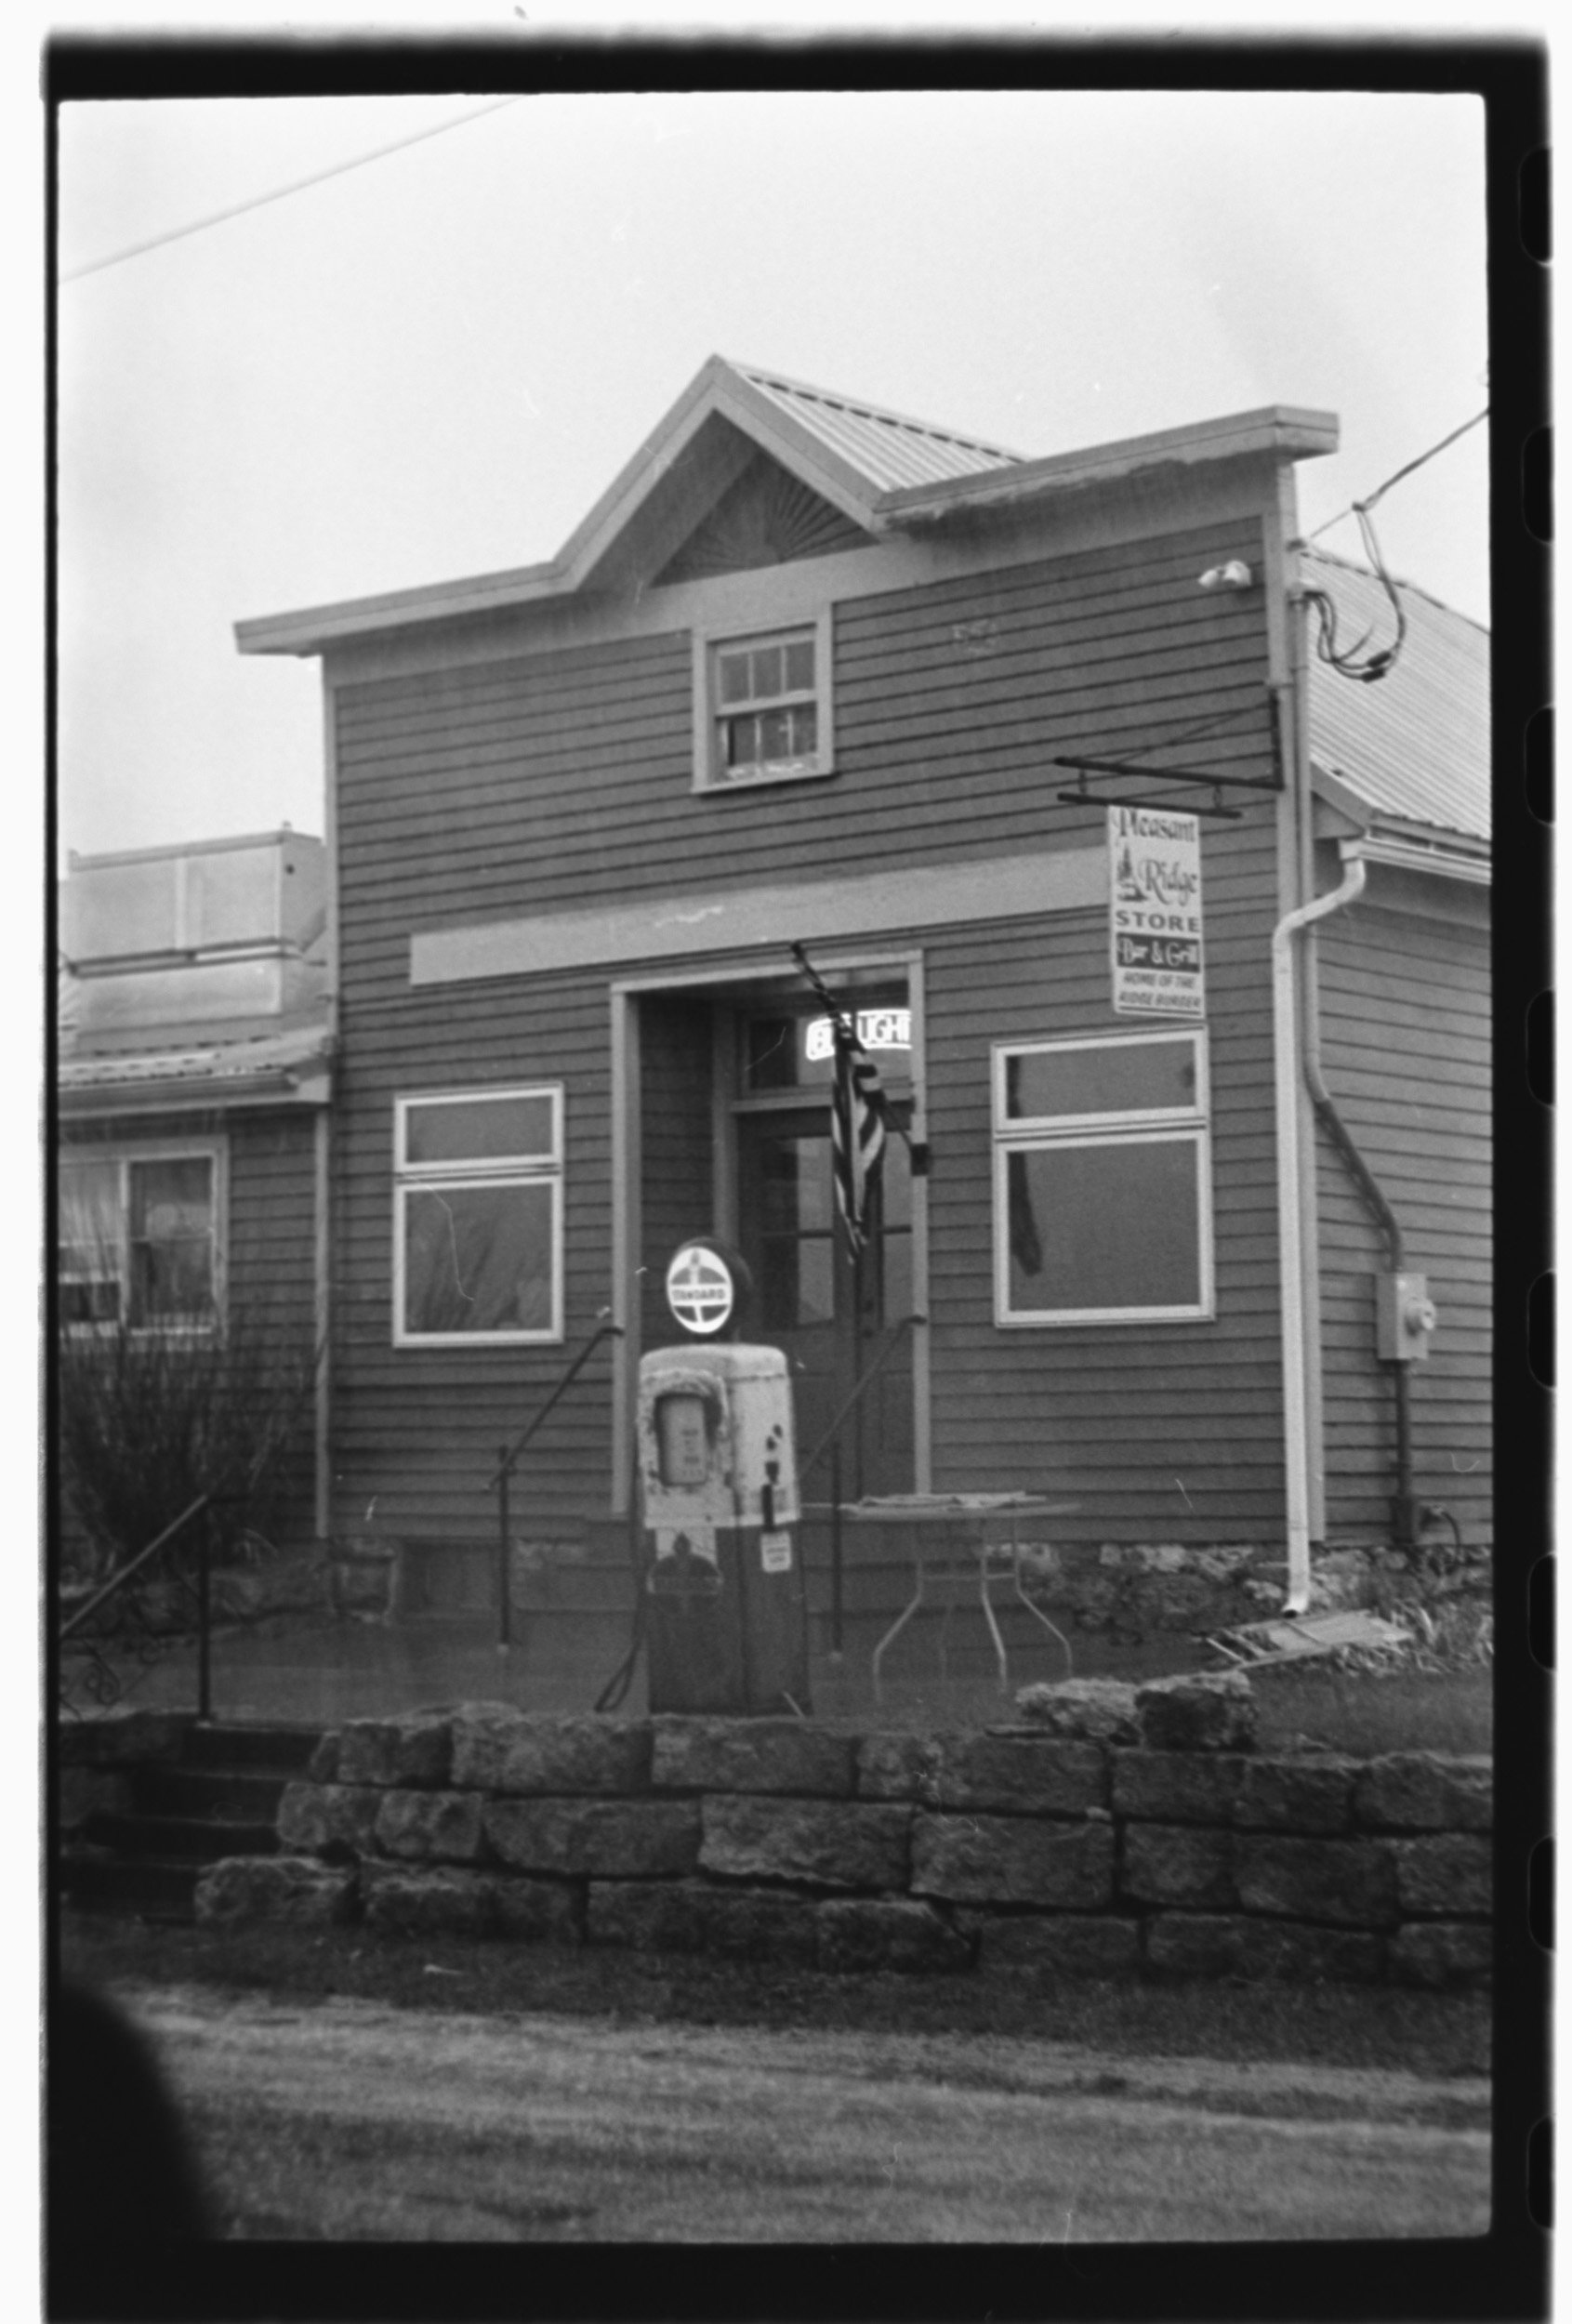
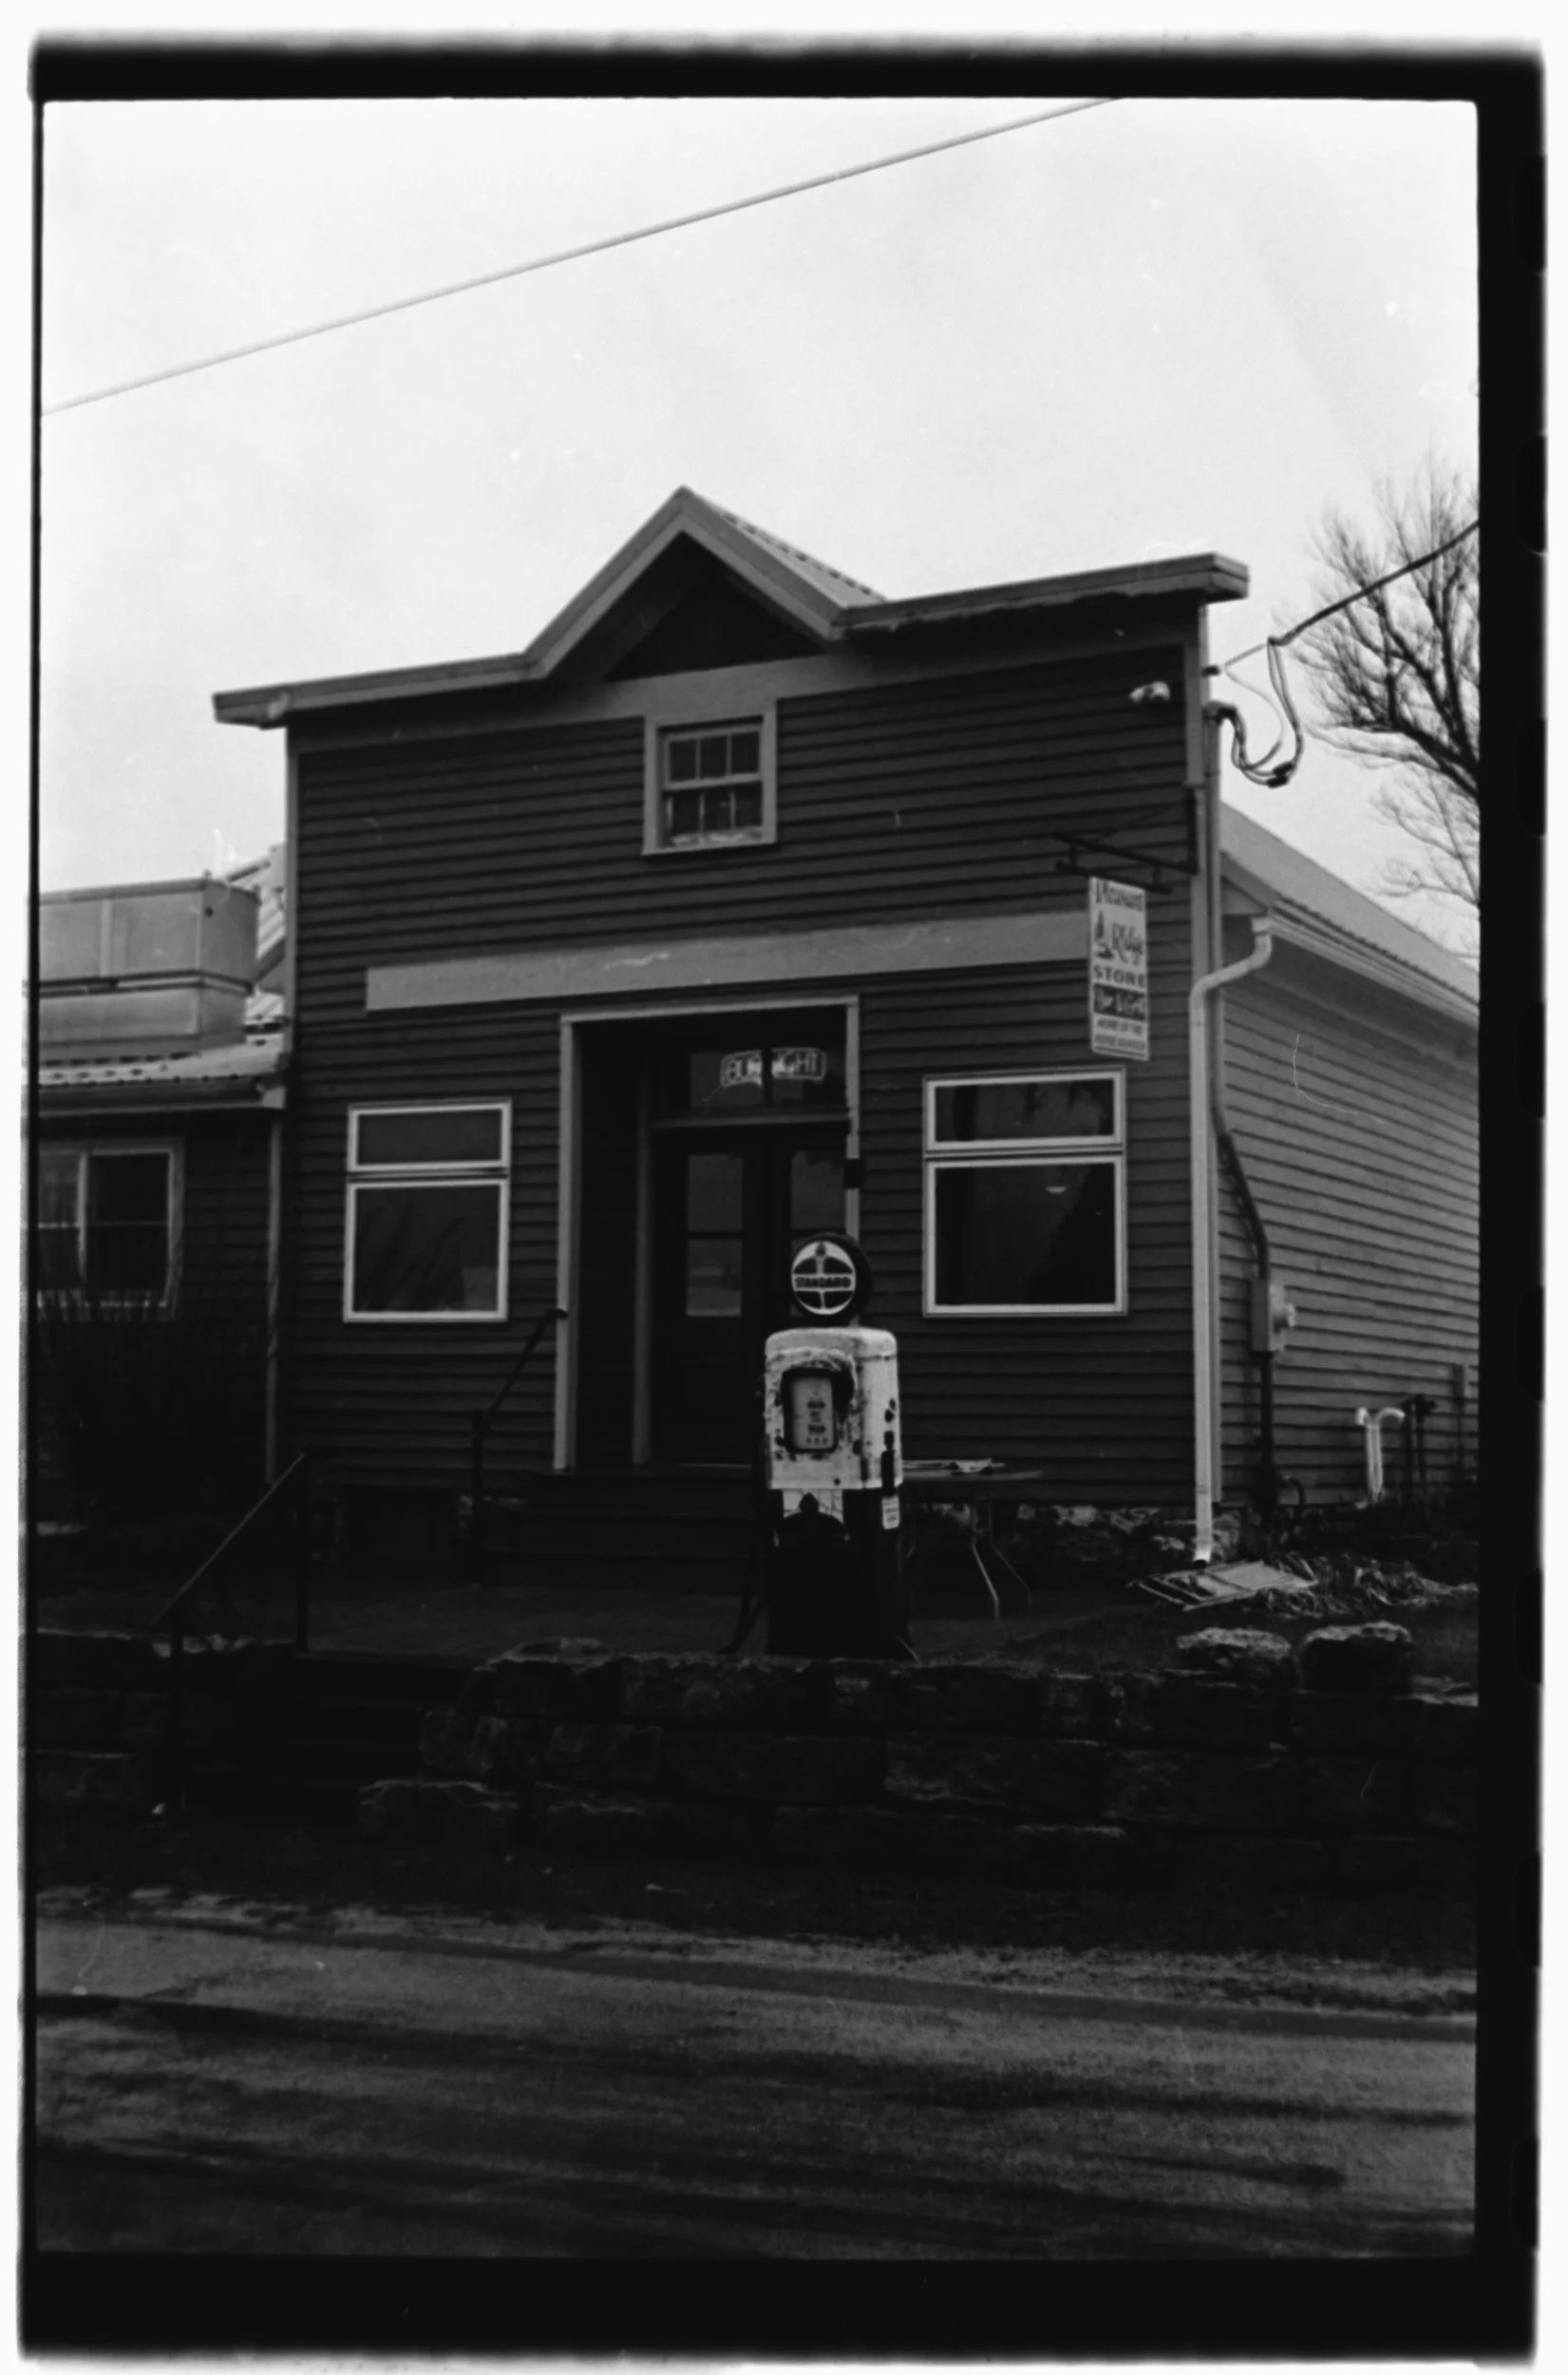
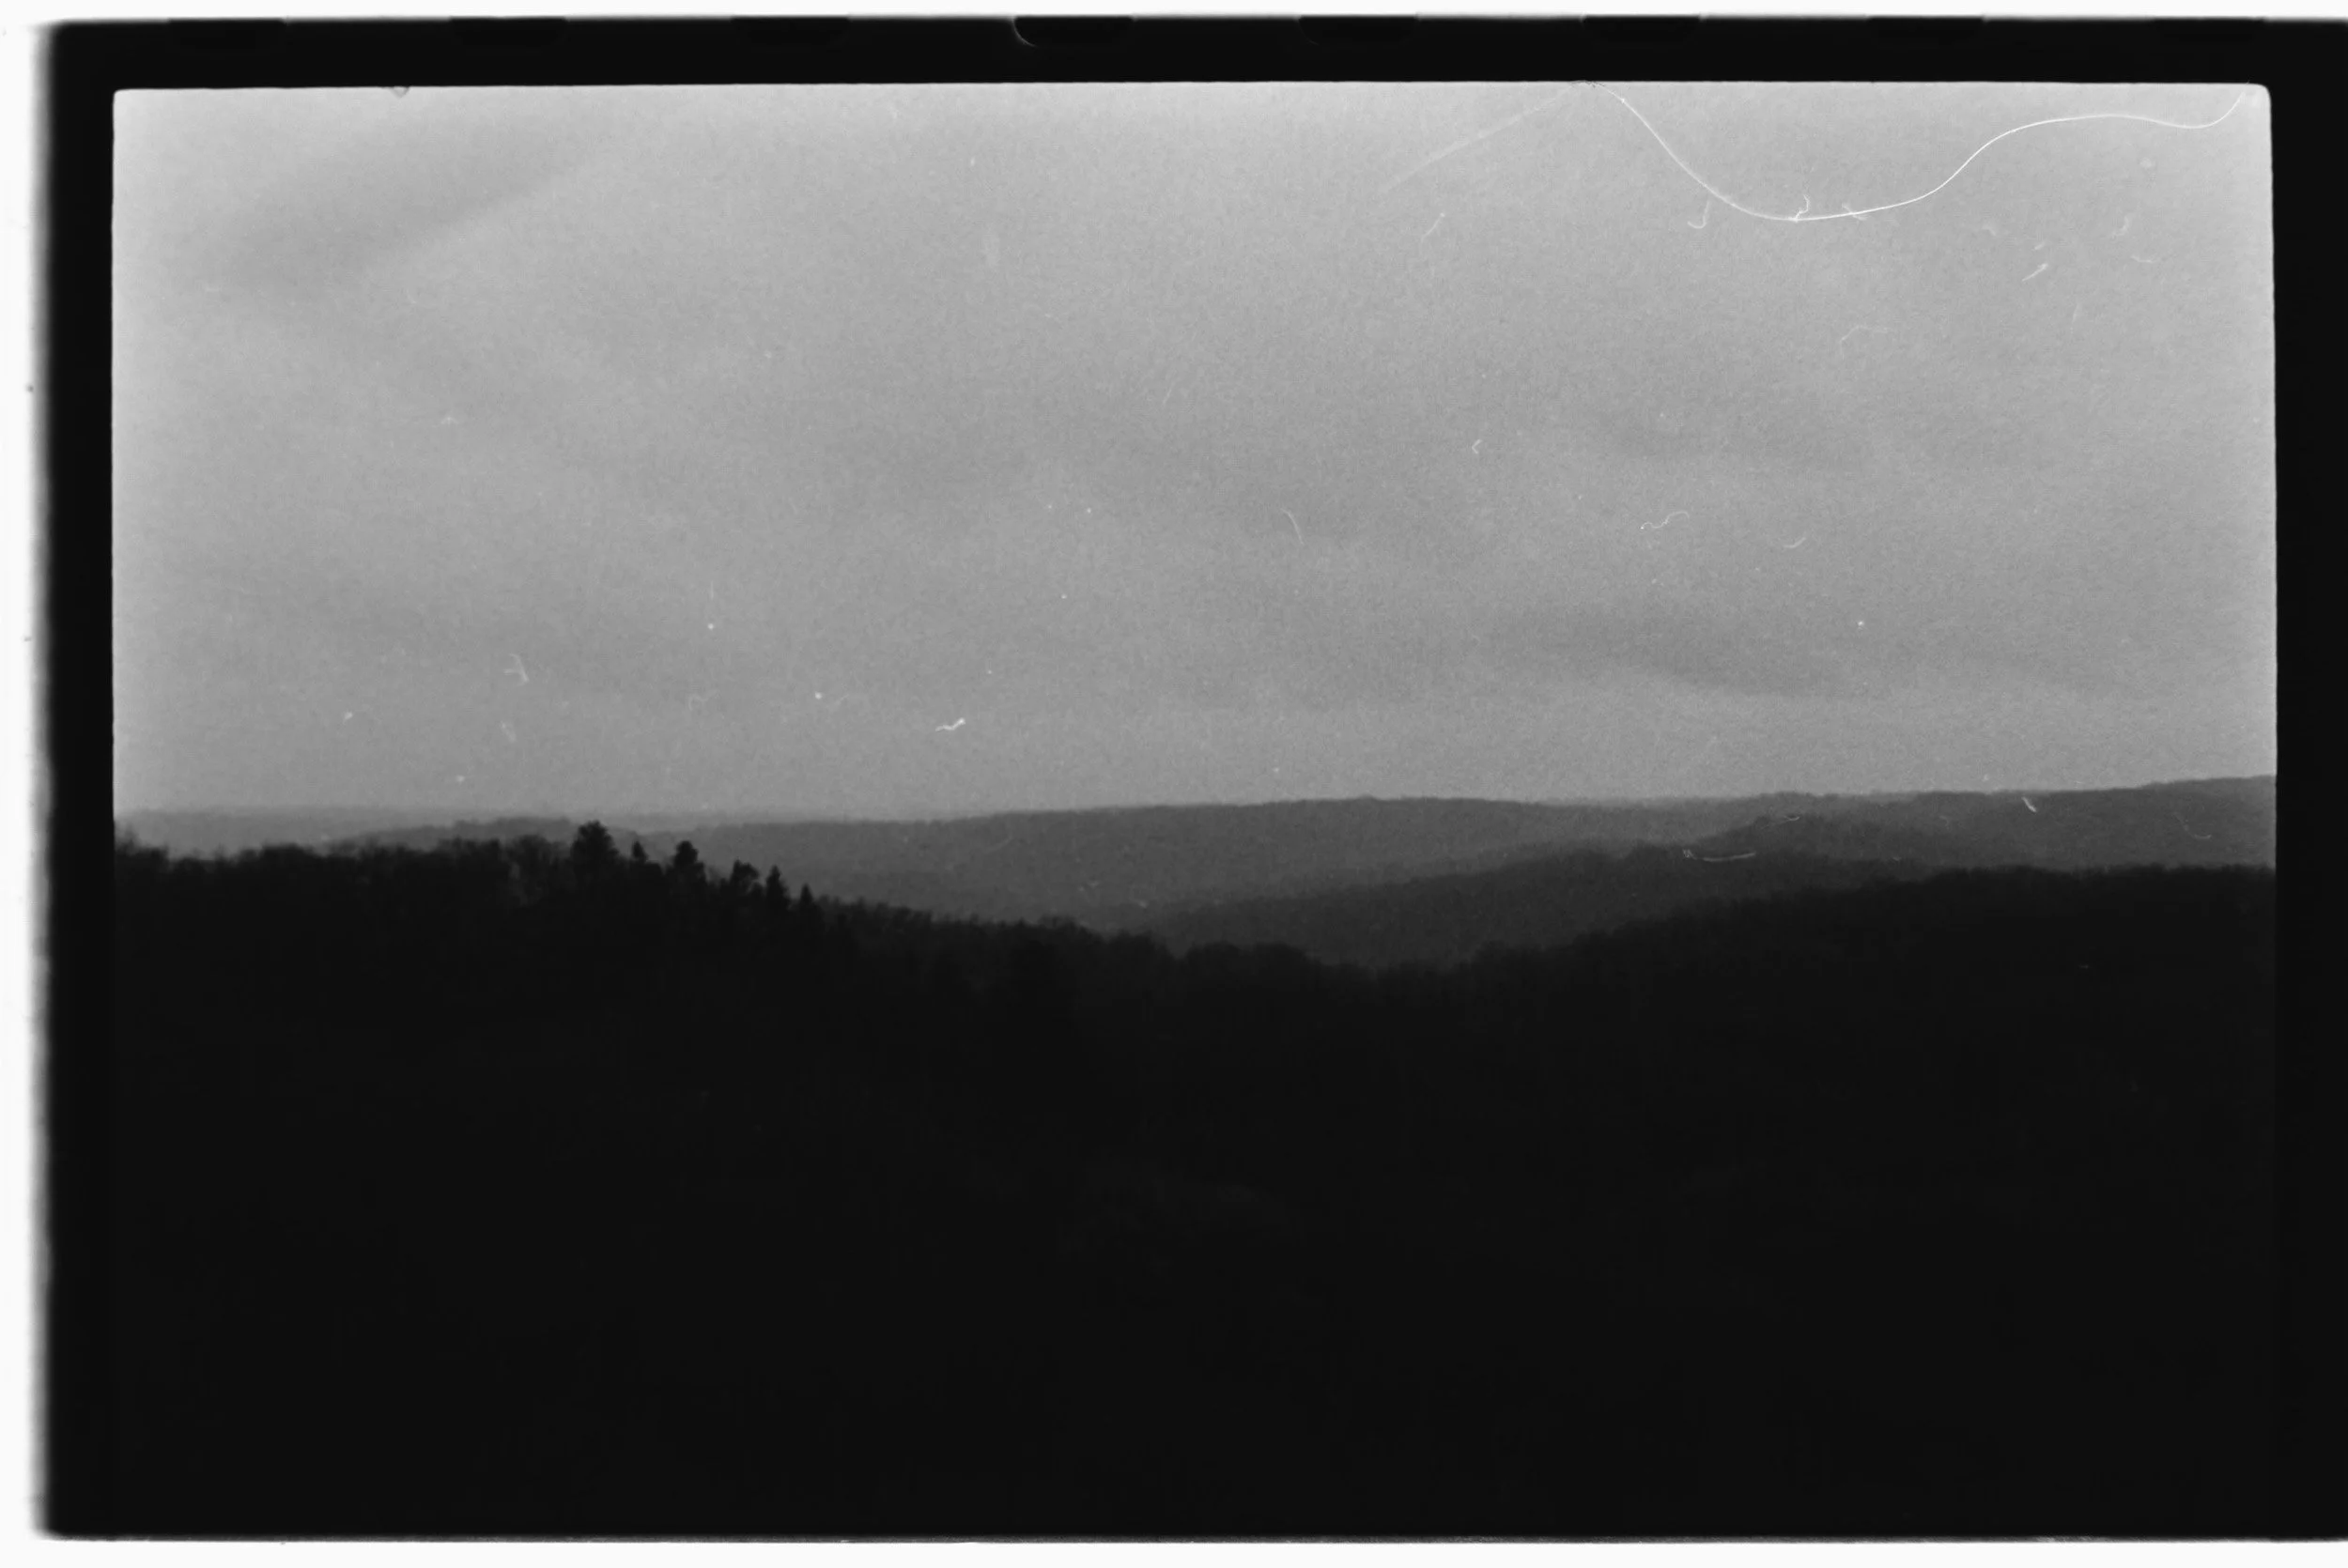
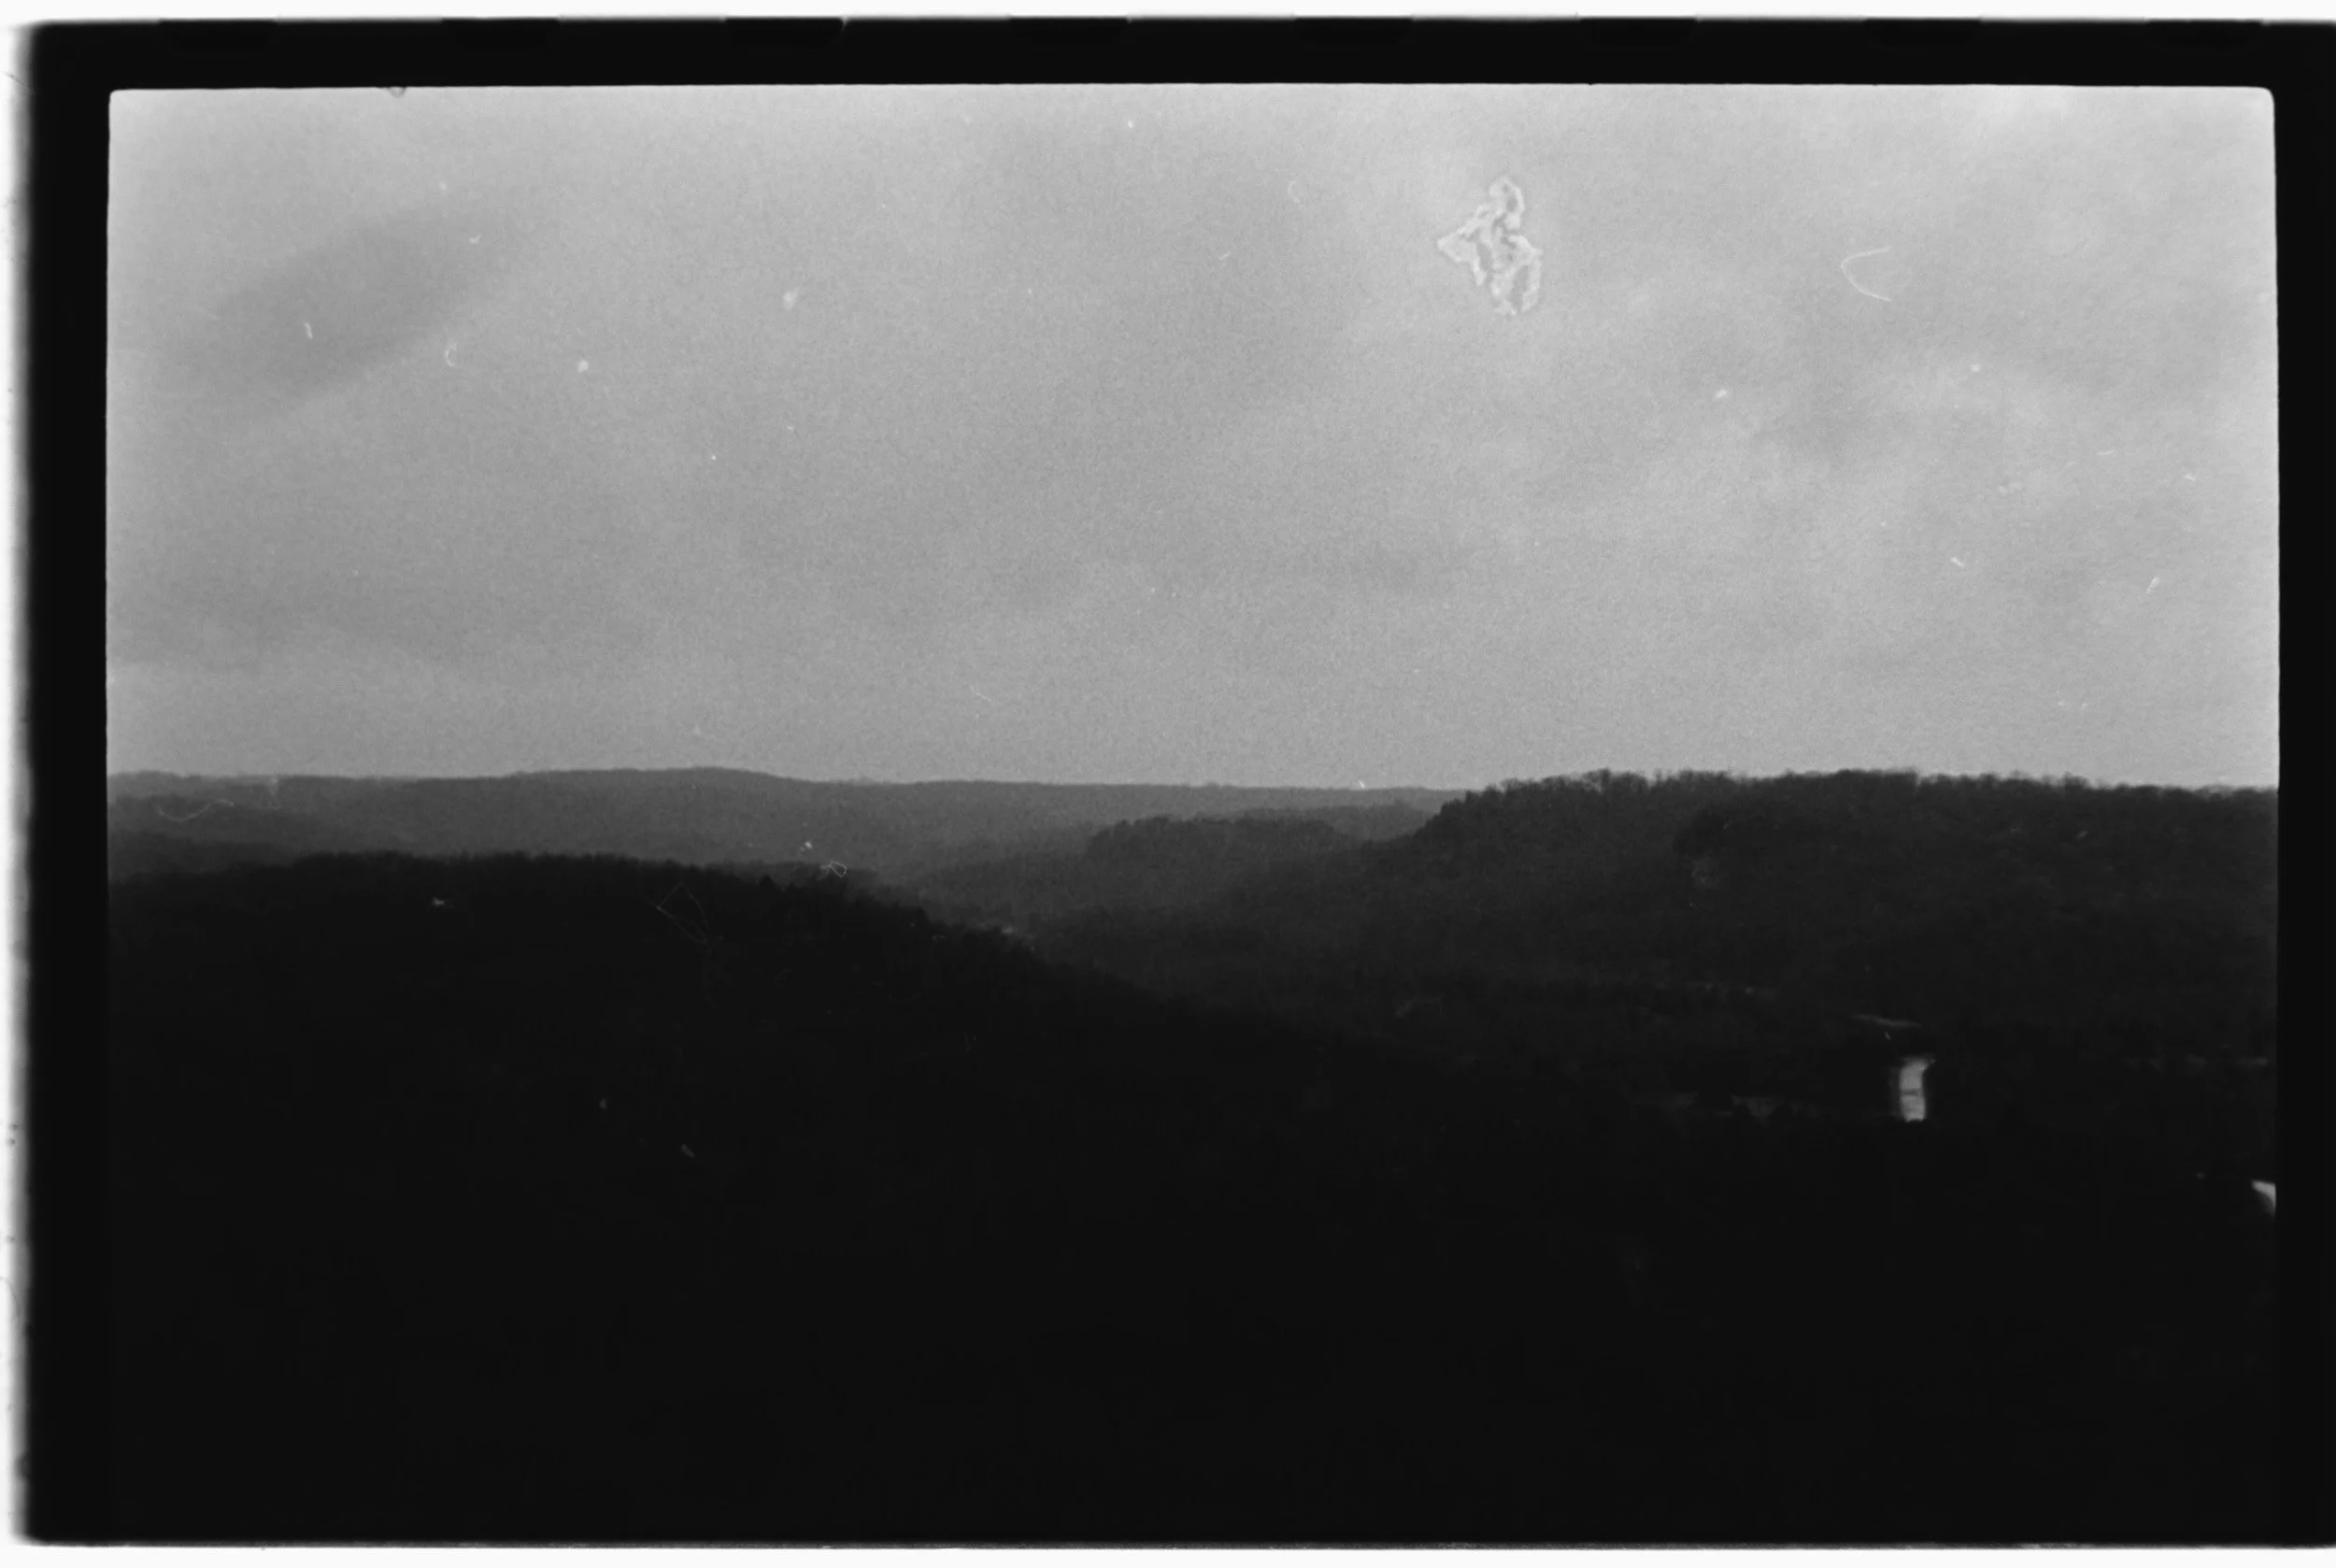
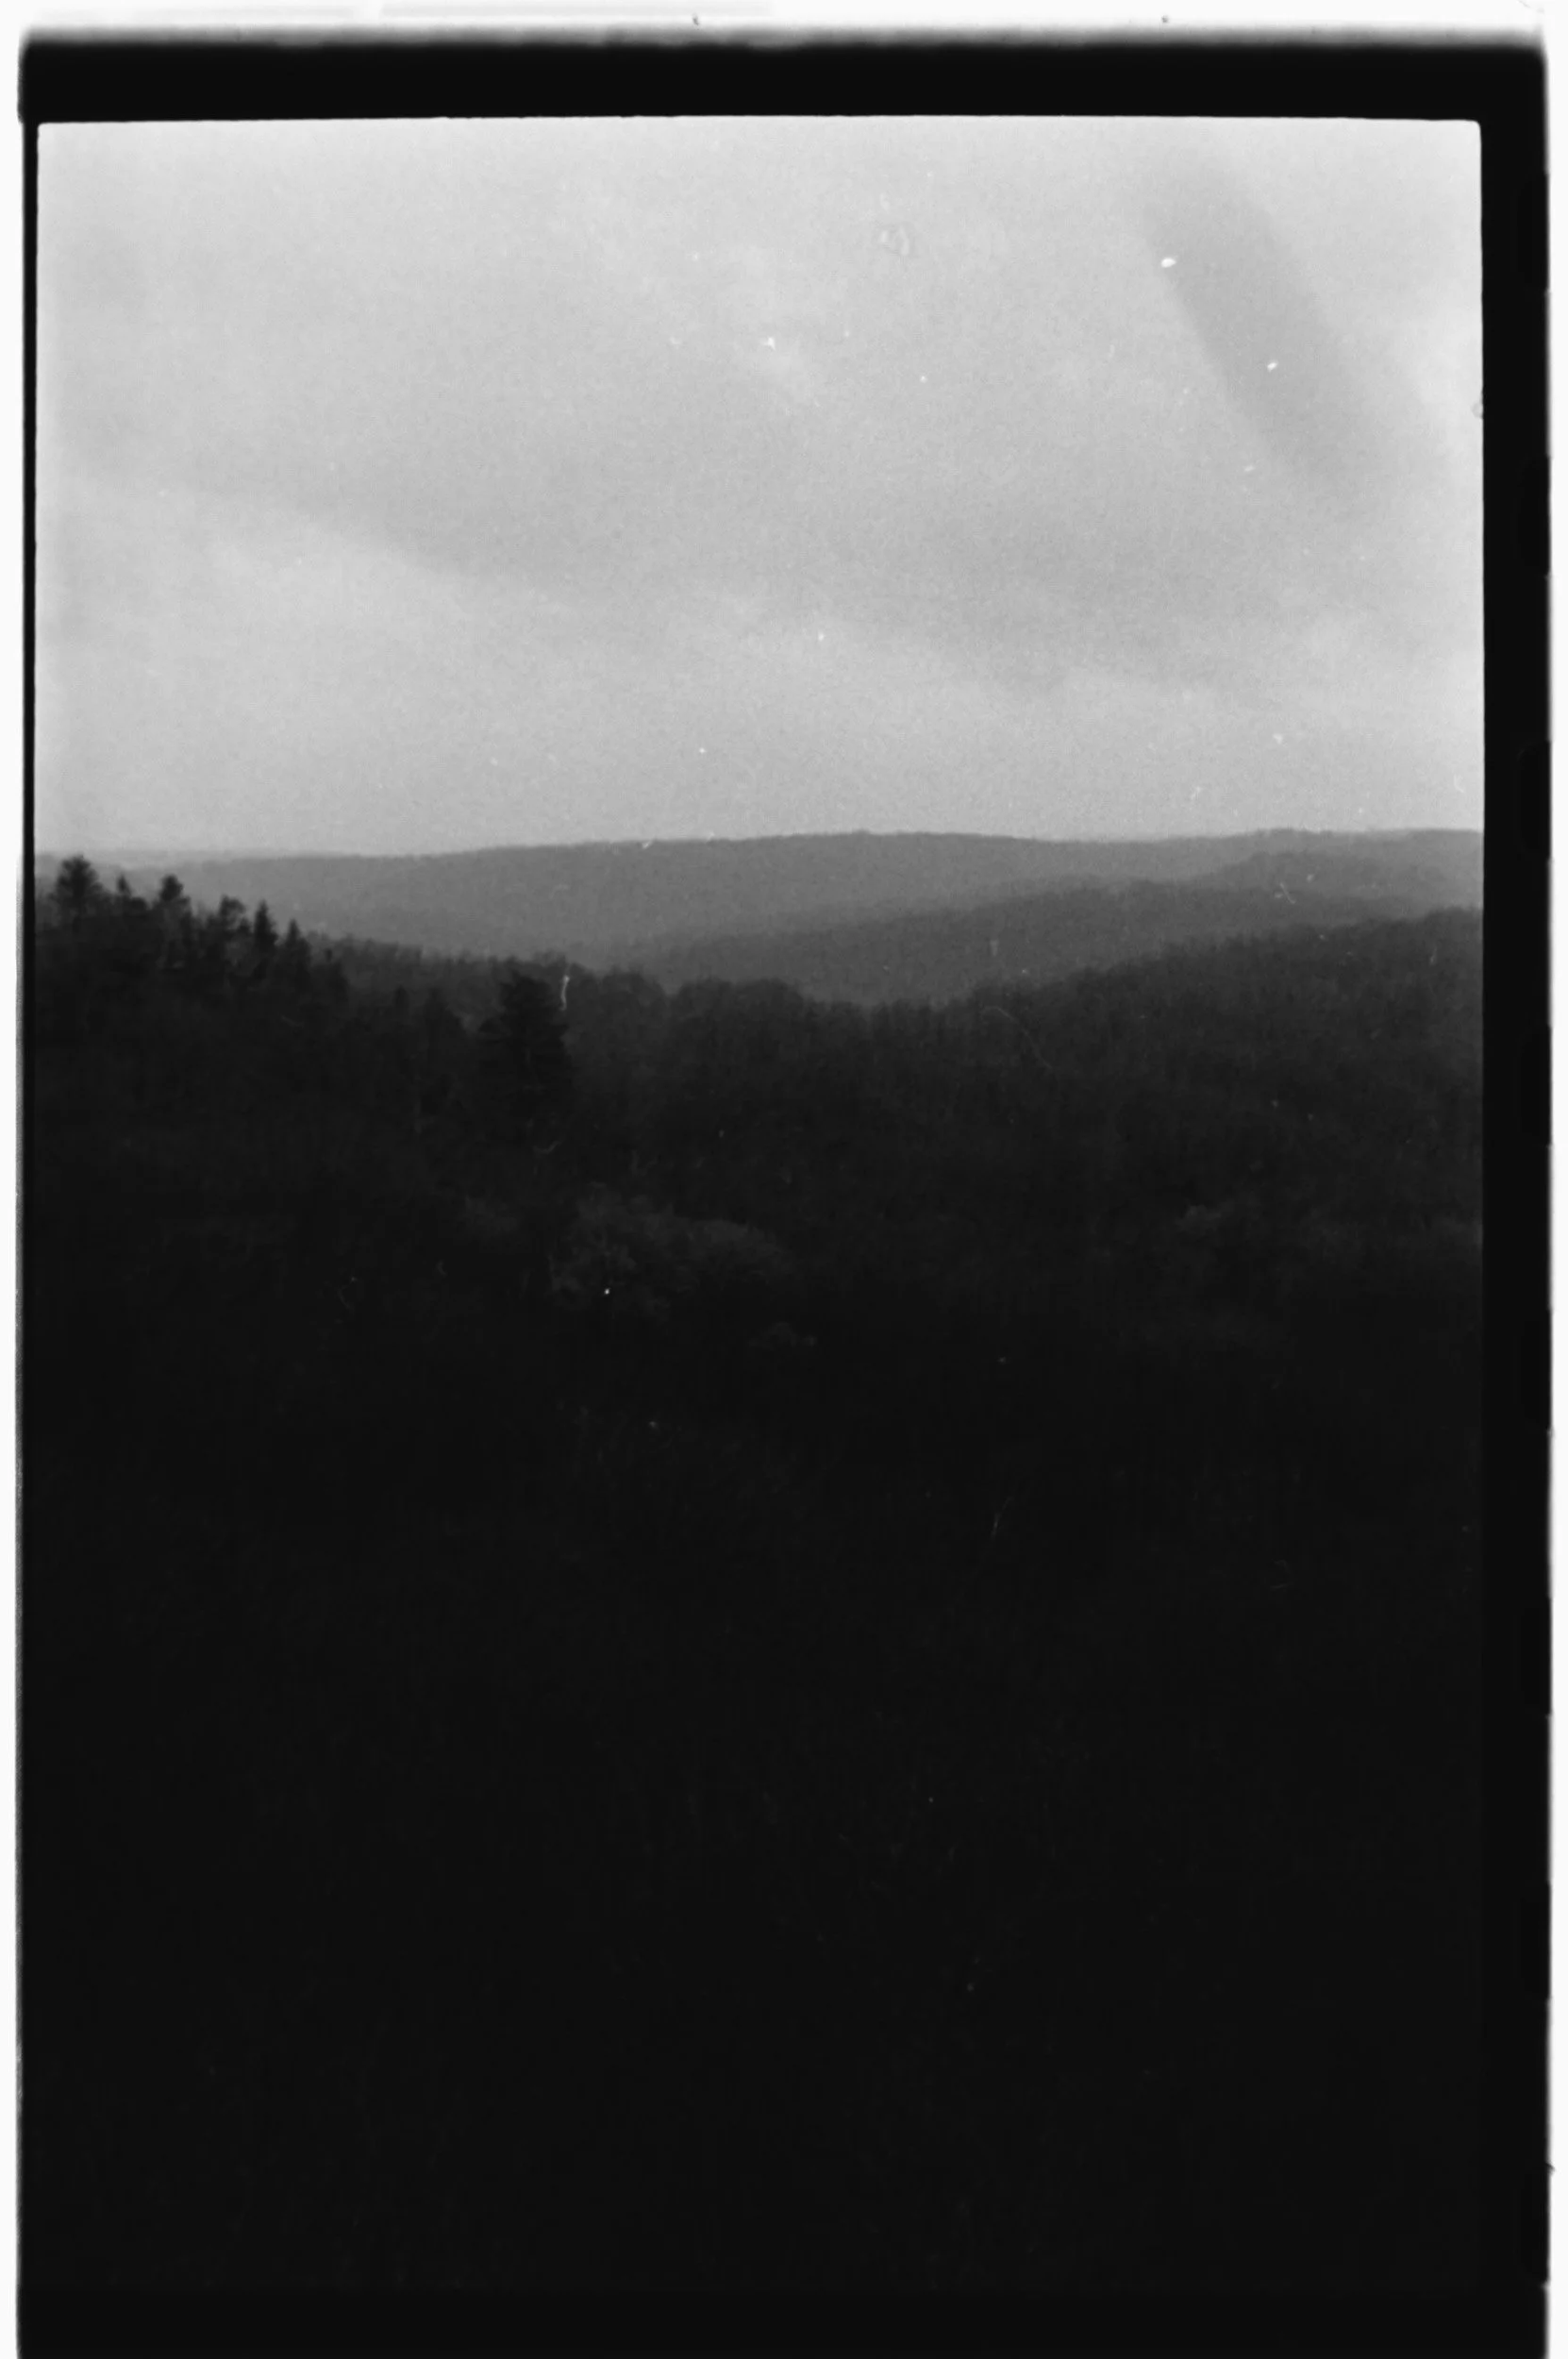
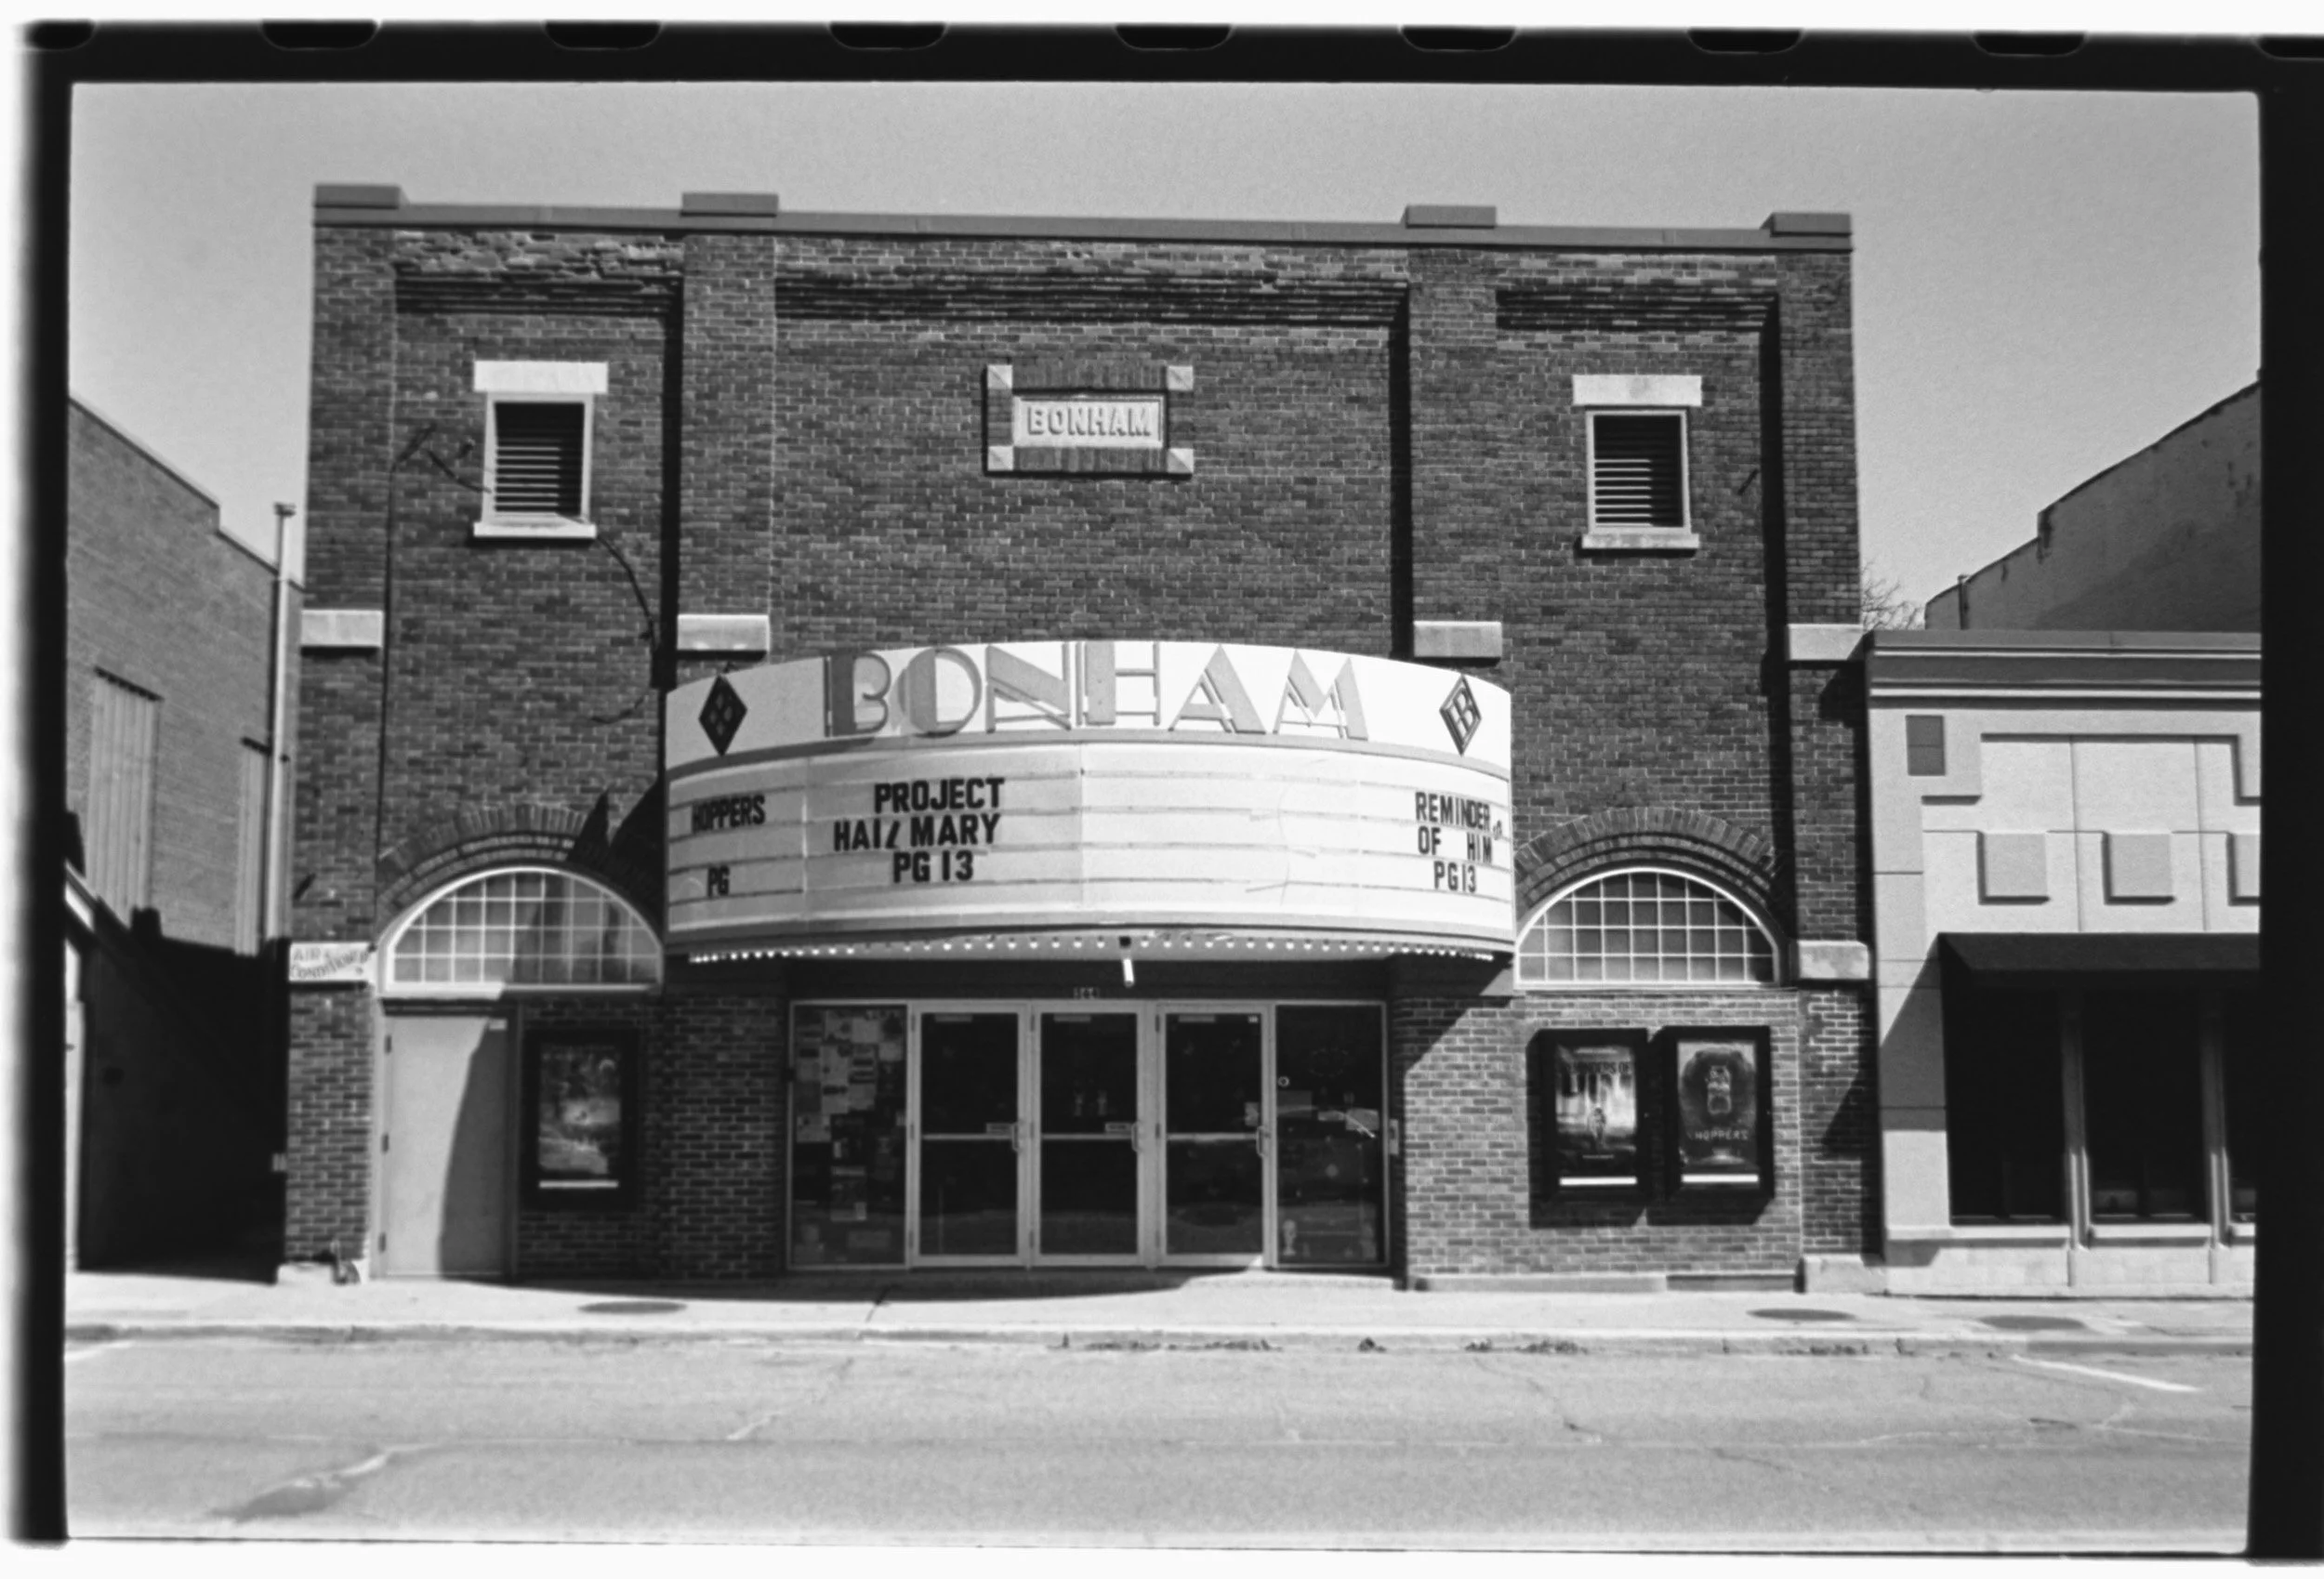
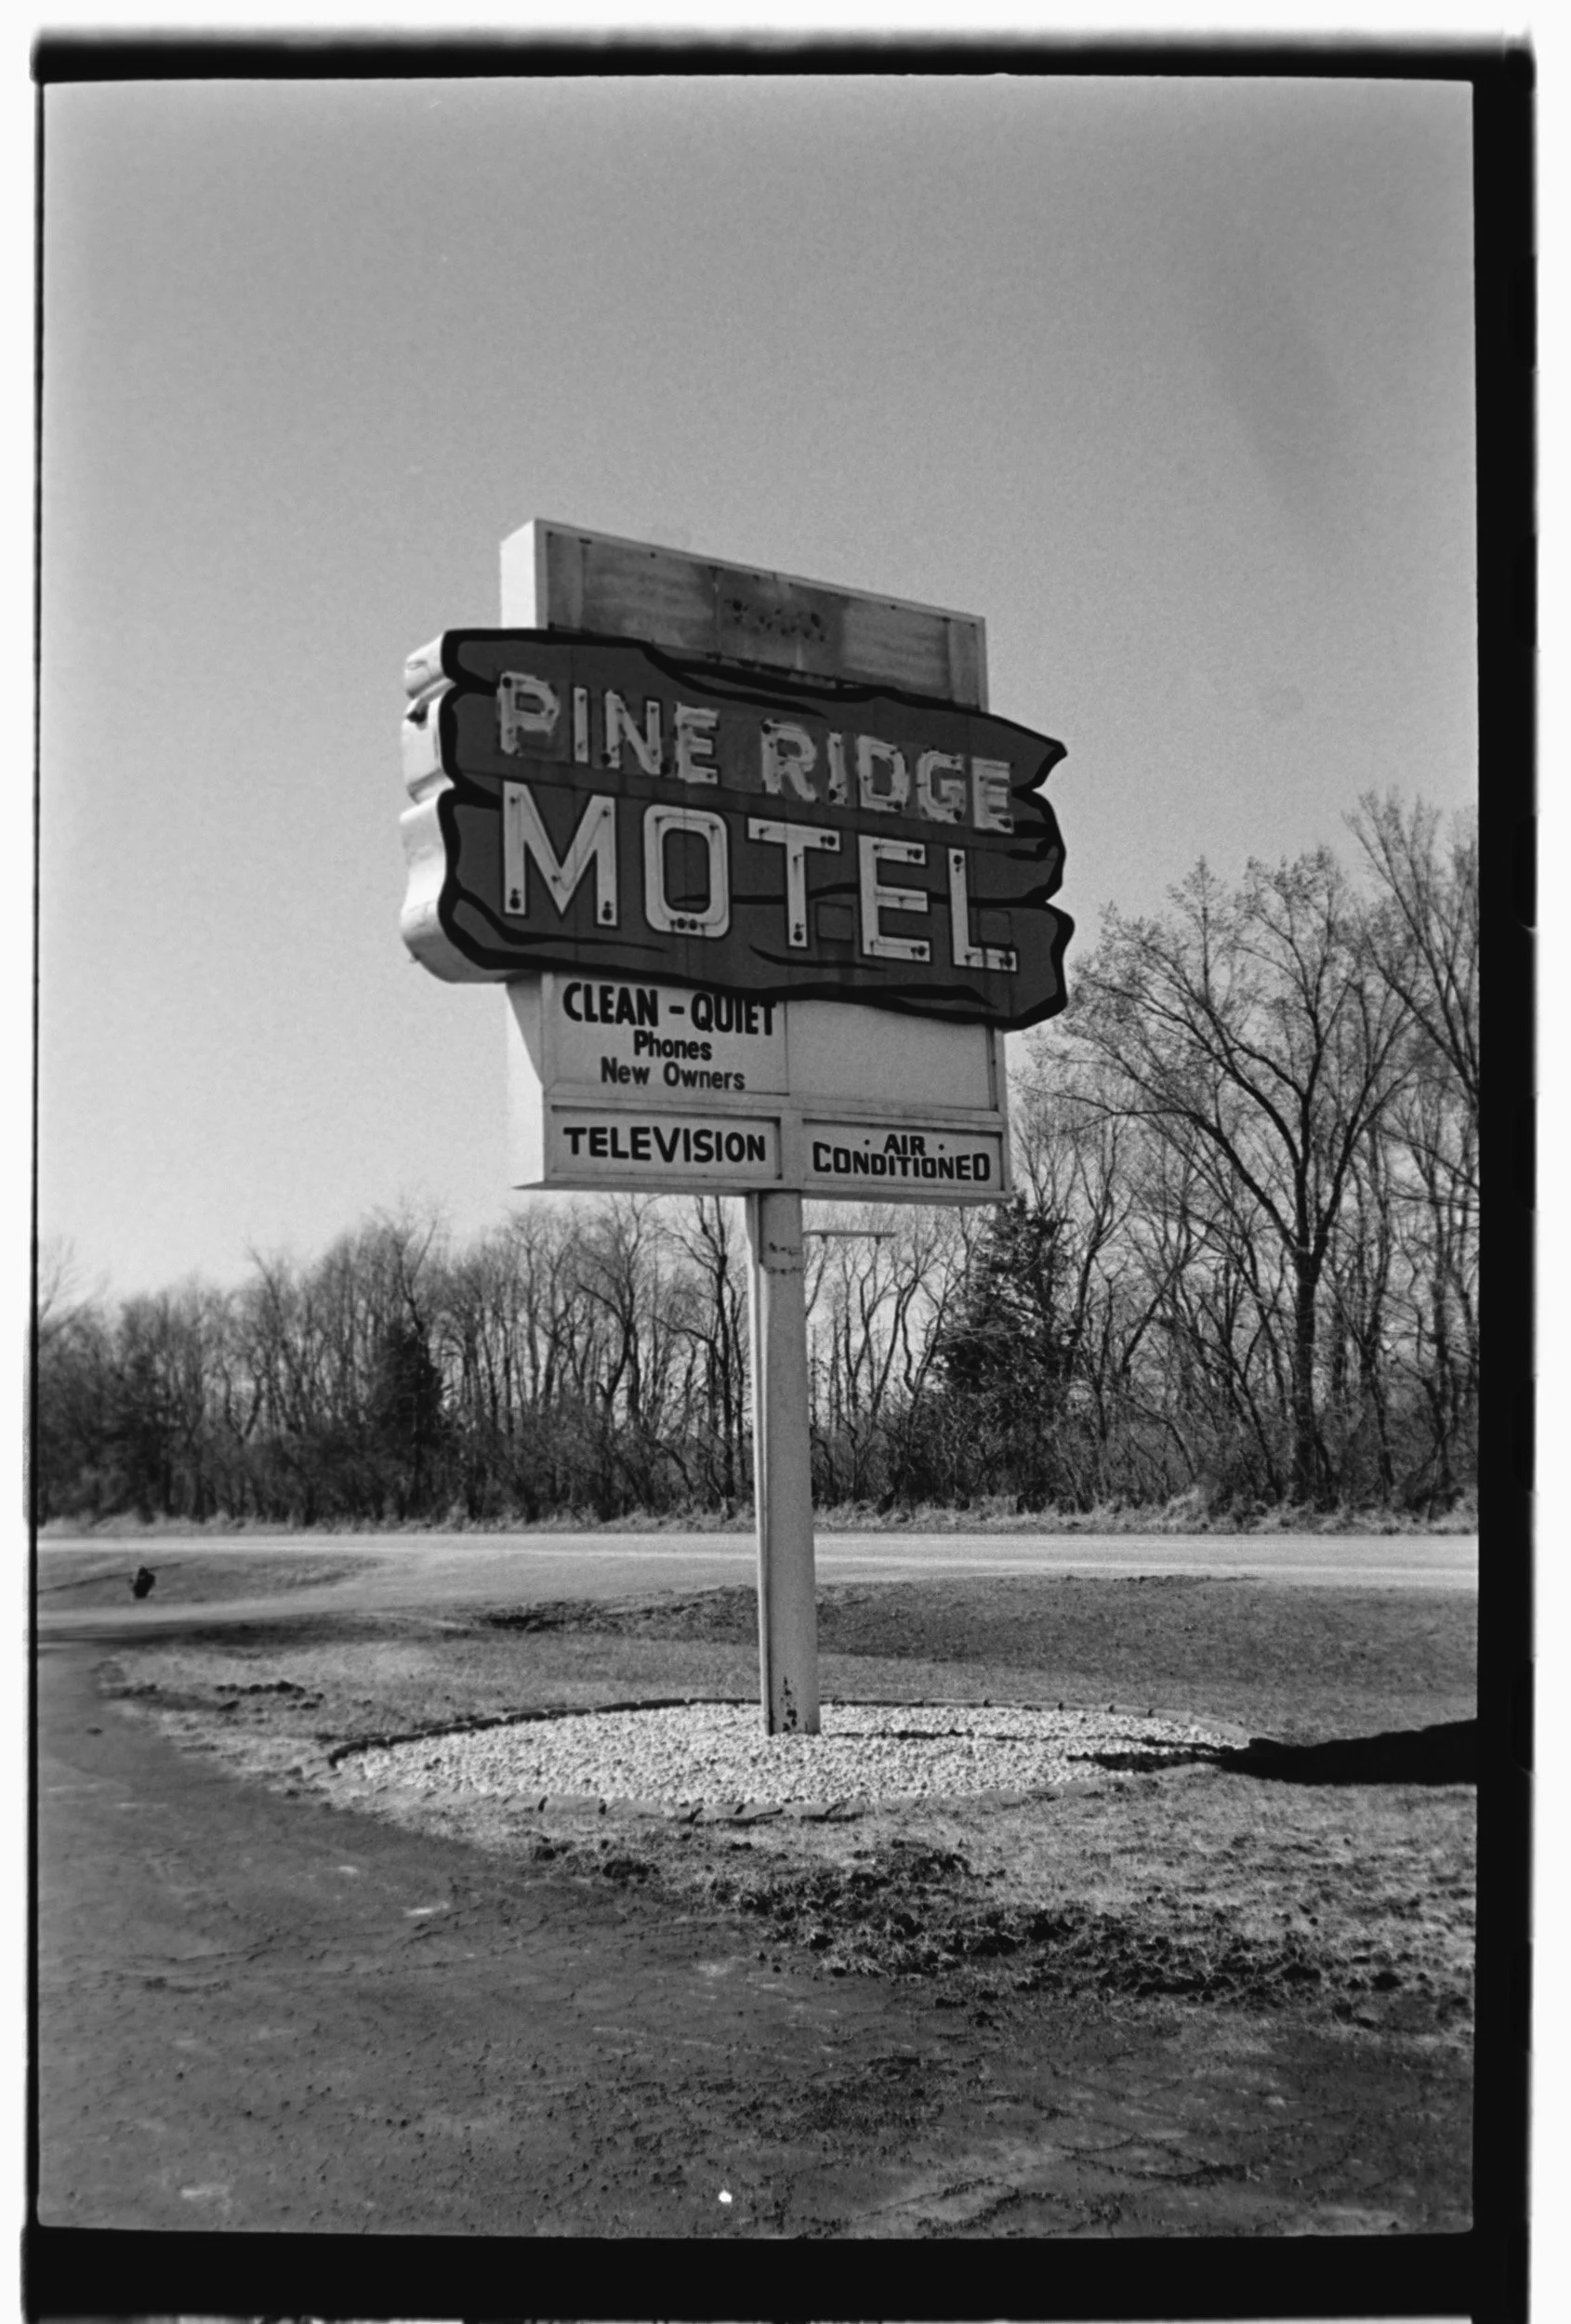
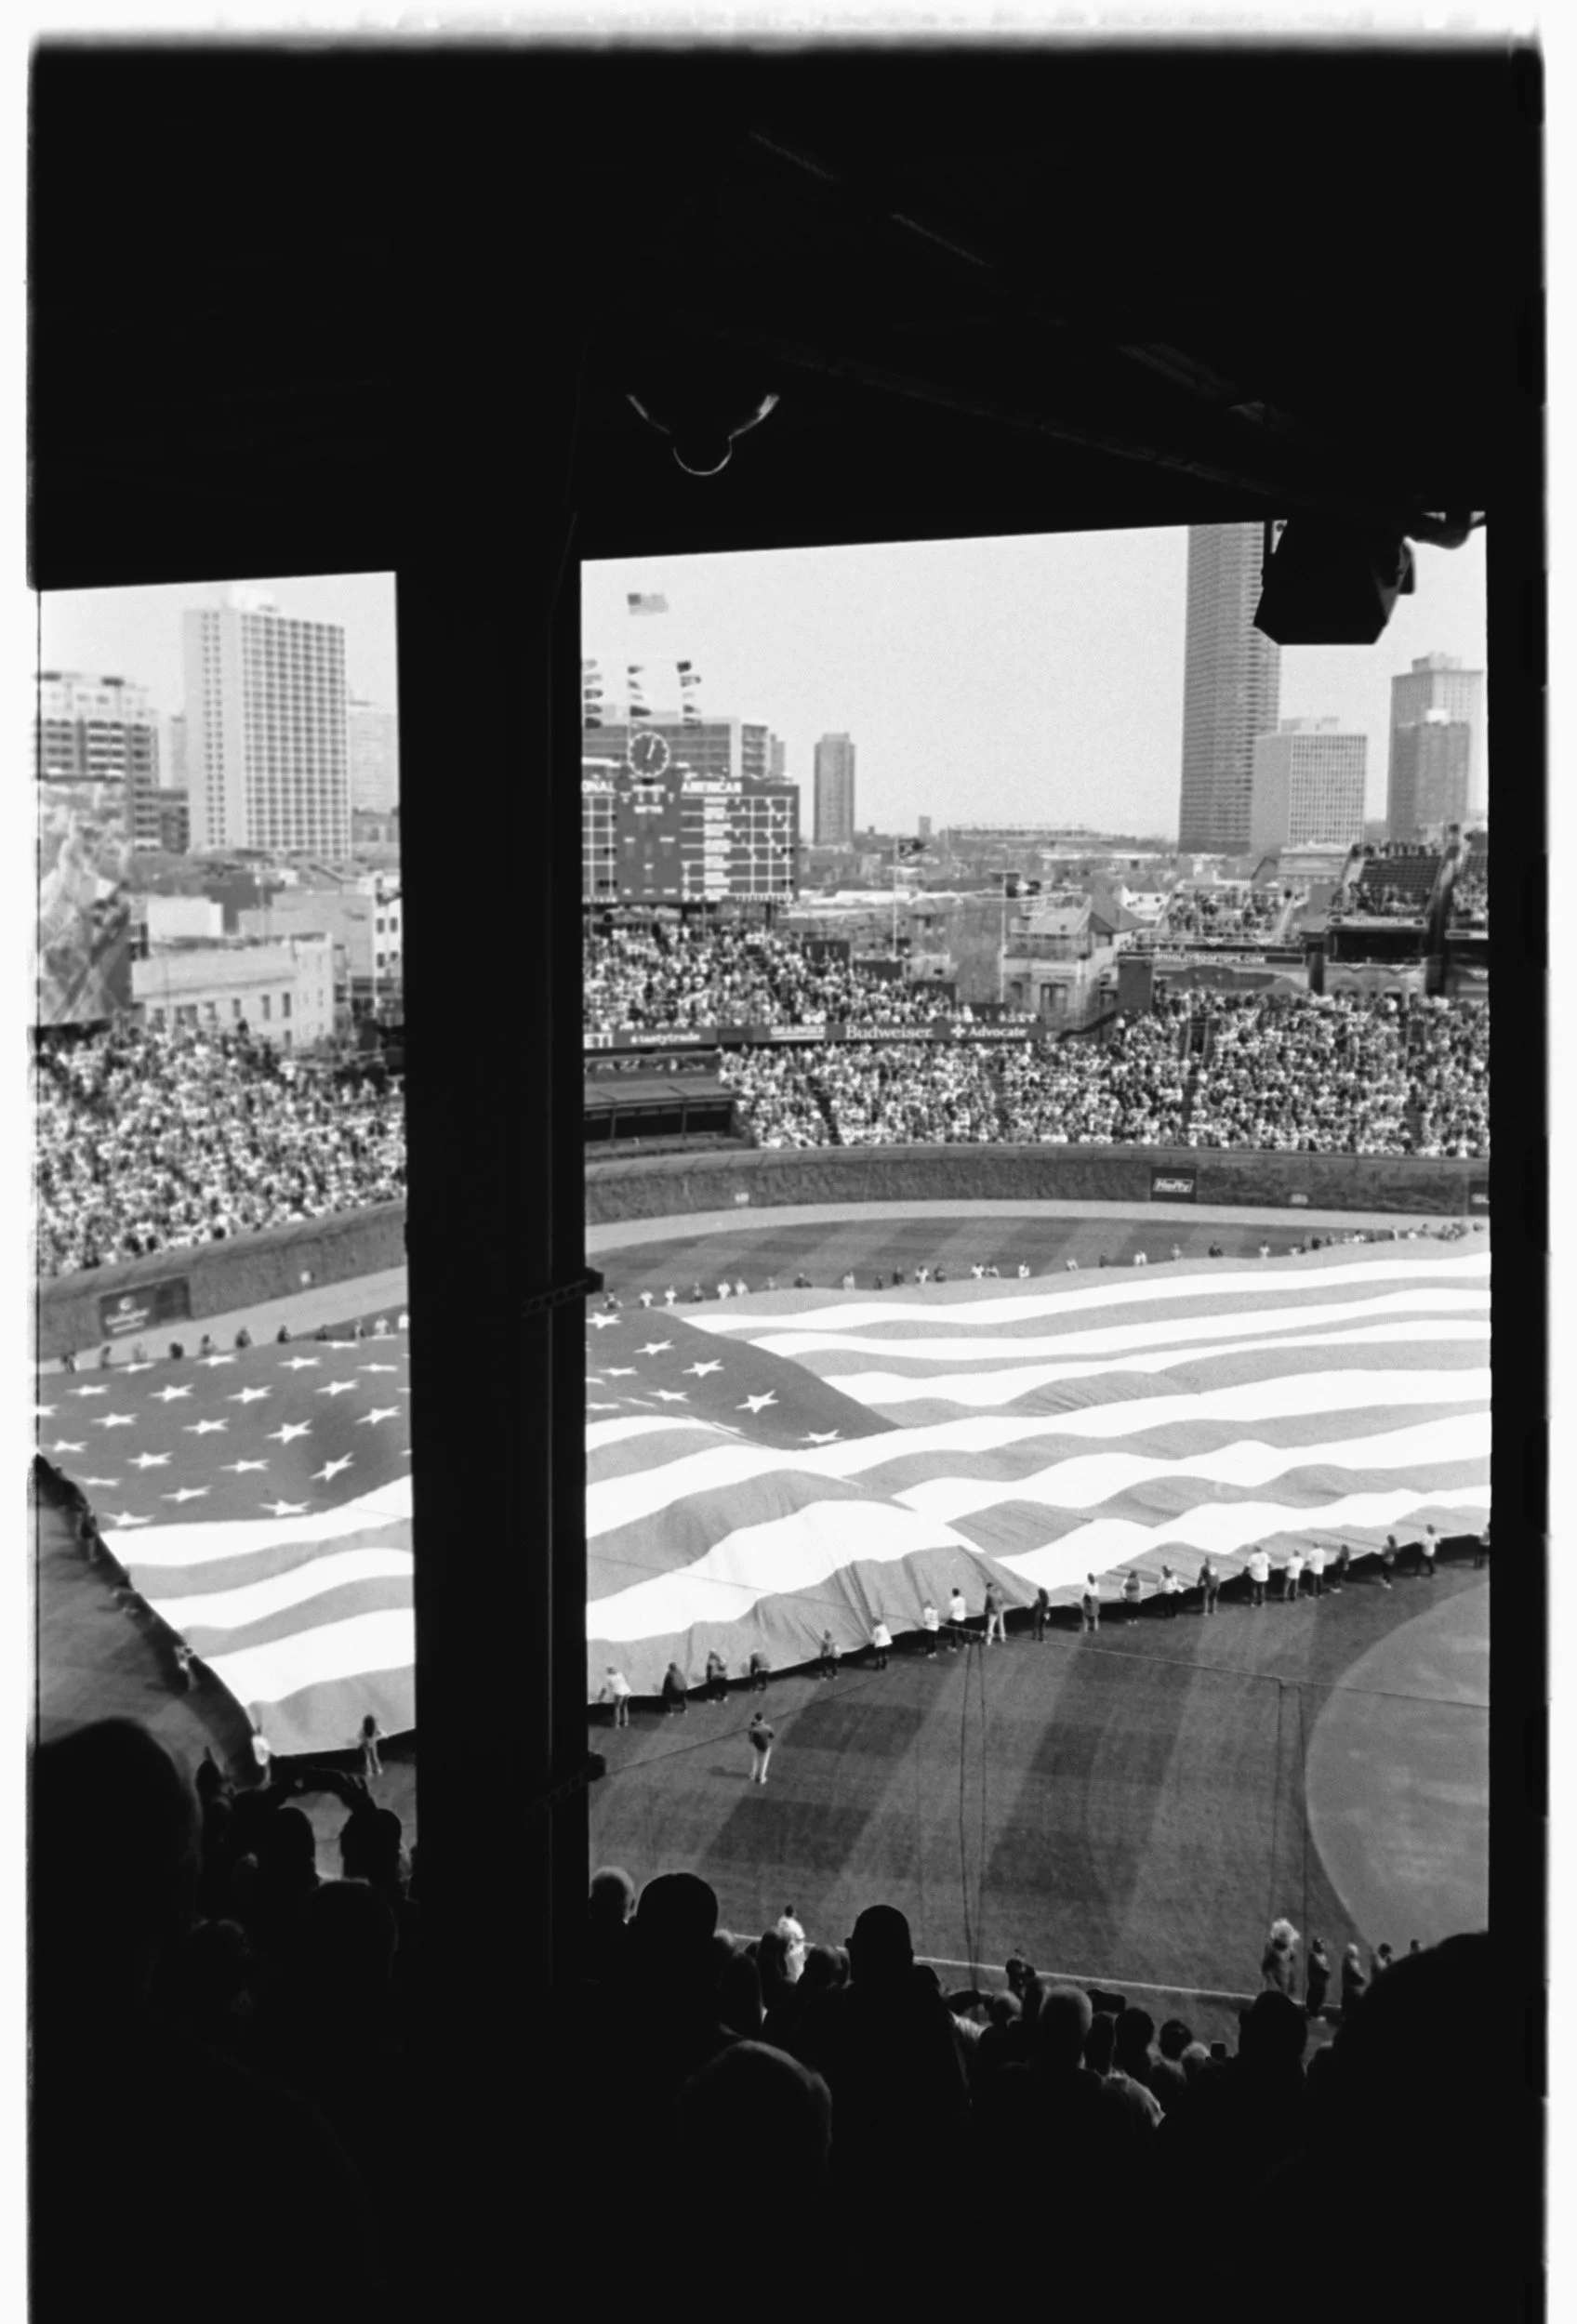
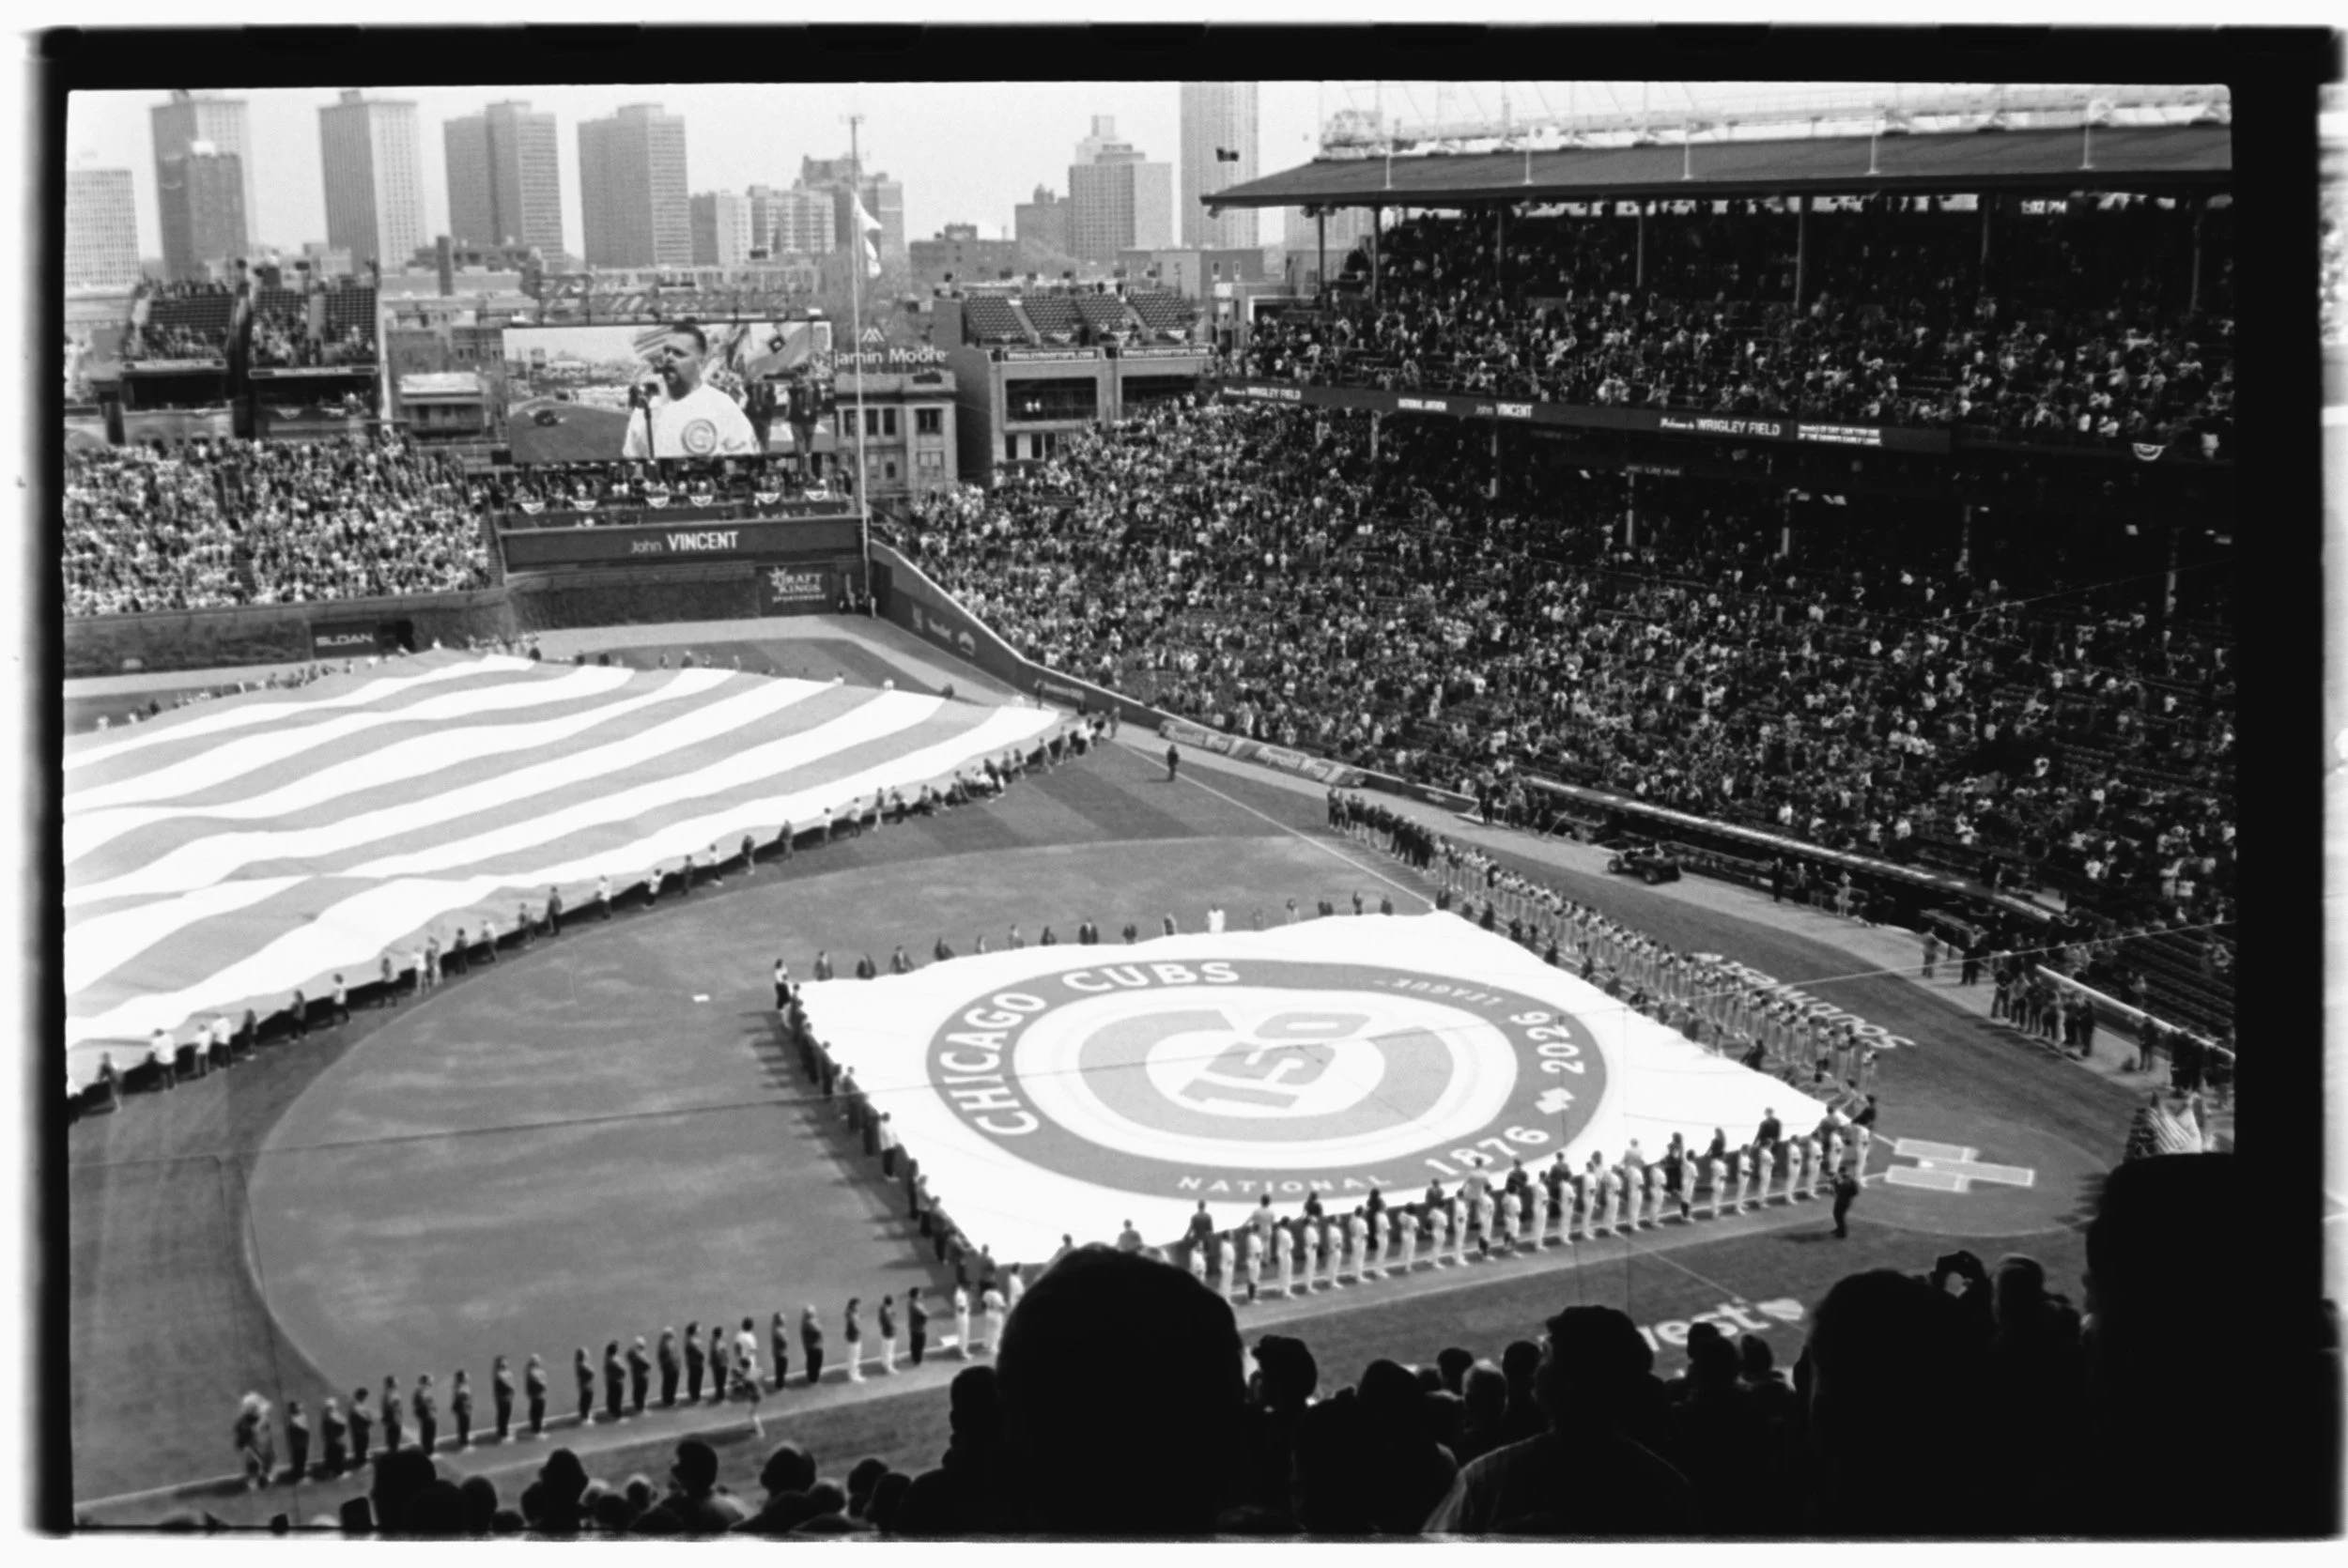
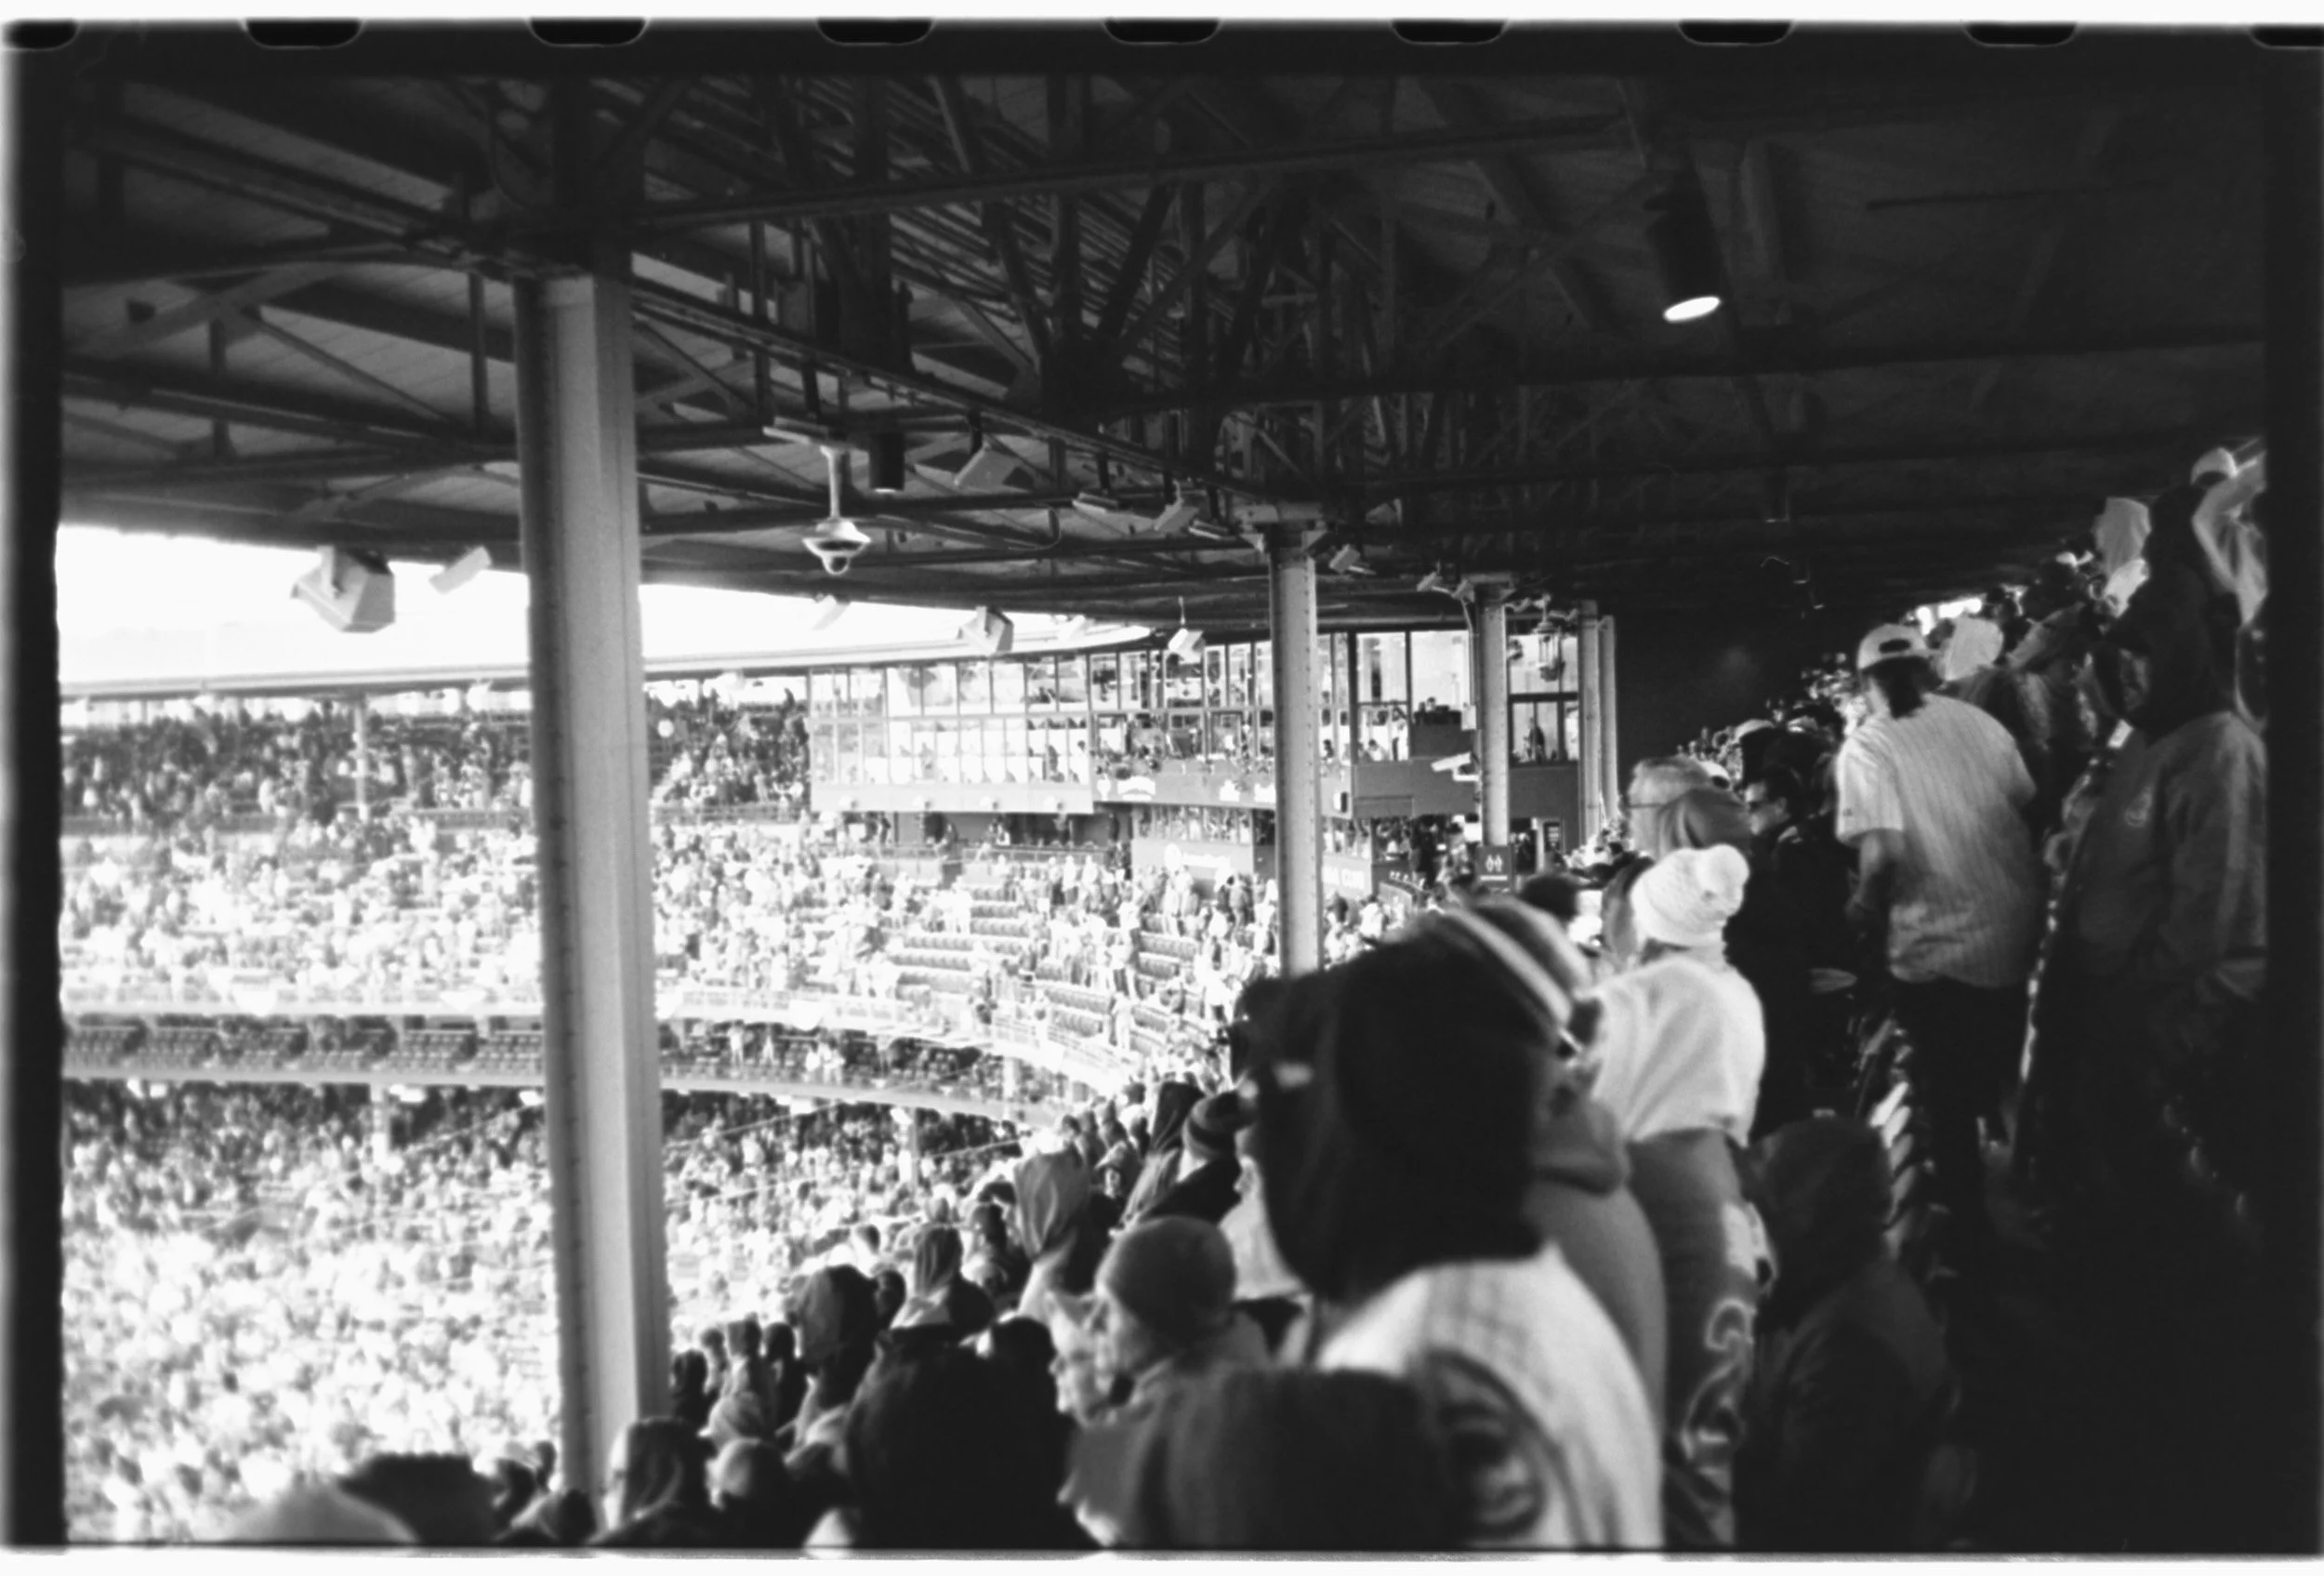
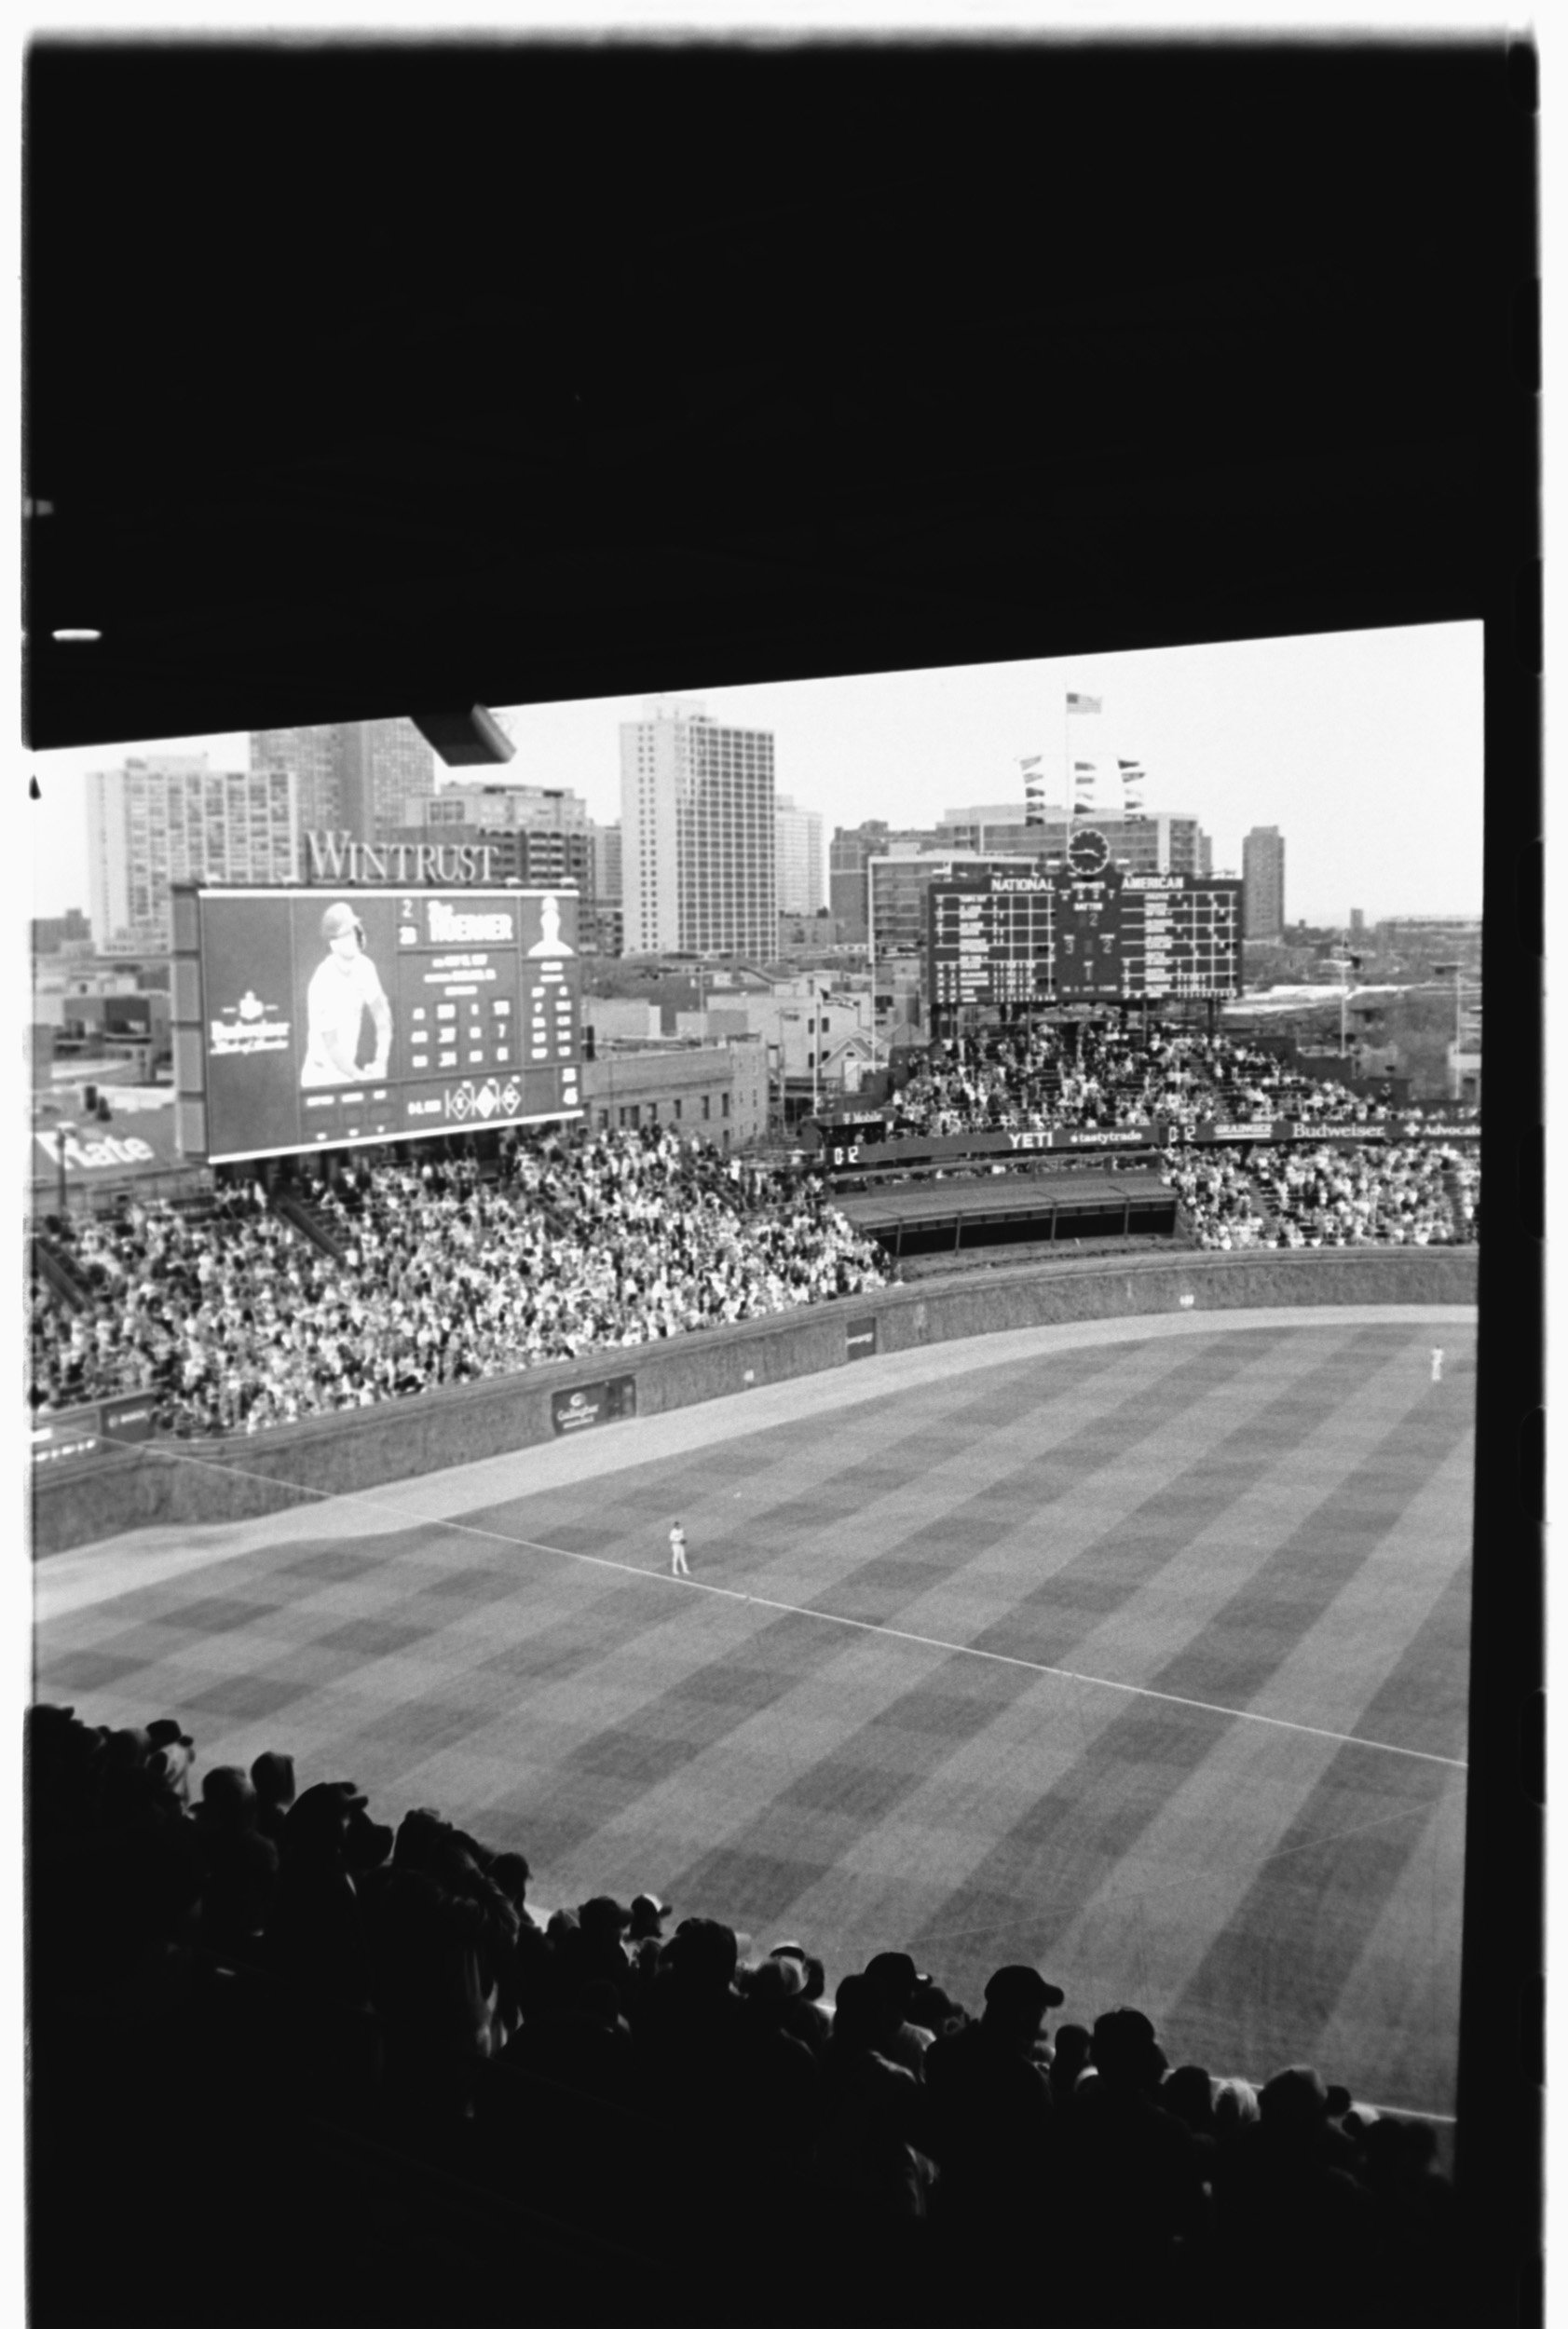
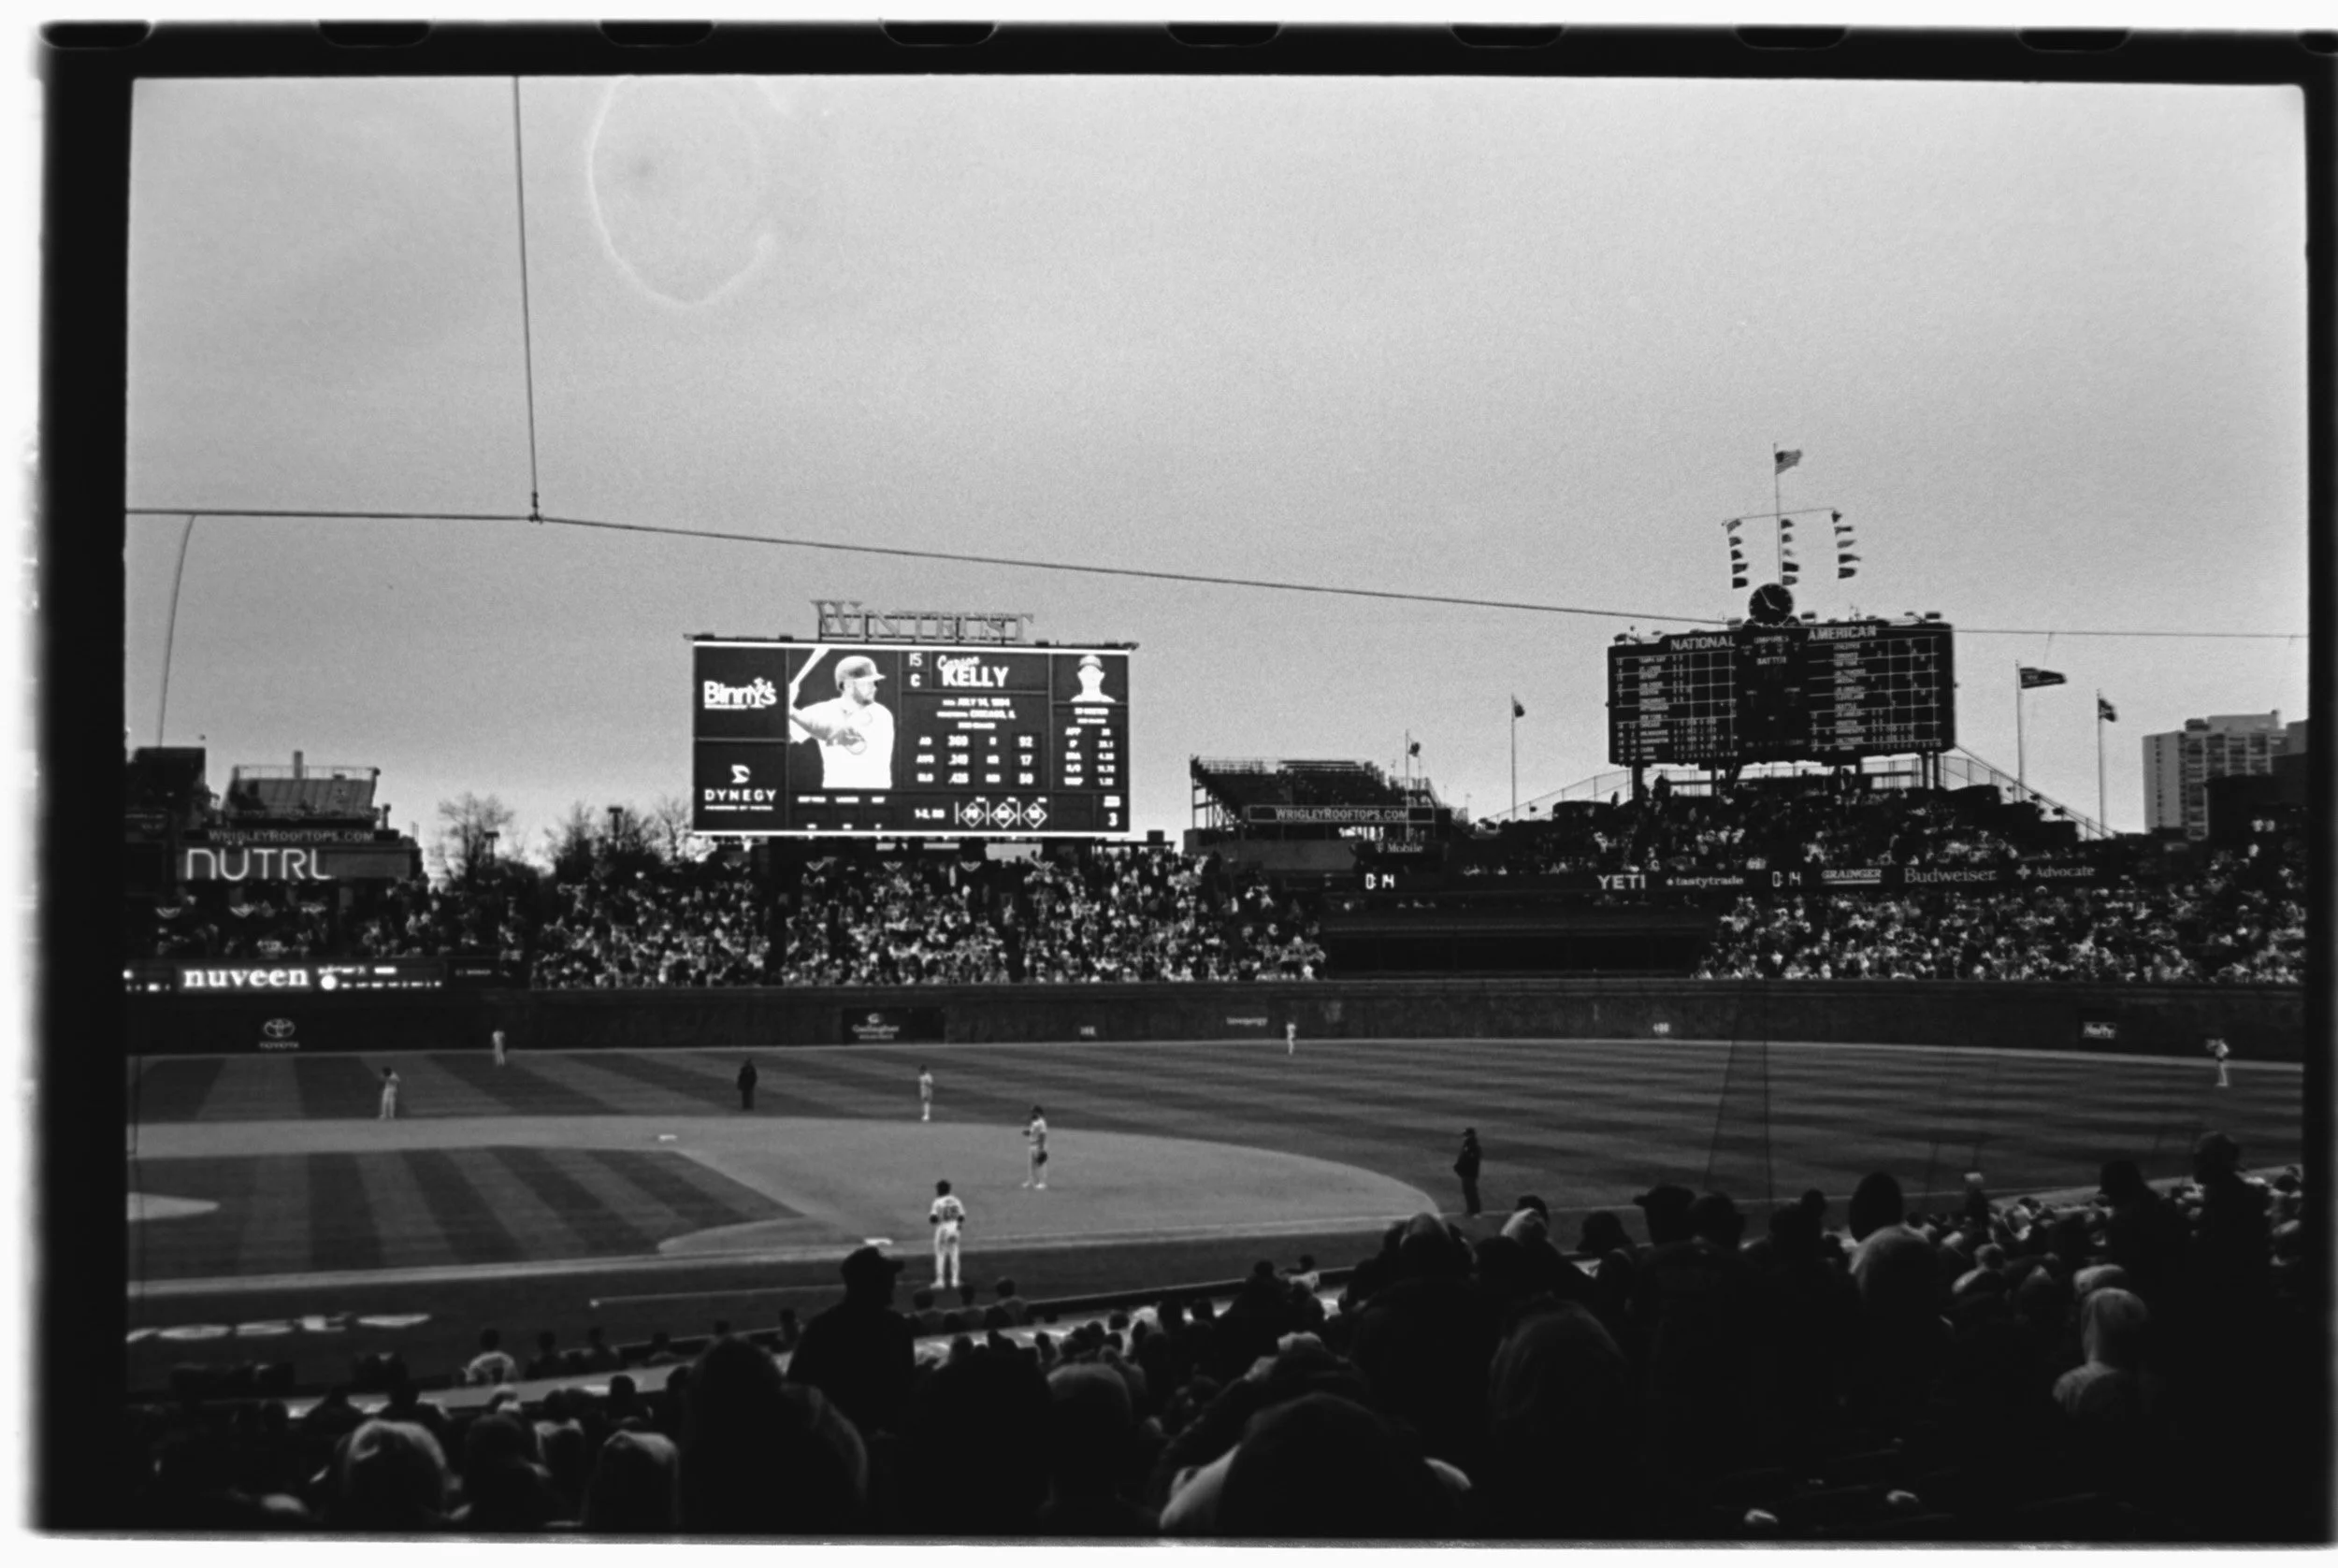
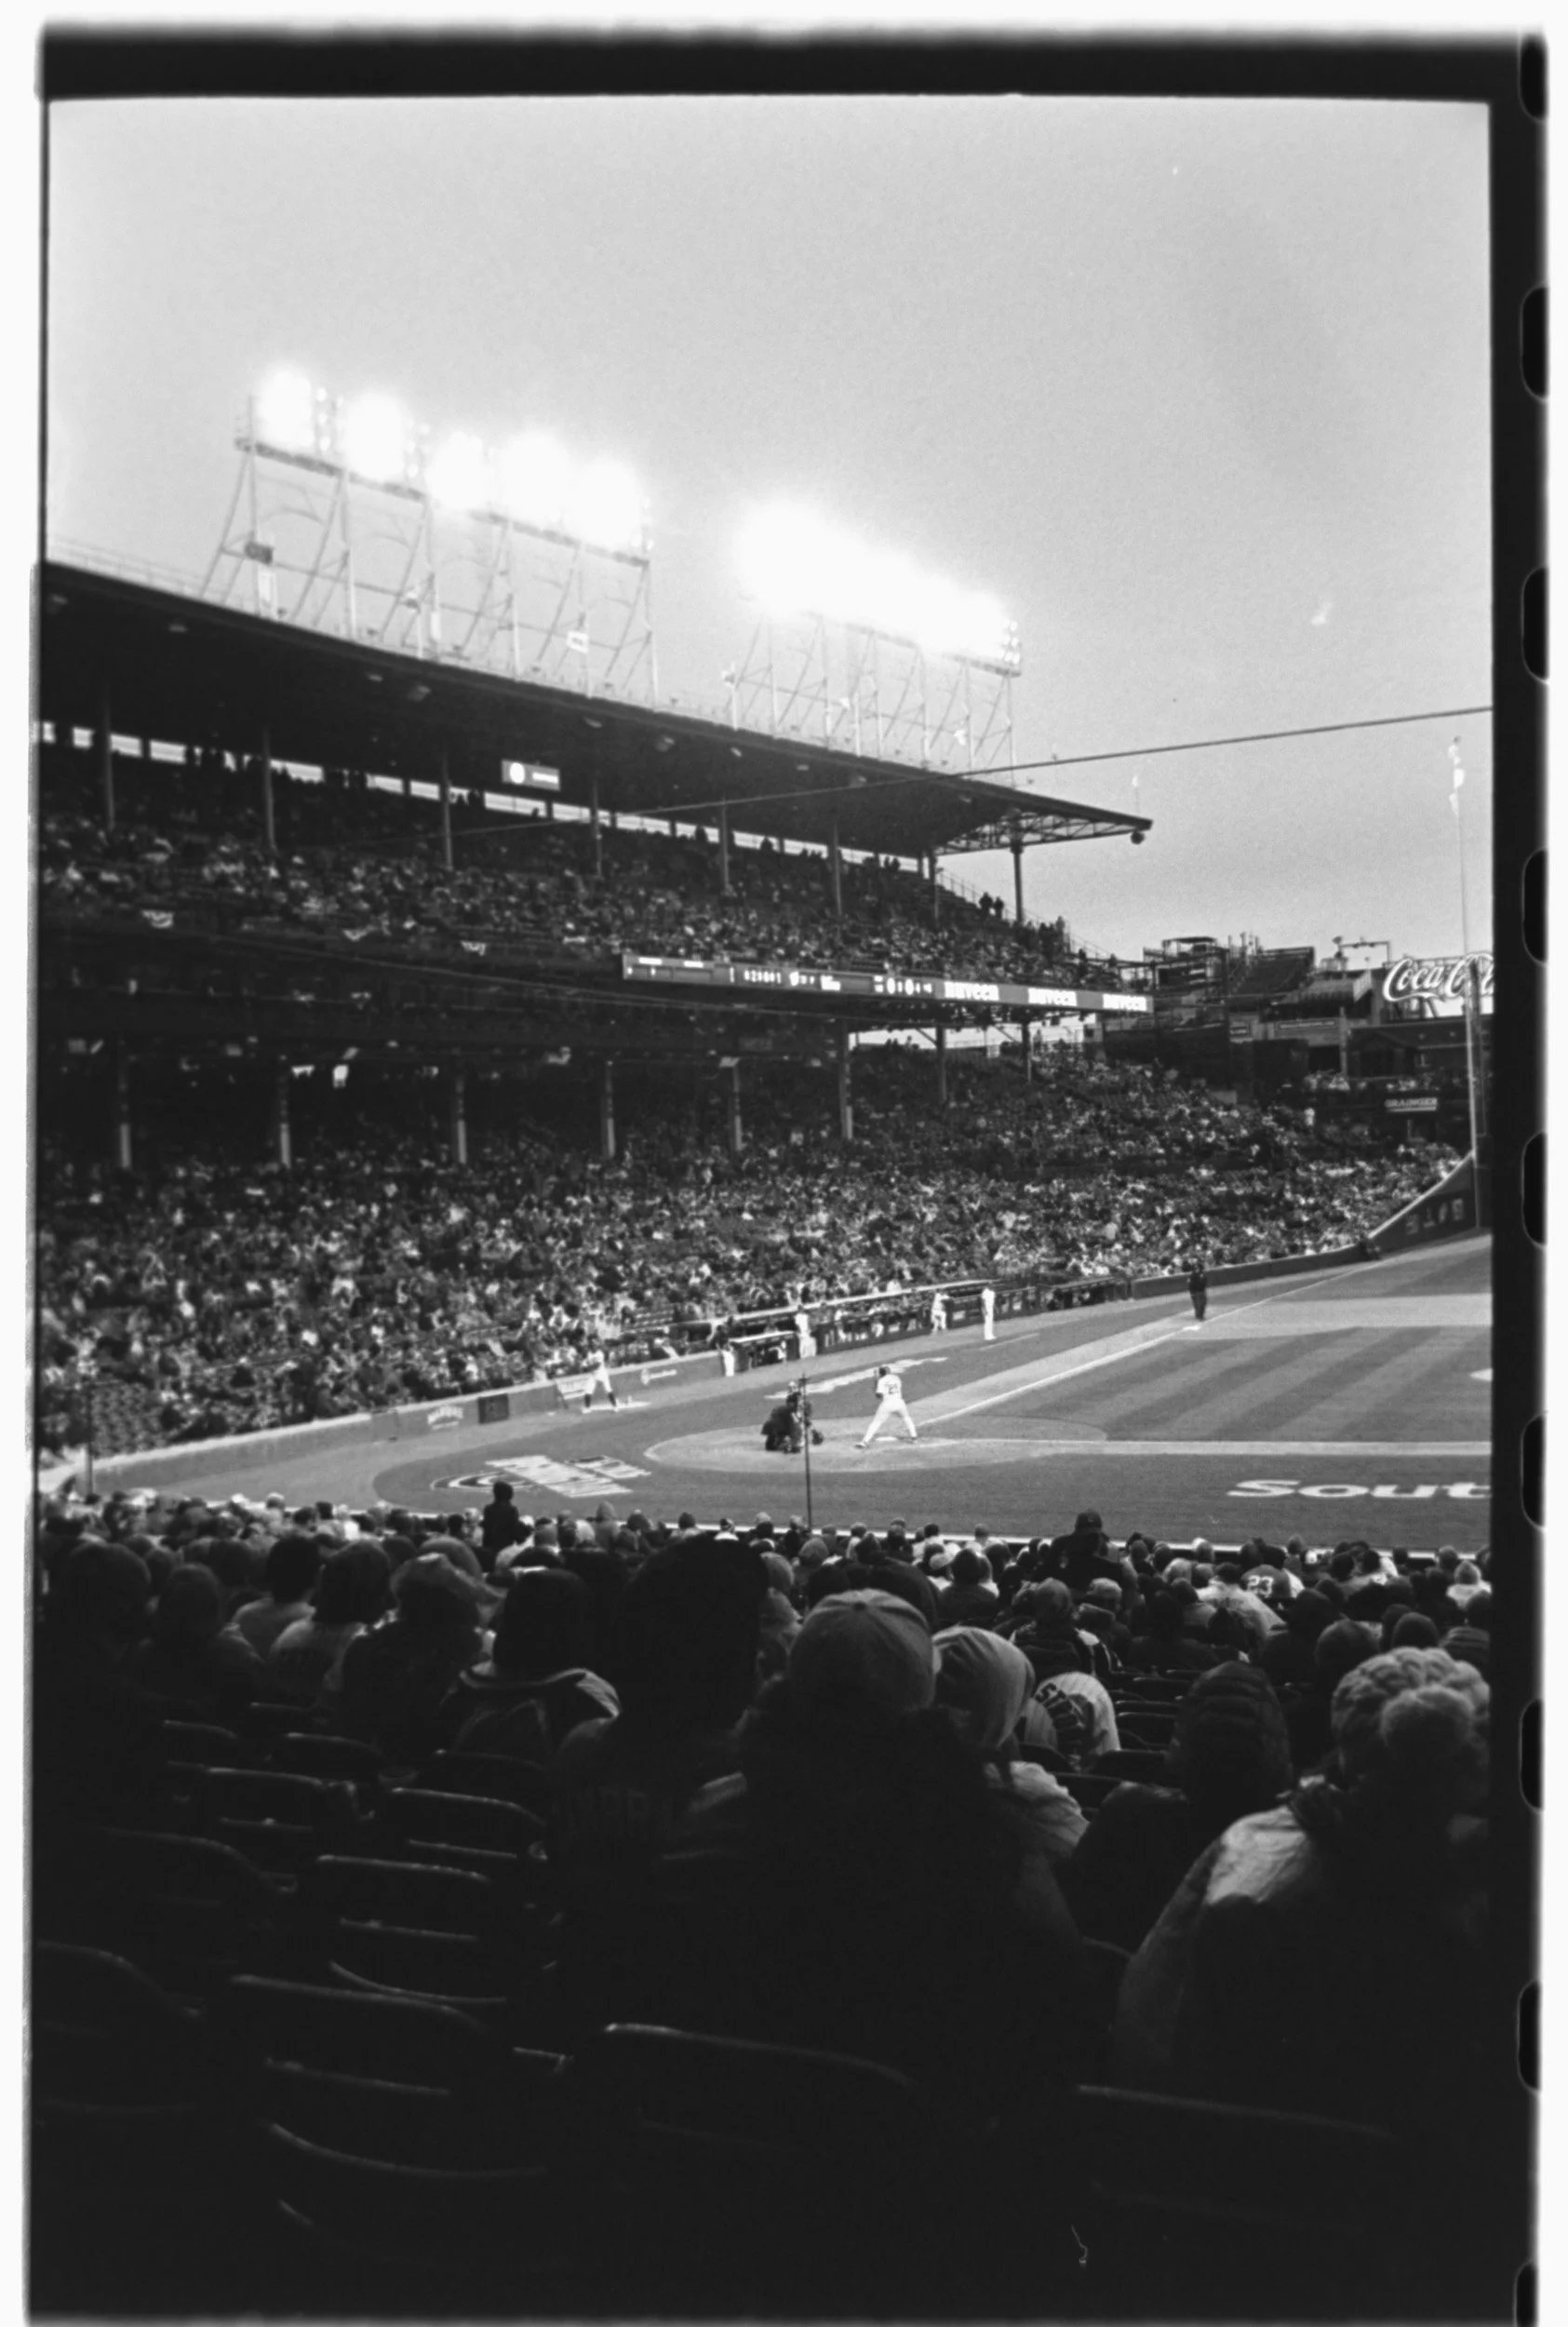
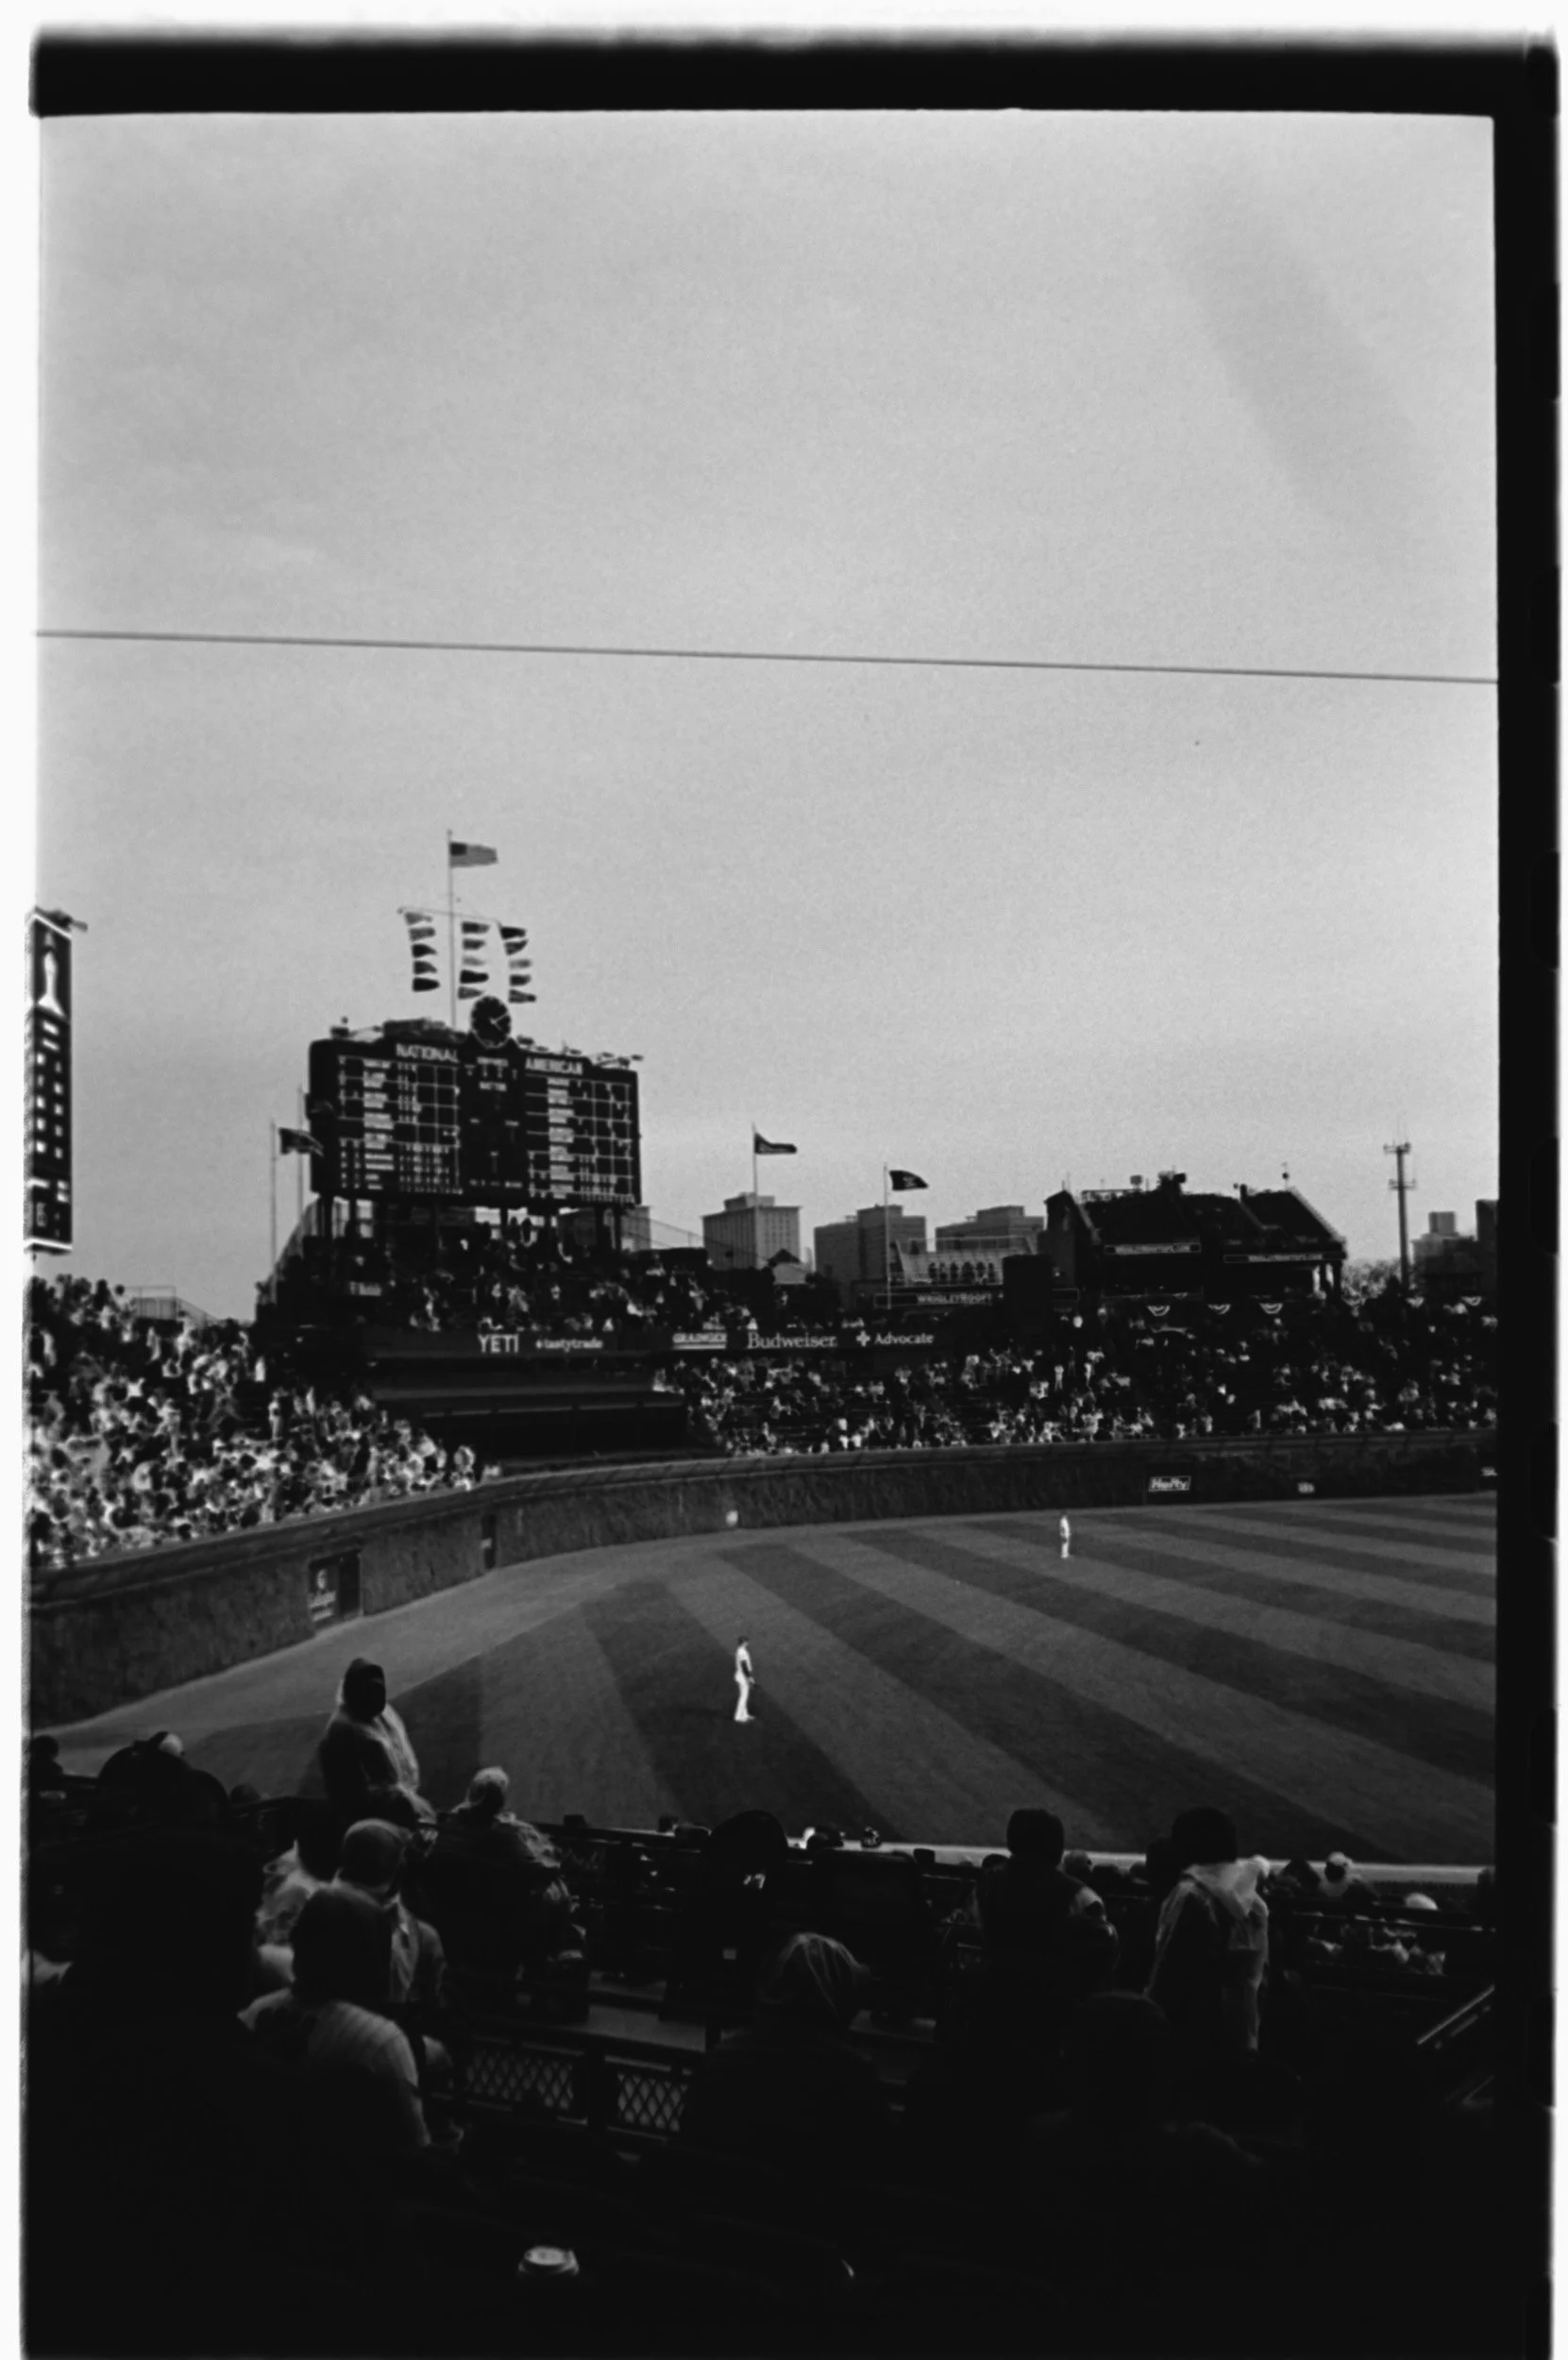
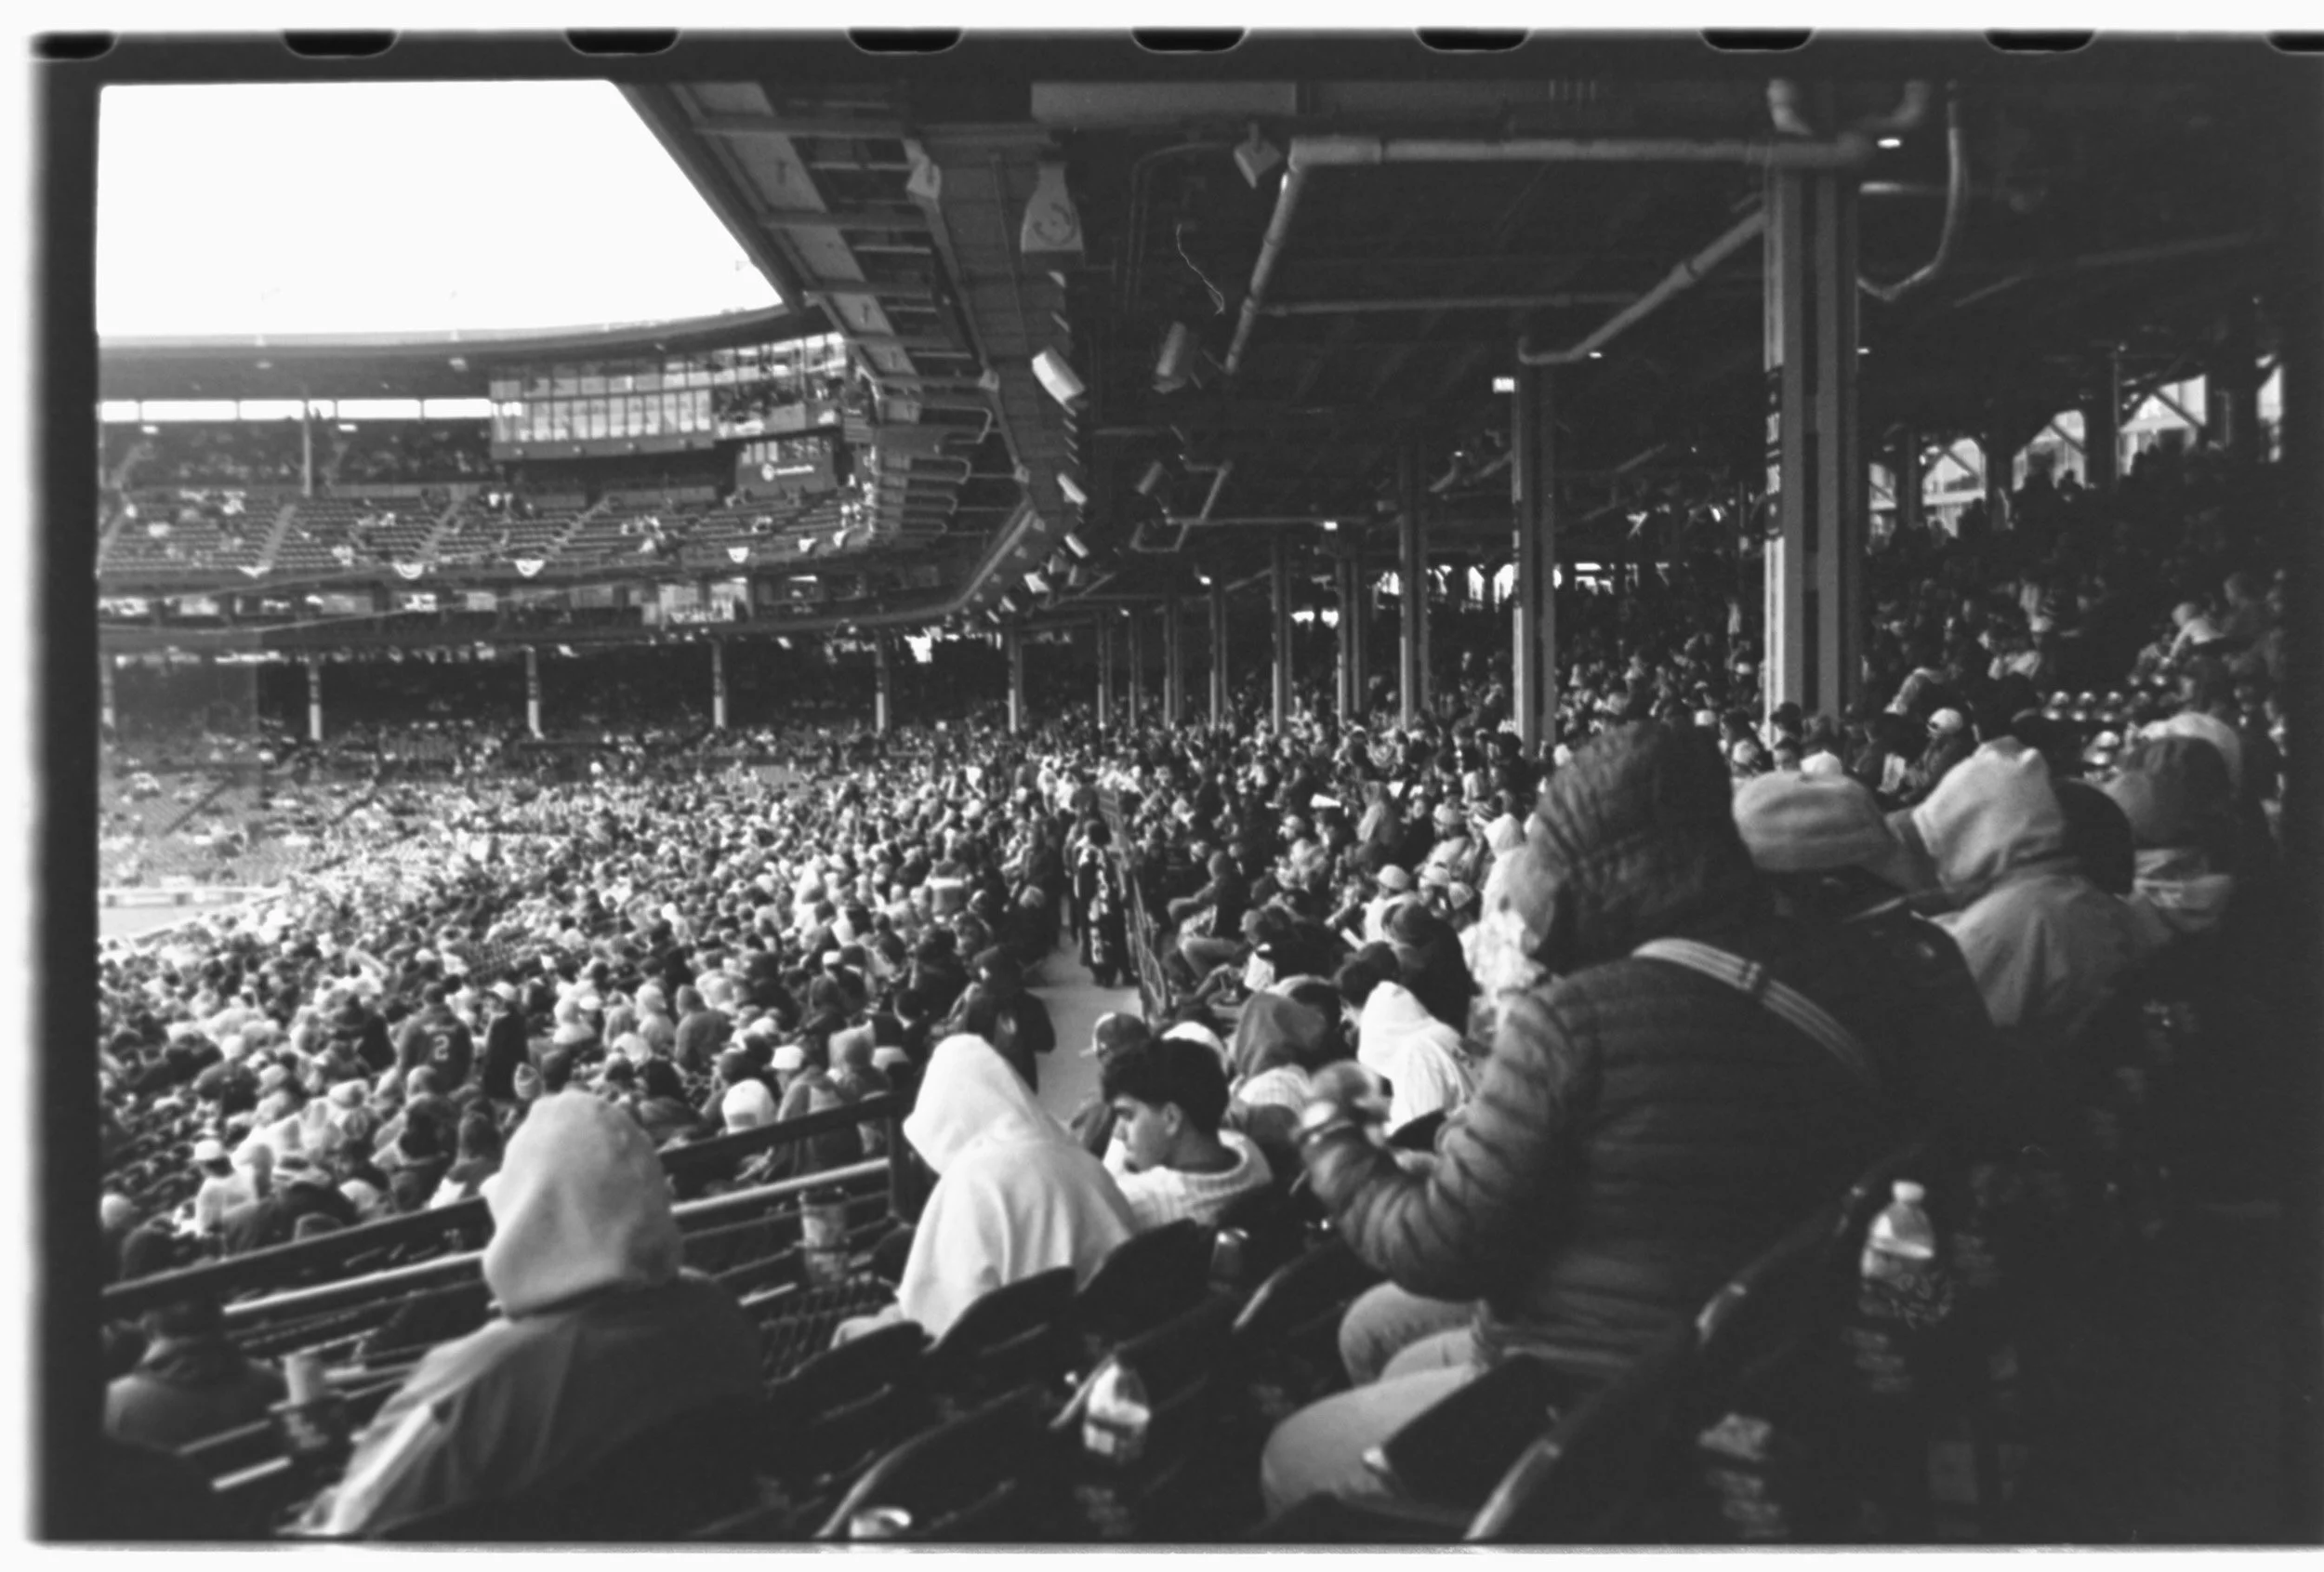
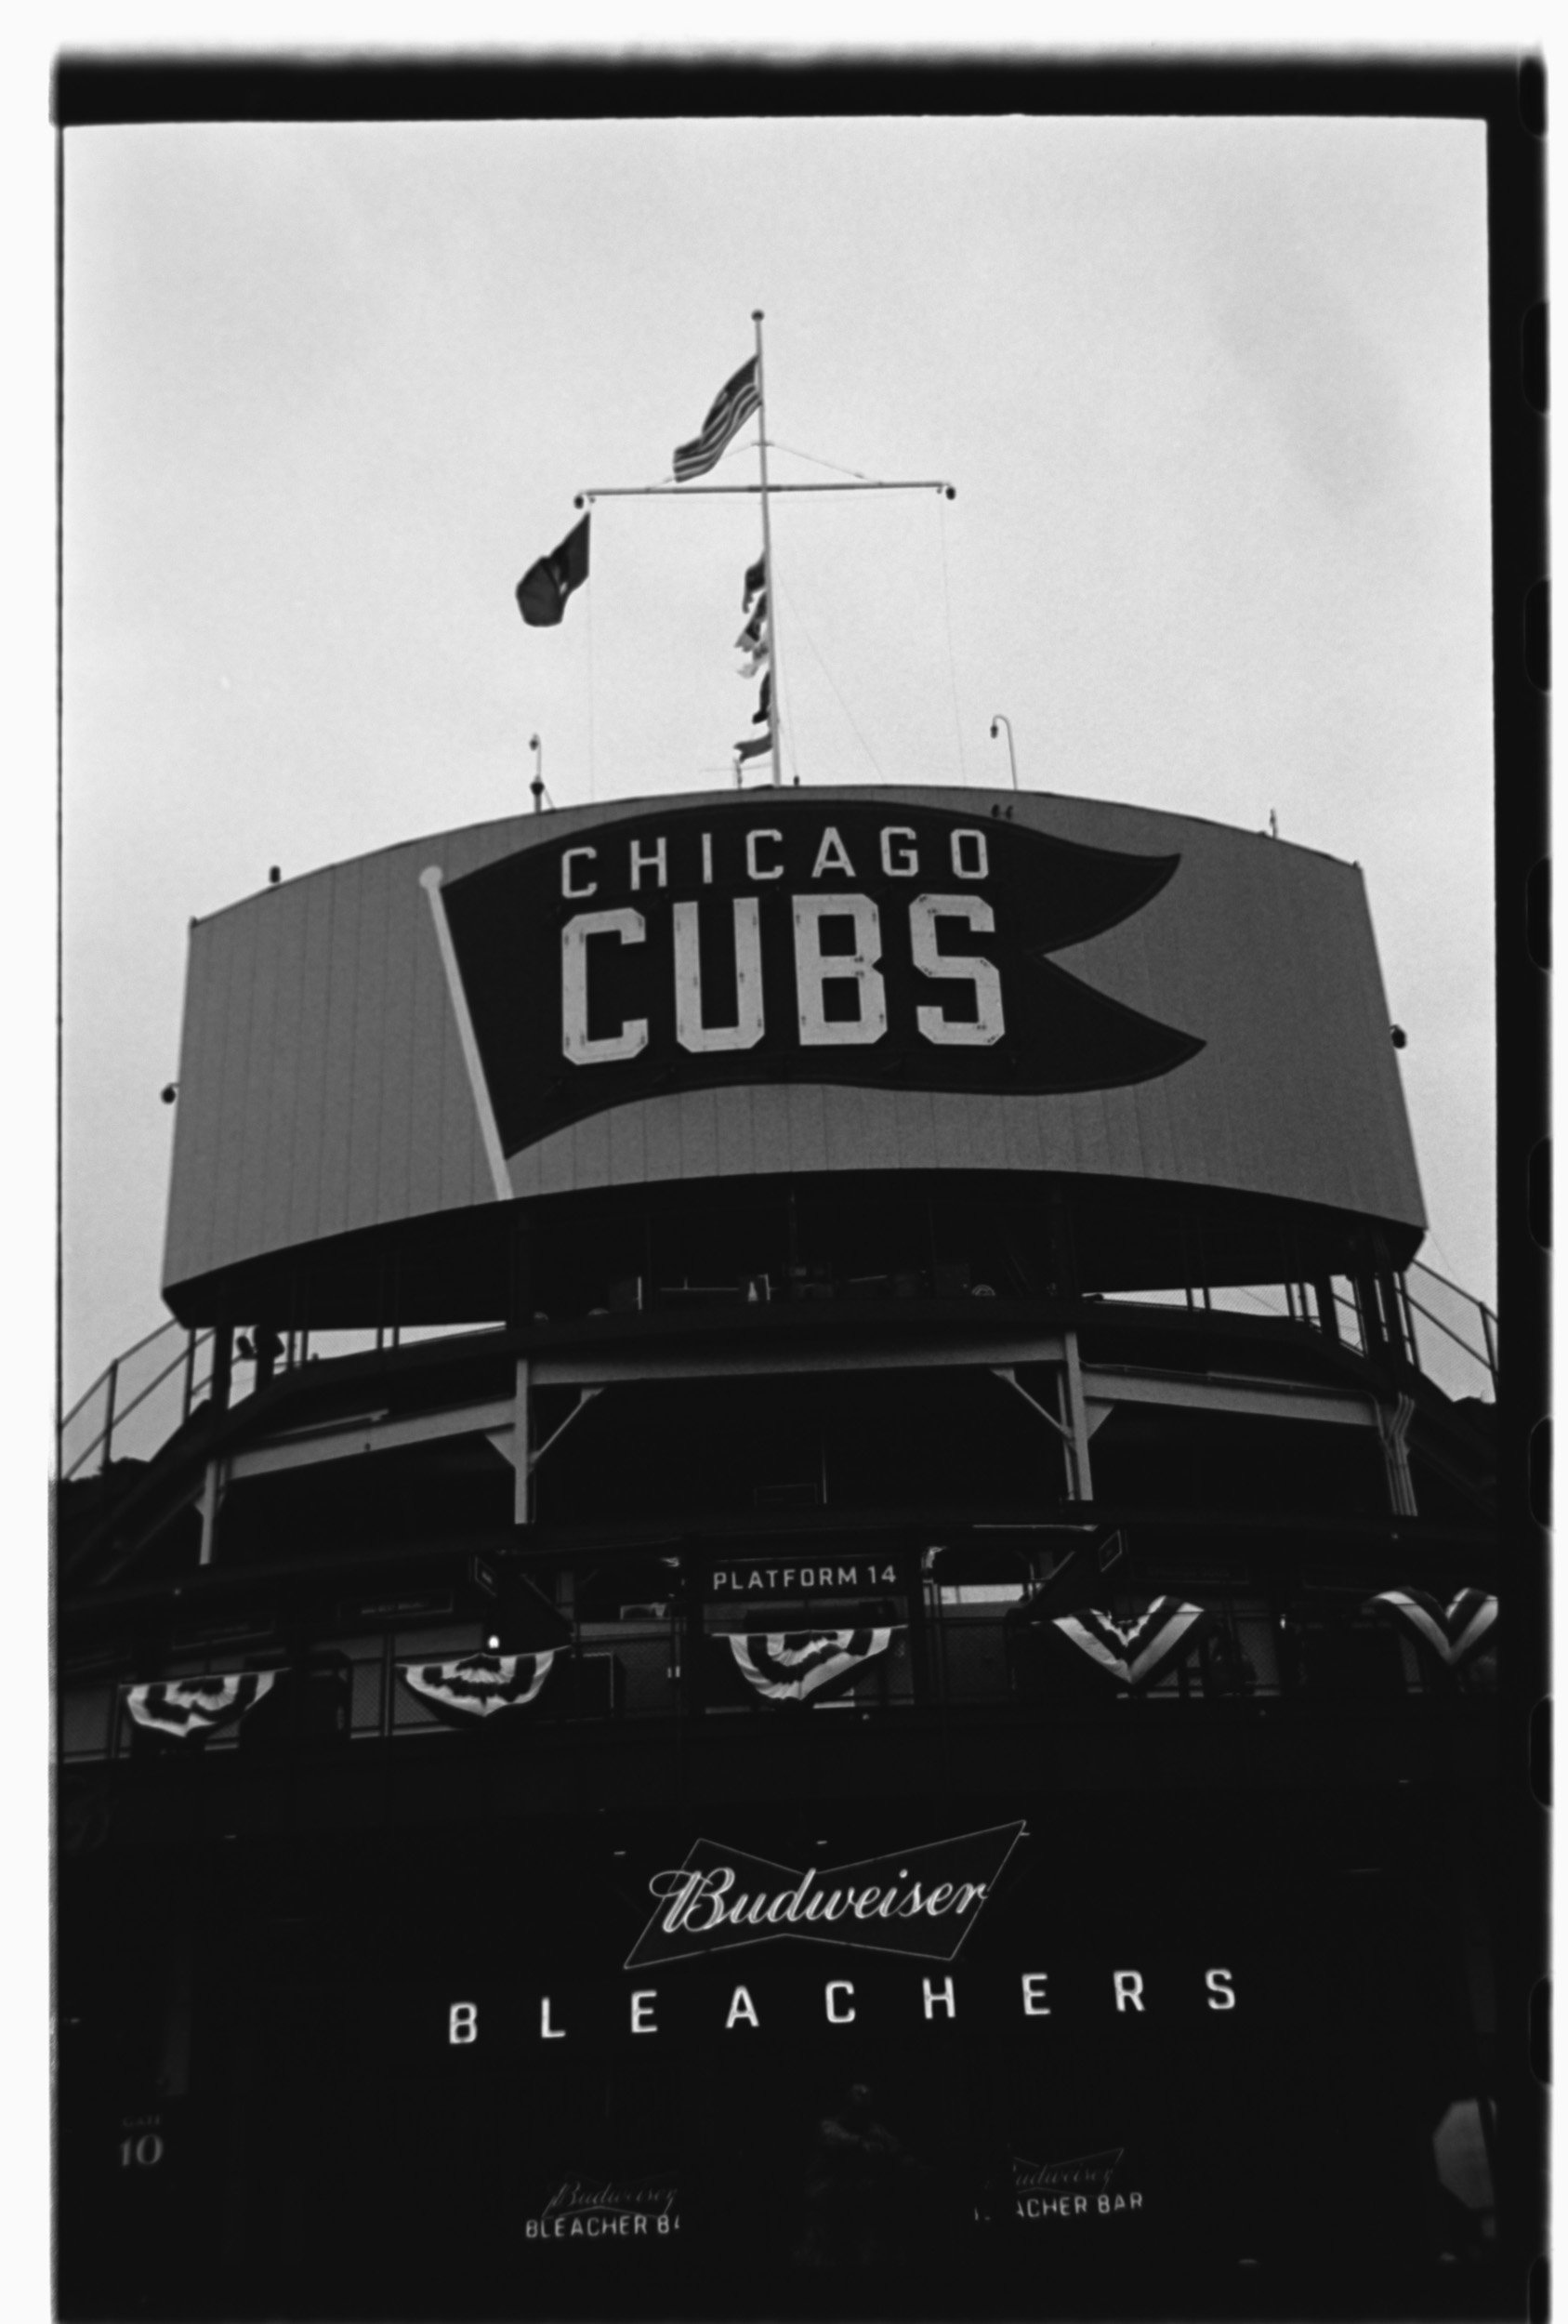
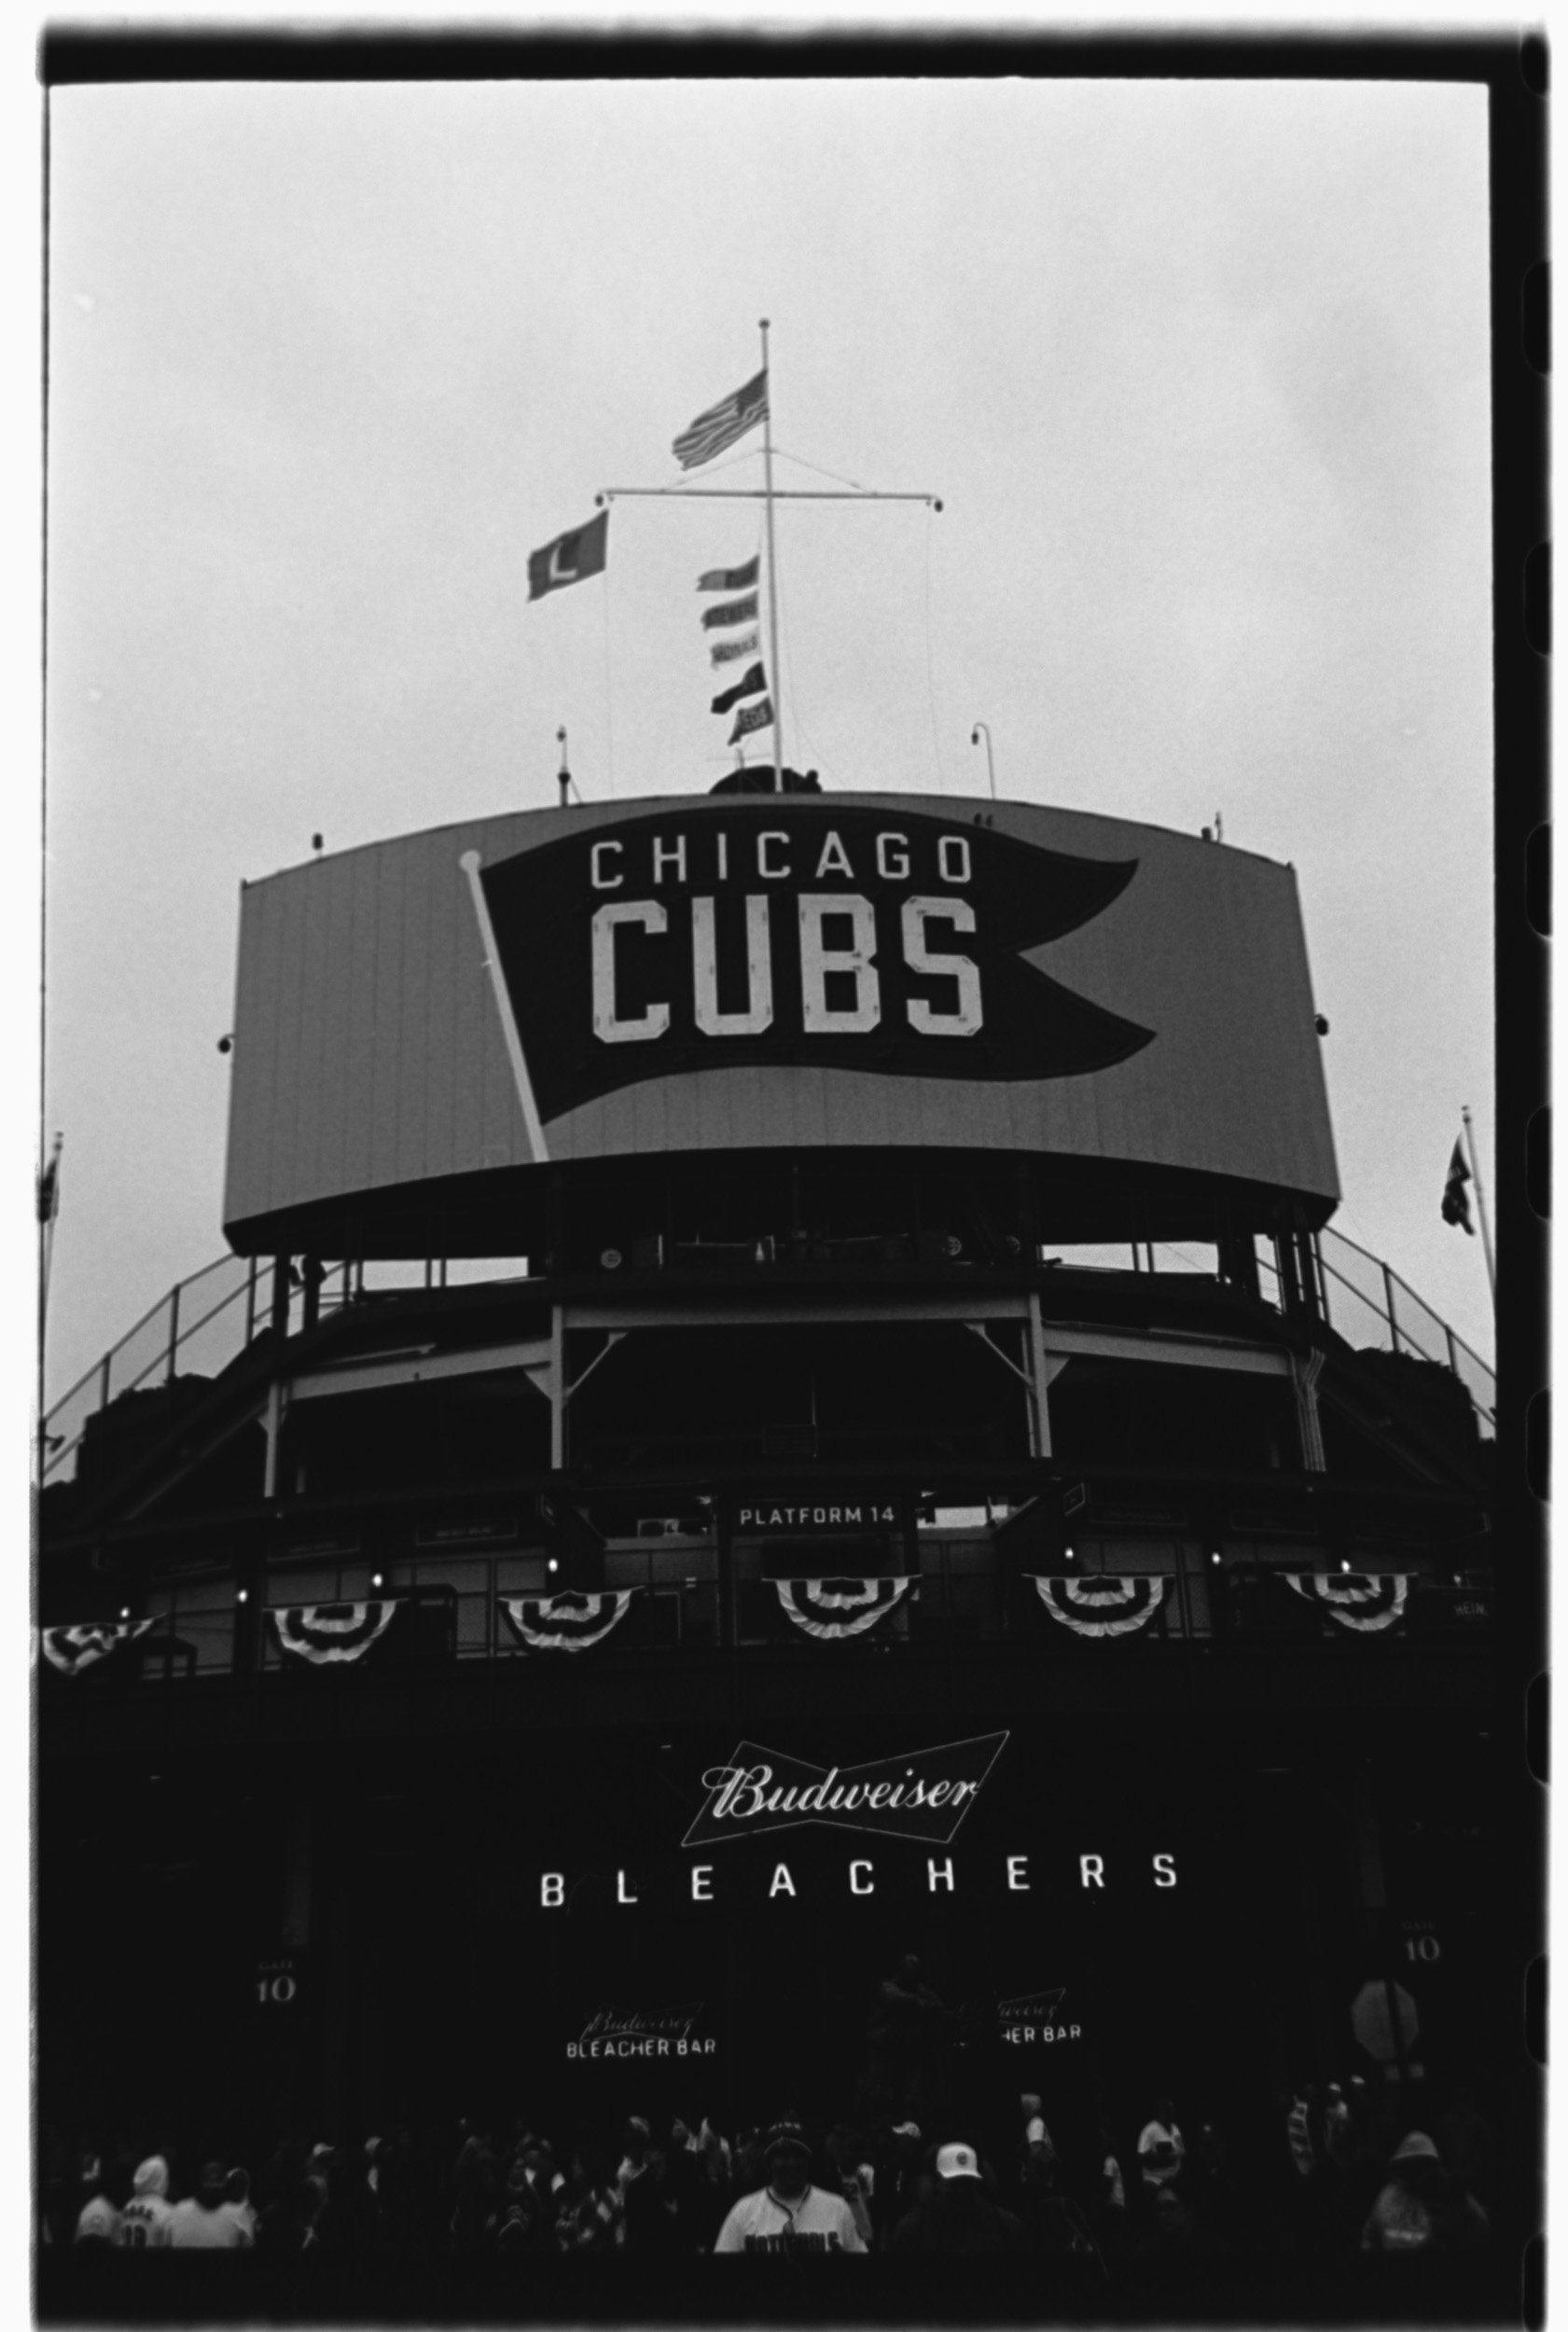
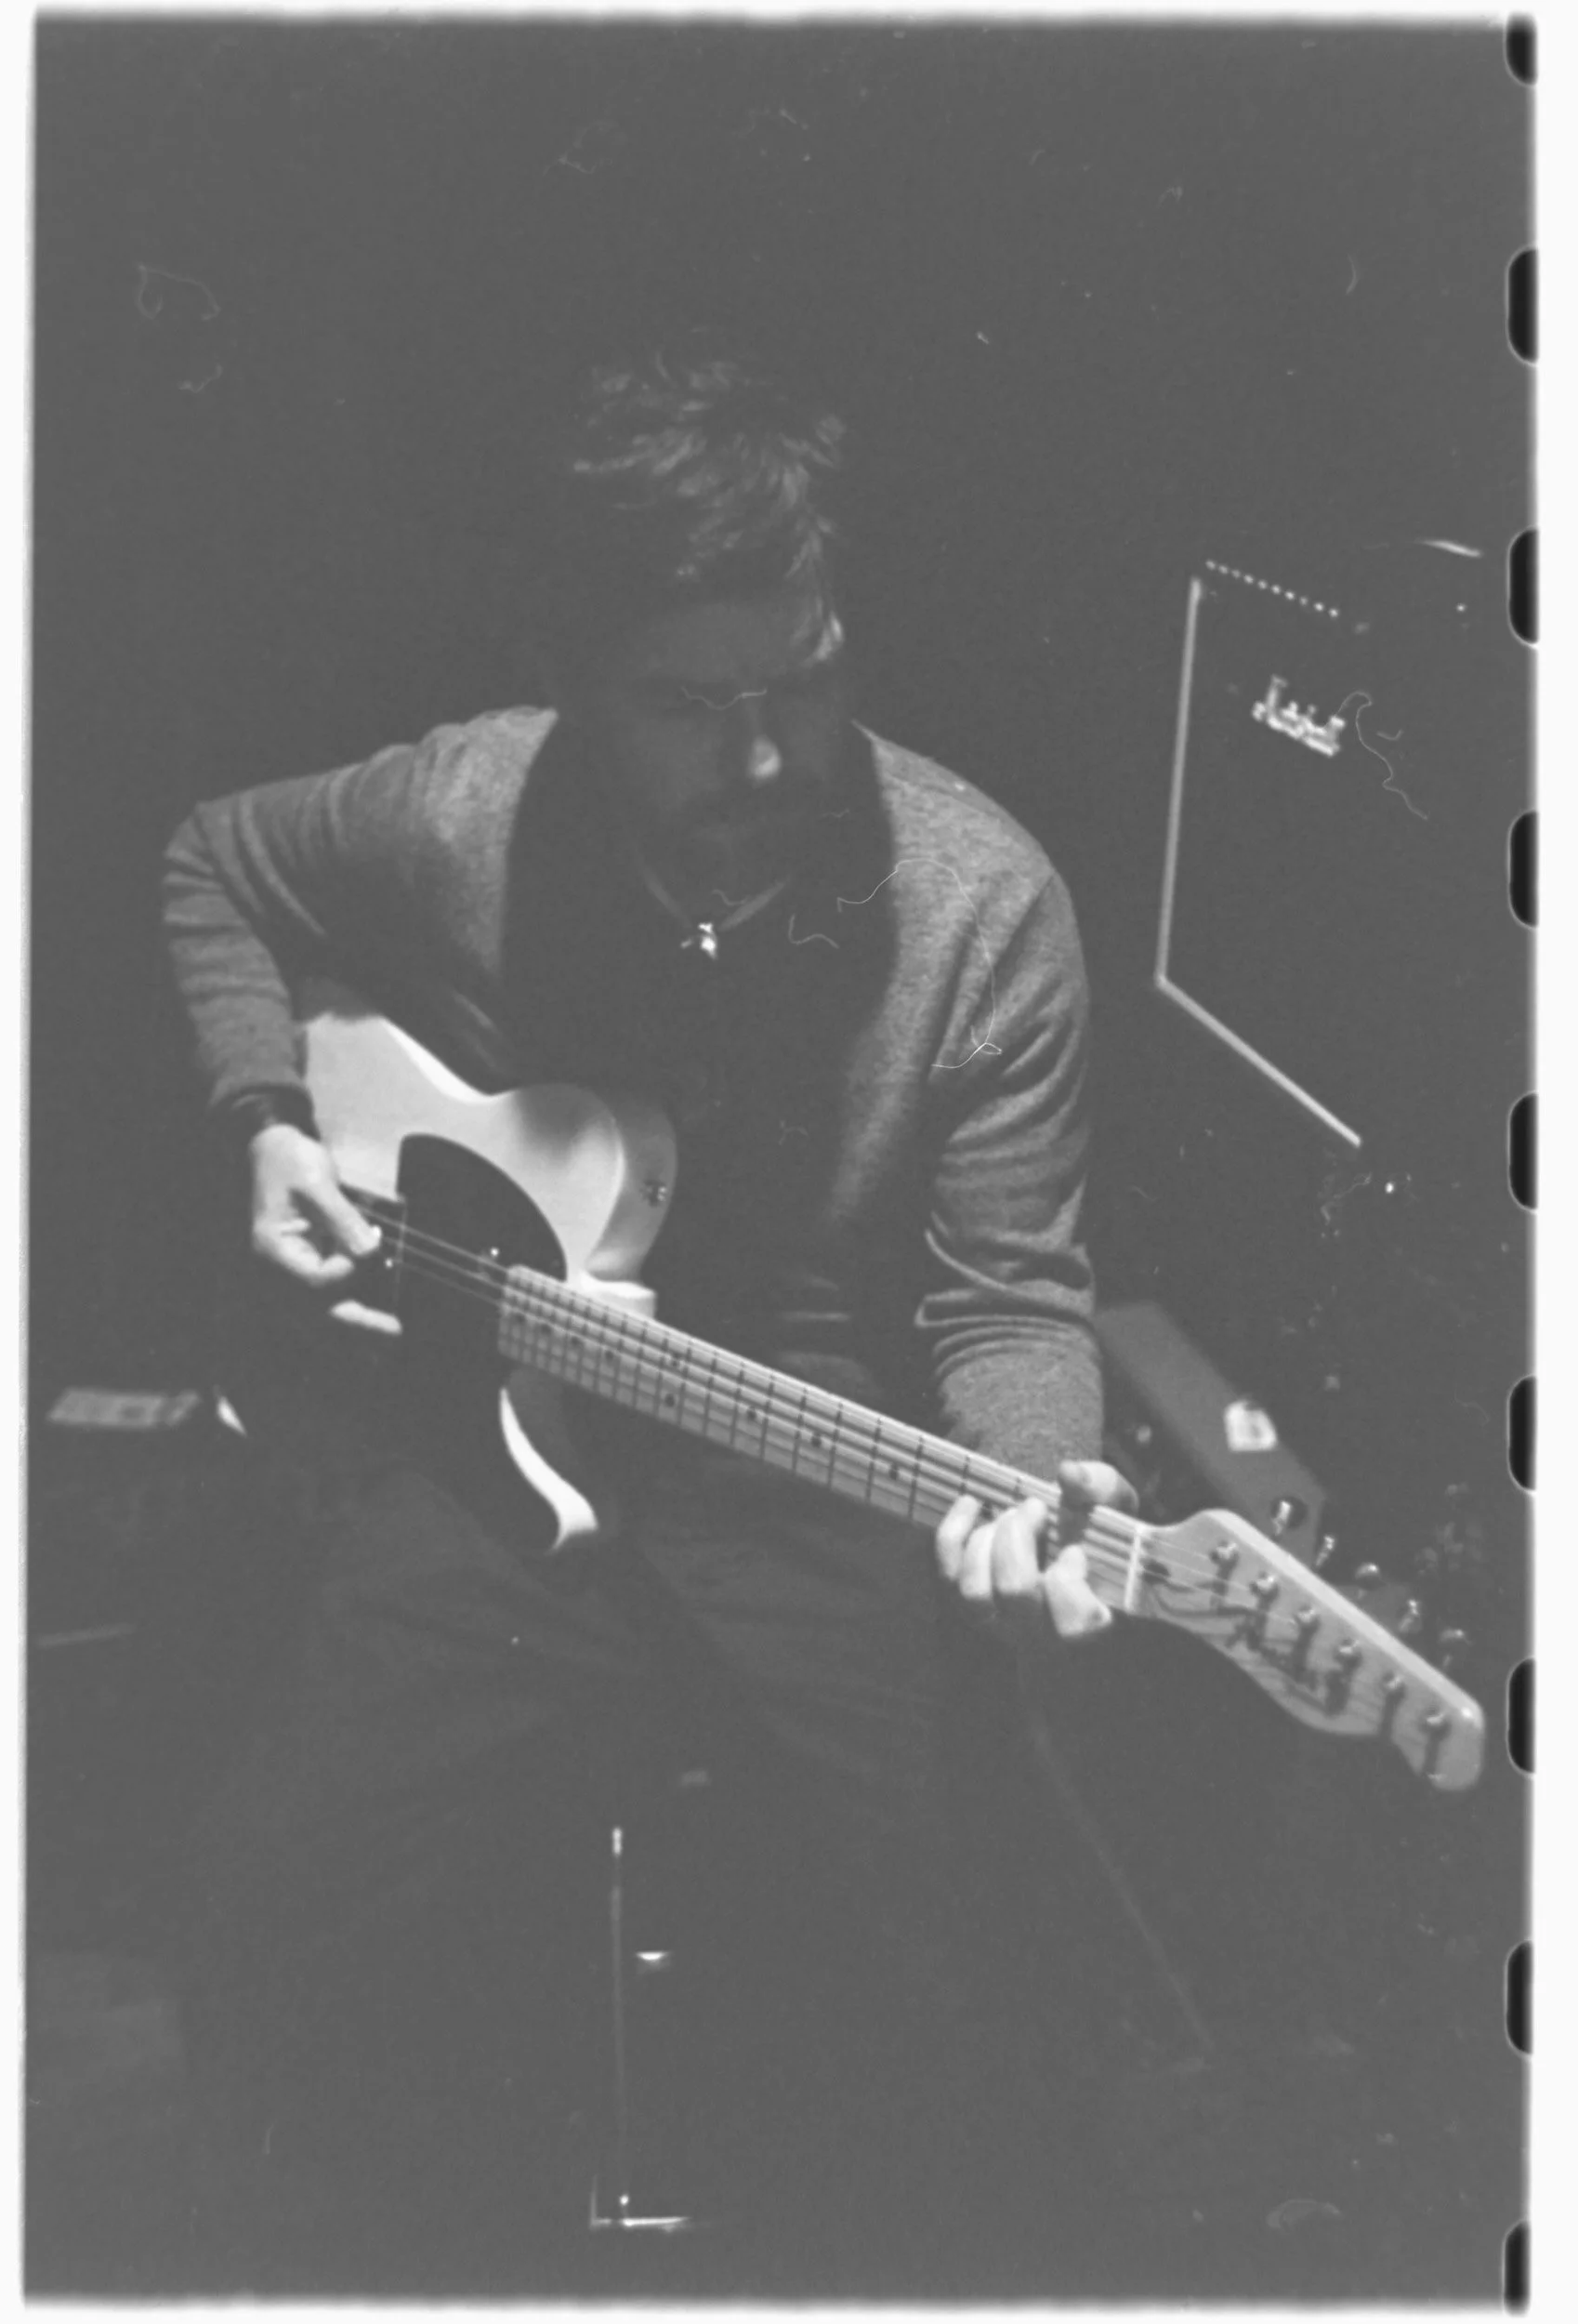
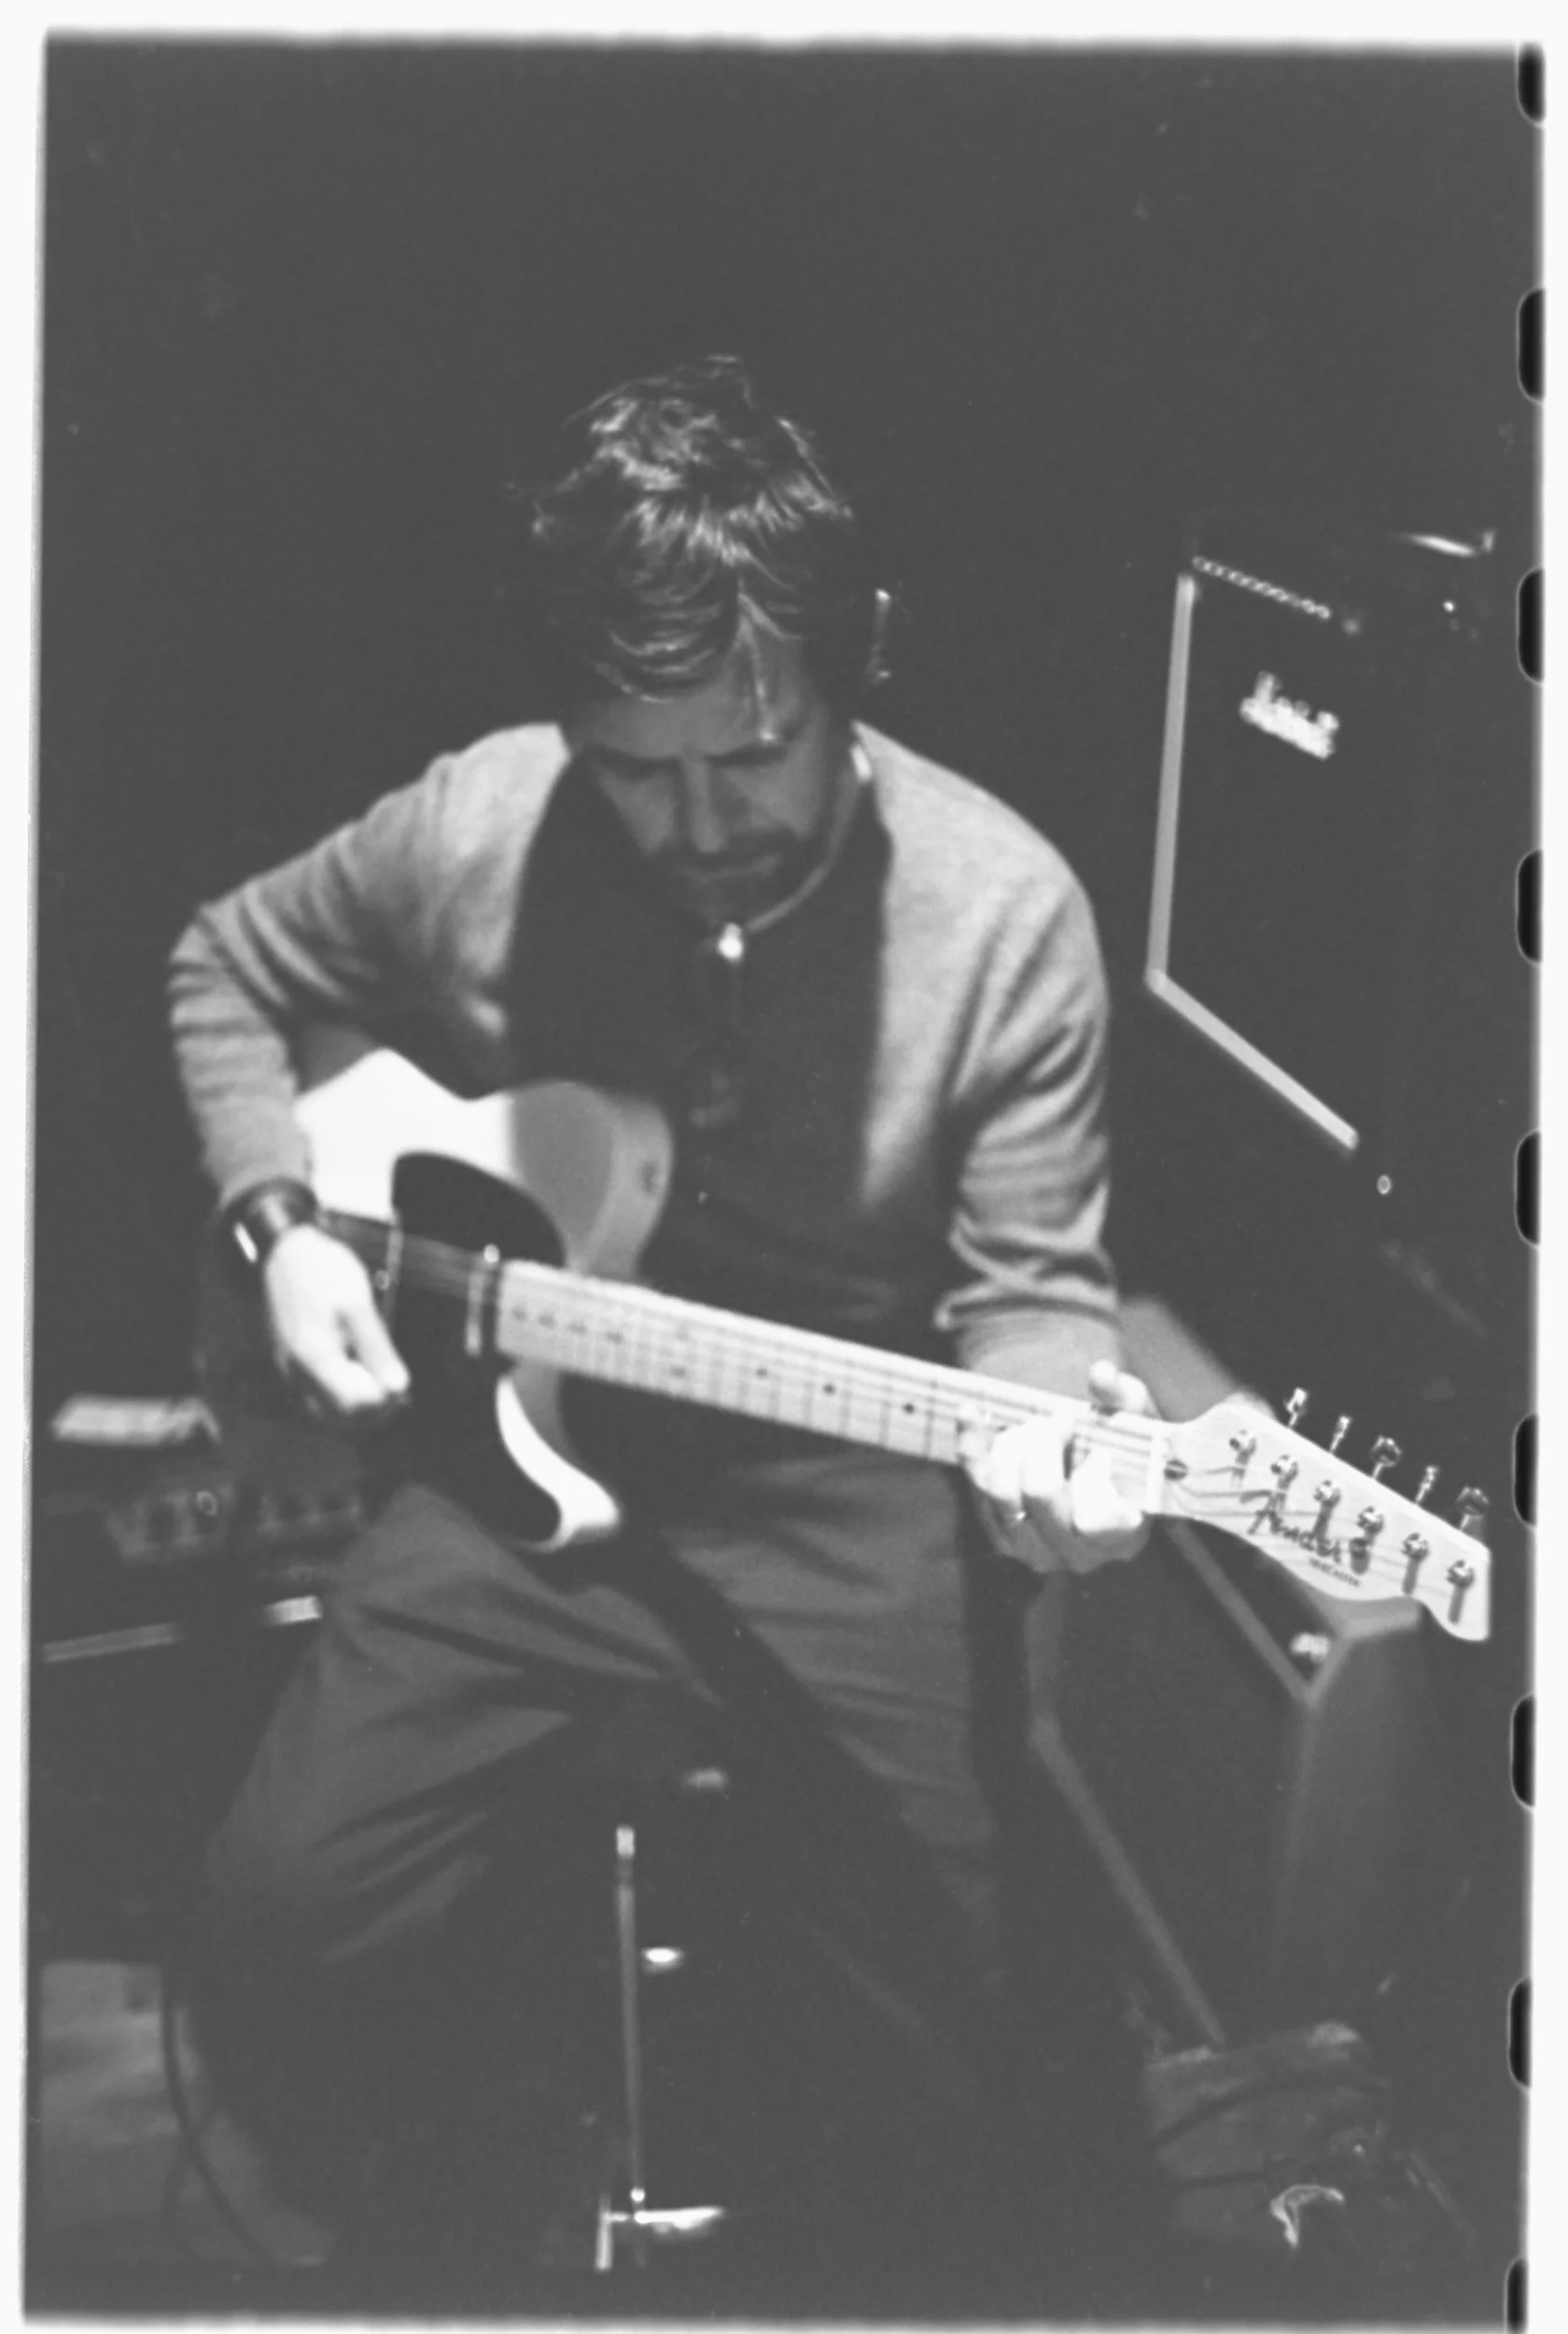
I had 2 rolls of Kodak Tri-X 400 exposed. One from the Canonet G-III QL17 and the other from the Olympus OM-1. The Canonet was exposed using the internal light meter and I used Sunny 16 with a little reassurance from the iPhone Light Meter with the OM-1. When I entered the darkroom to prep the rolls, I felt confident. Slow is fast when it comes to doing most things analog. Follow the steps and you’ll succeed. Seeing the images appear as I unrolled the film from the spool was exciting. Within an hour, 70+ images were scanned and cropped. Below are the unedited results.
Developing B&W film isn’t hard.
Canonet G-III QL17: Kodak Tri-X 400
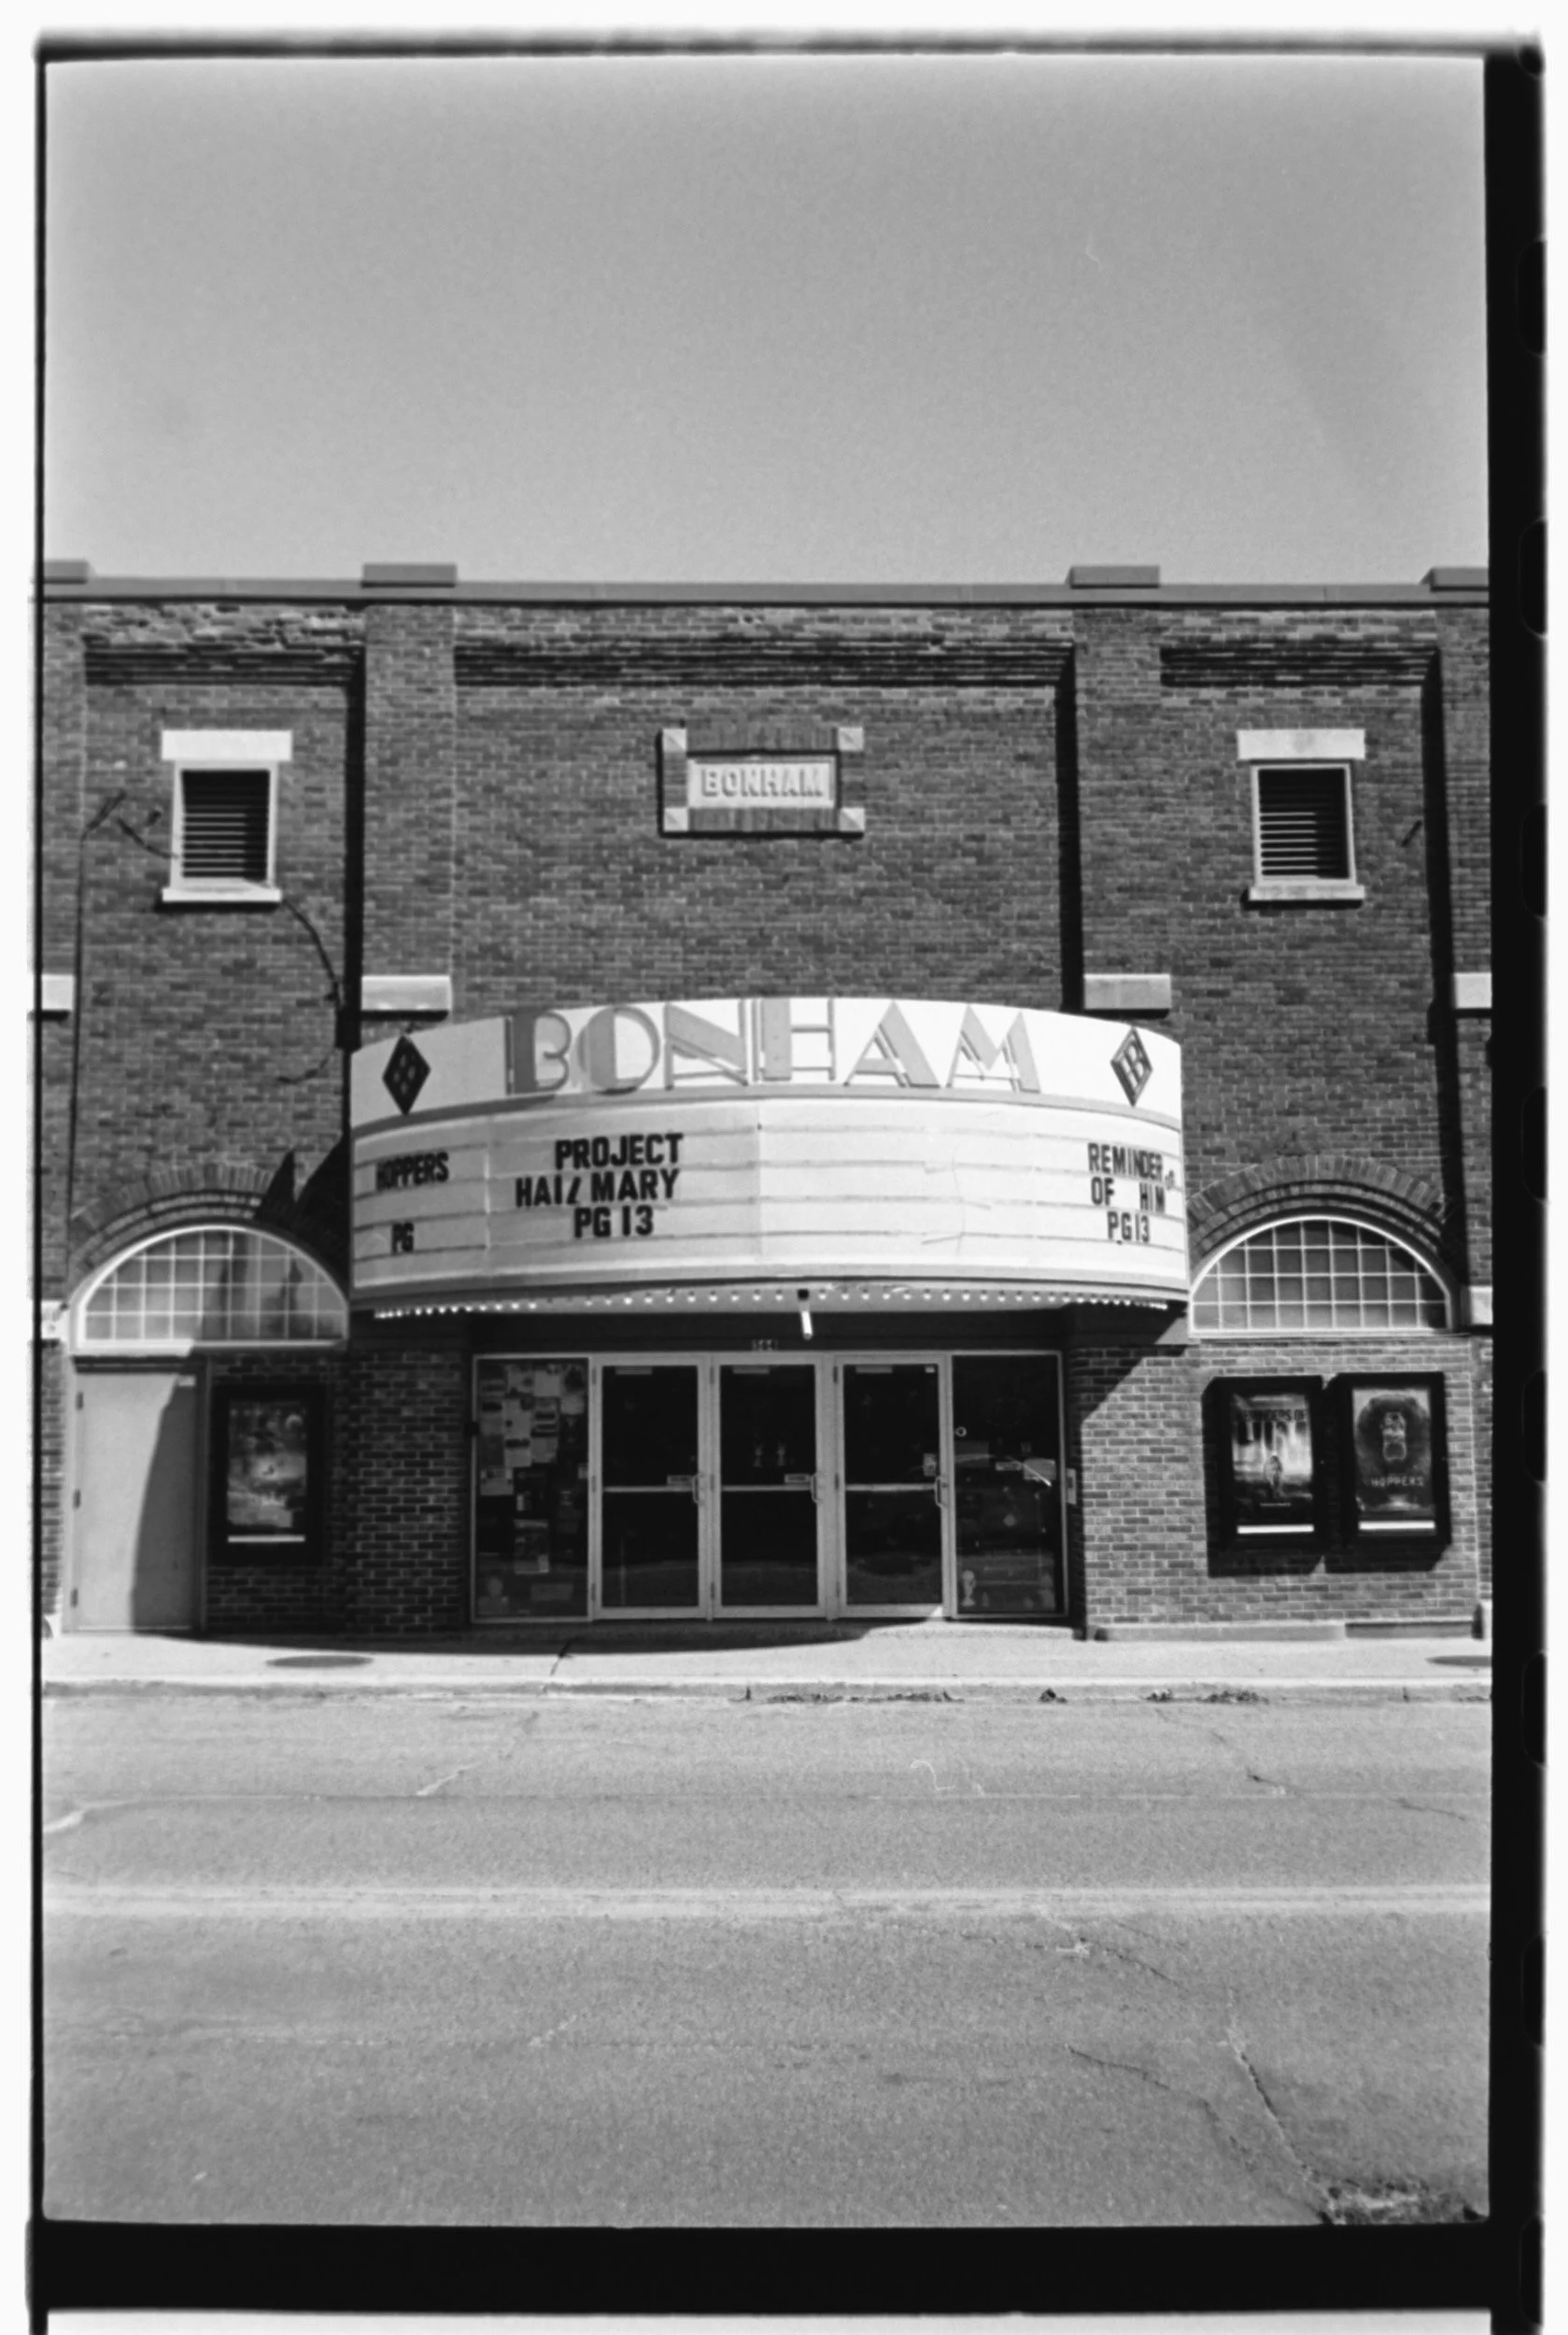

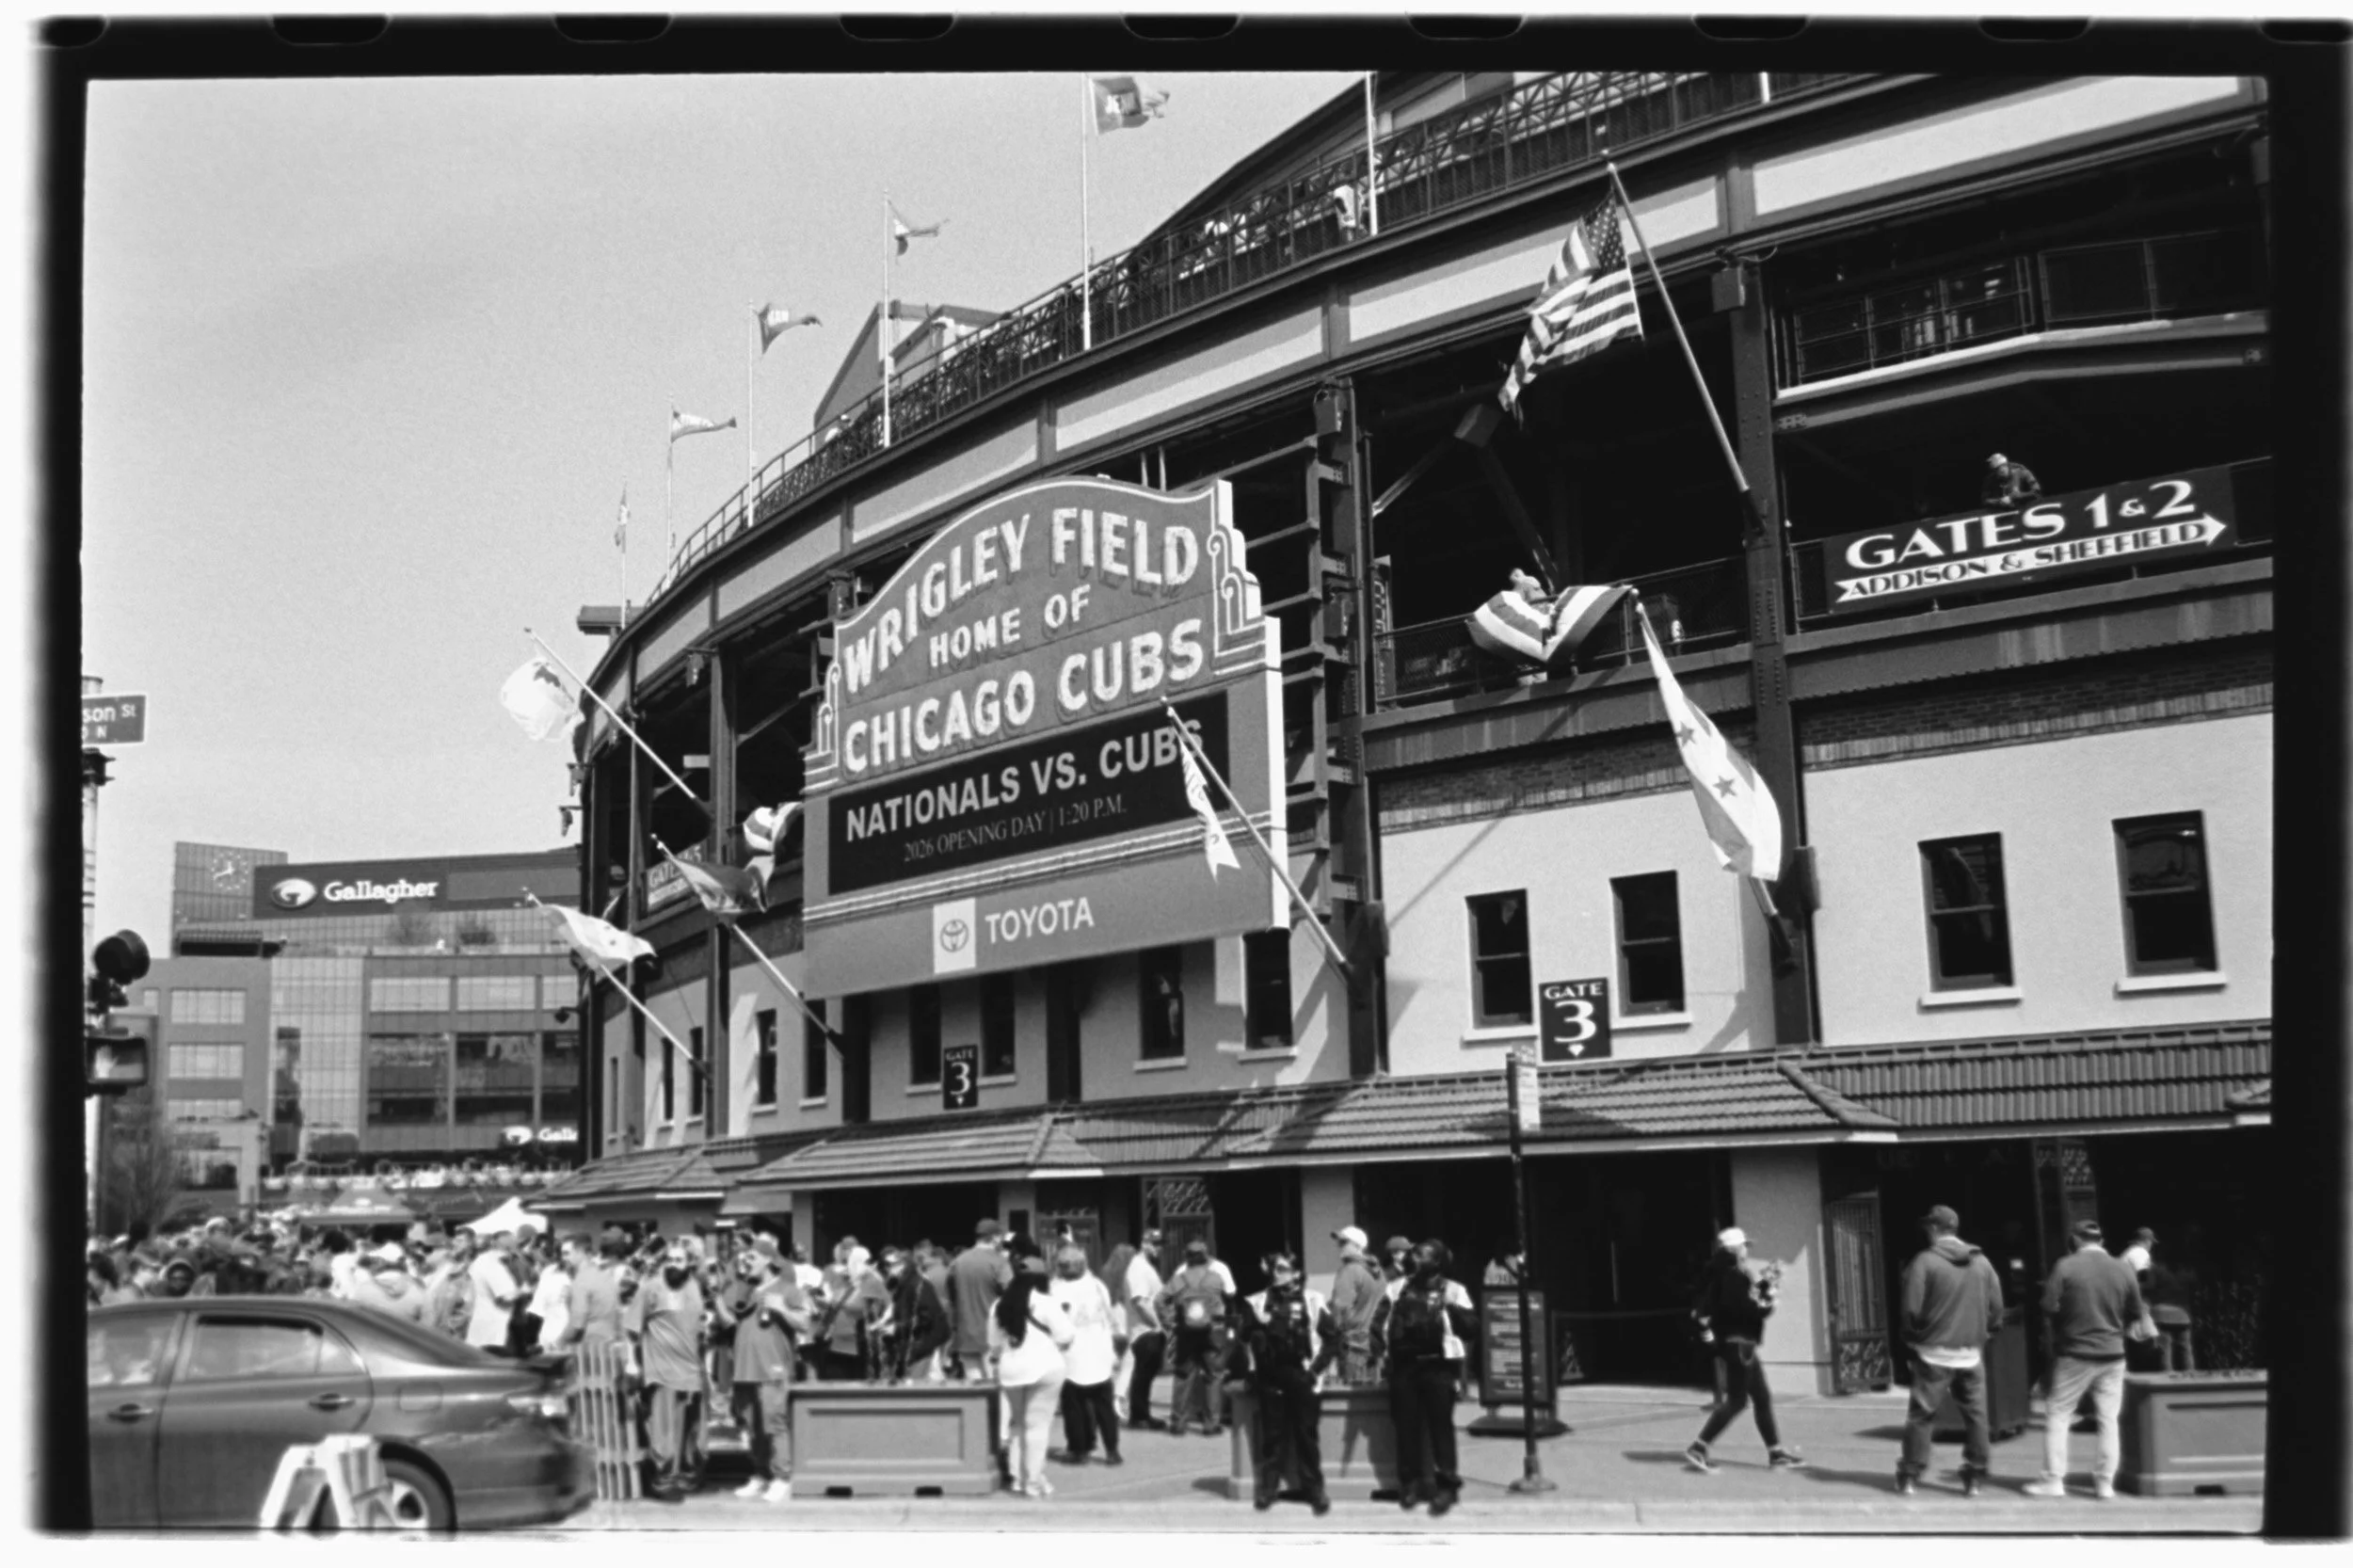
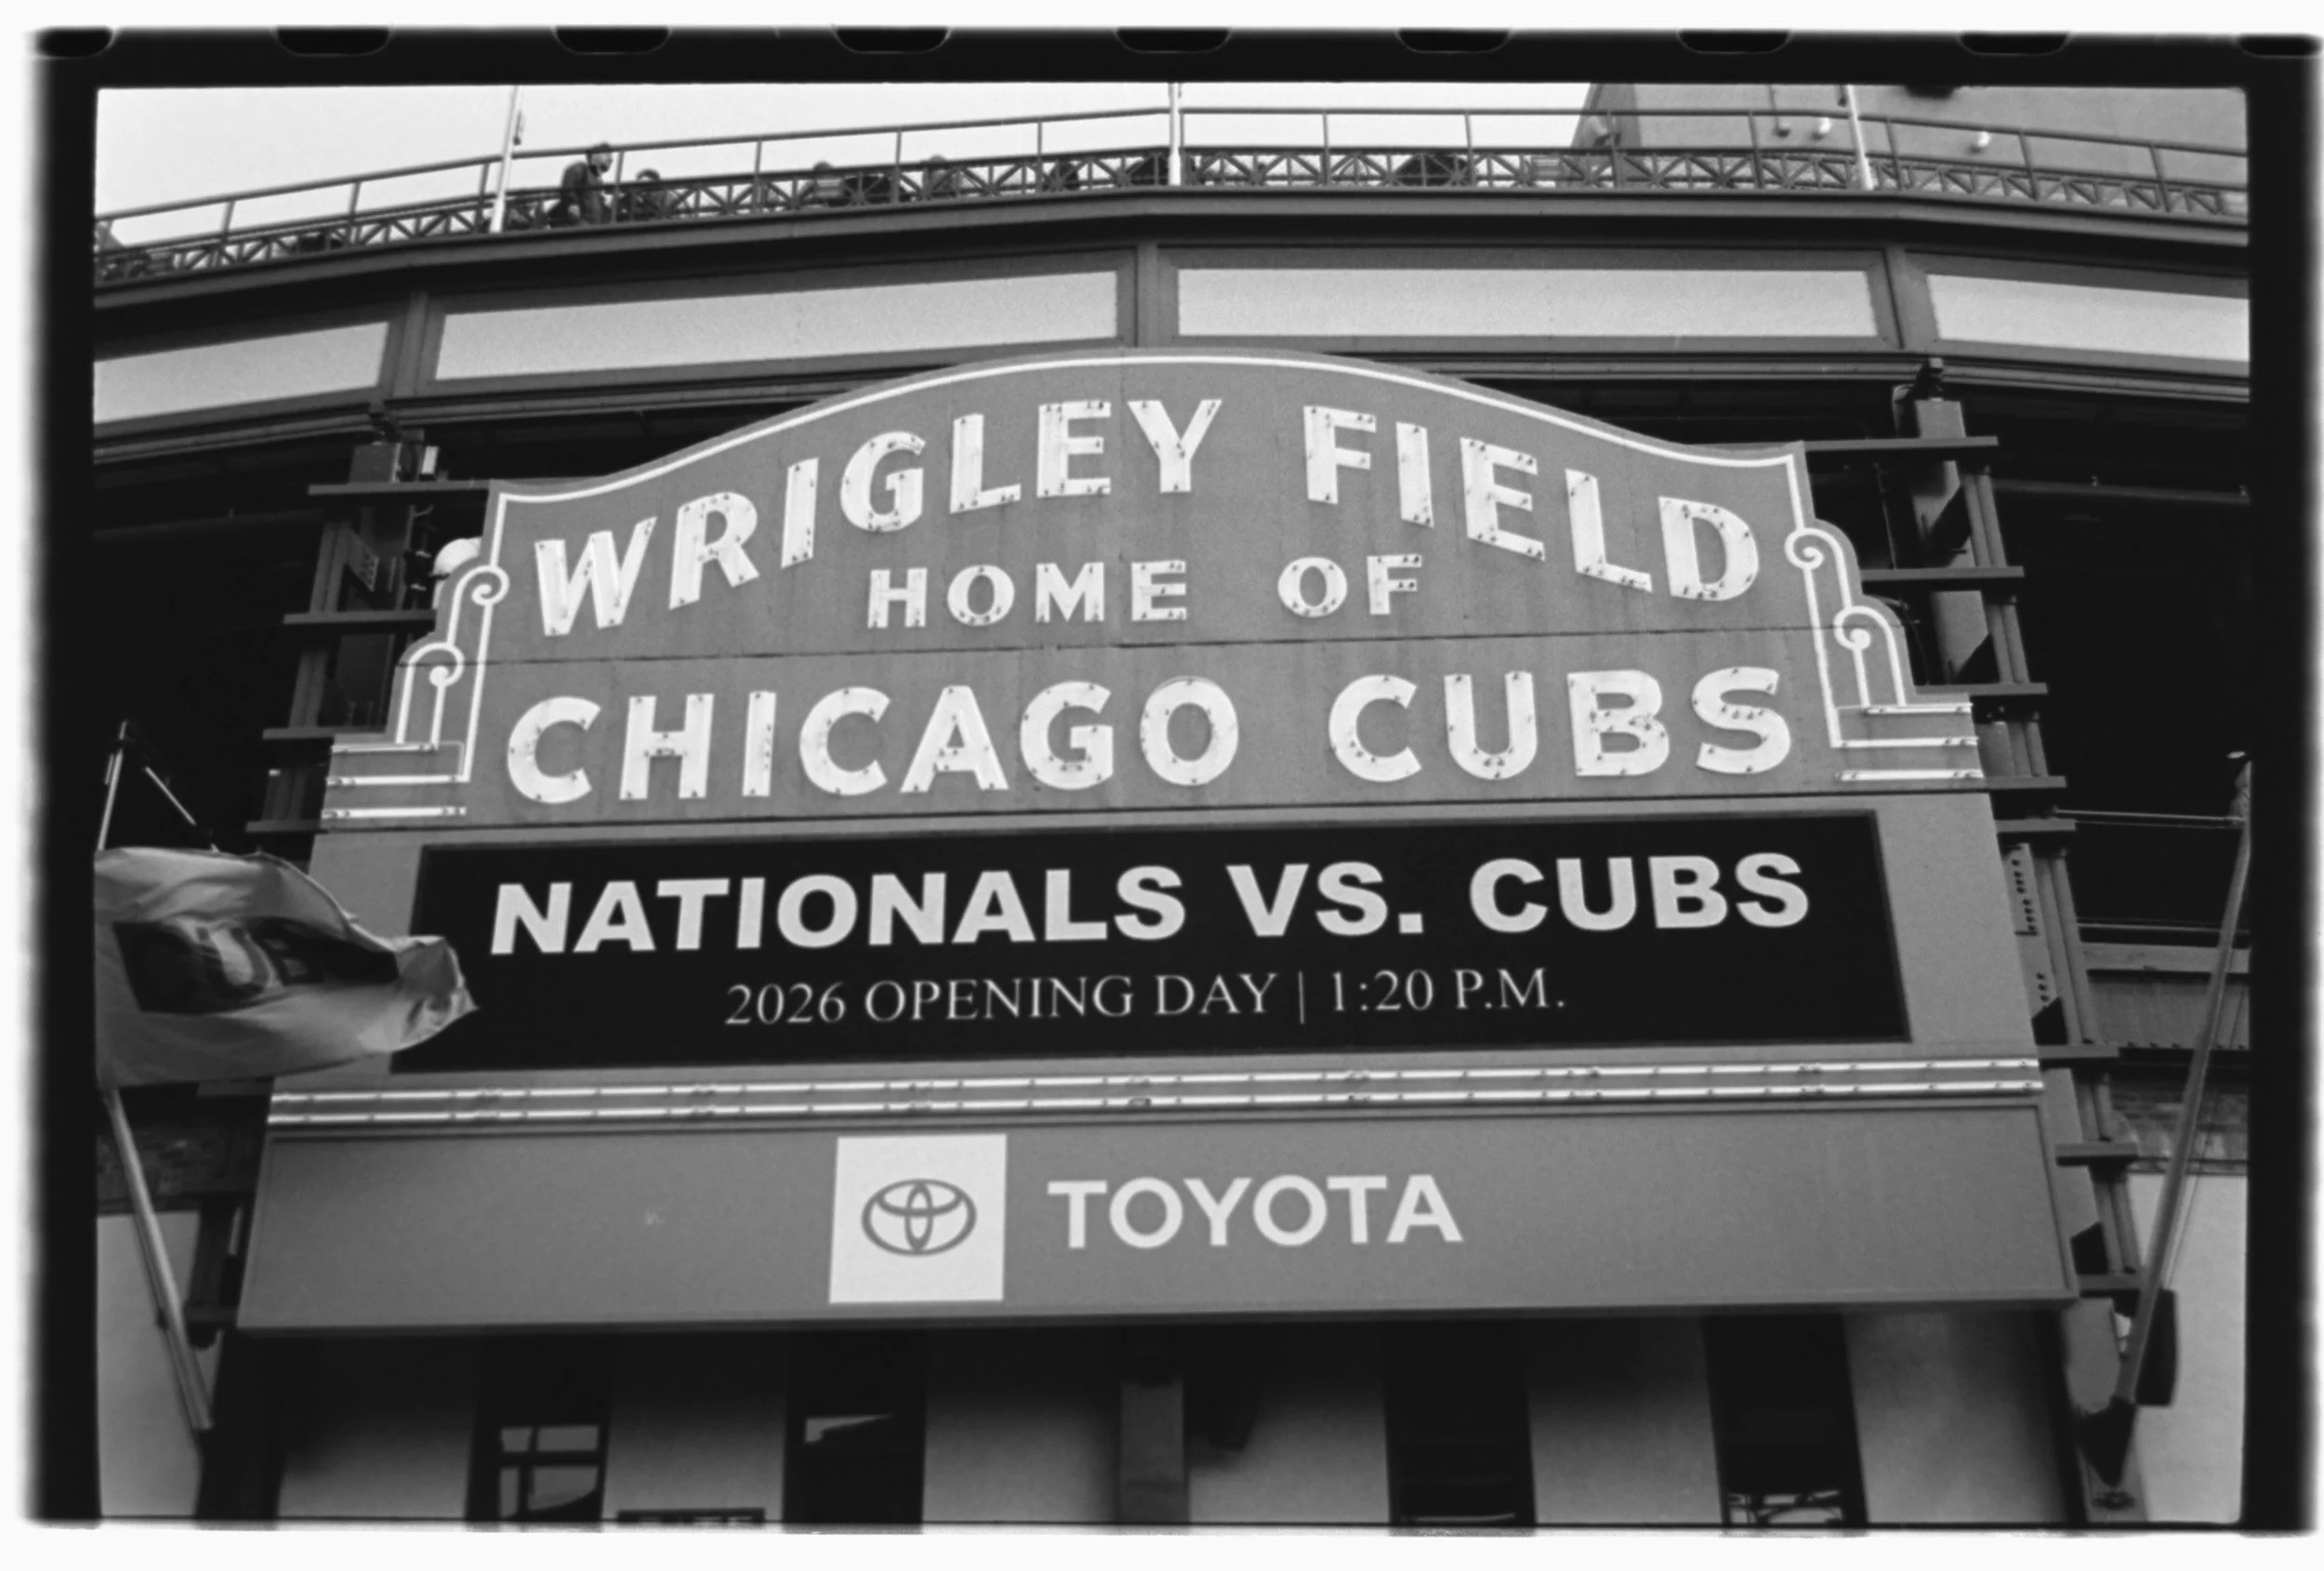
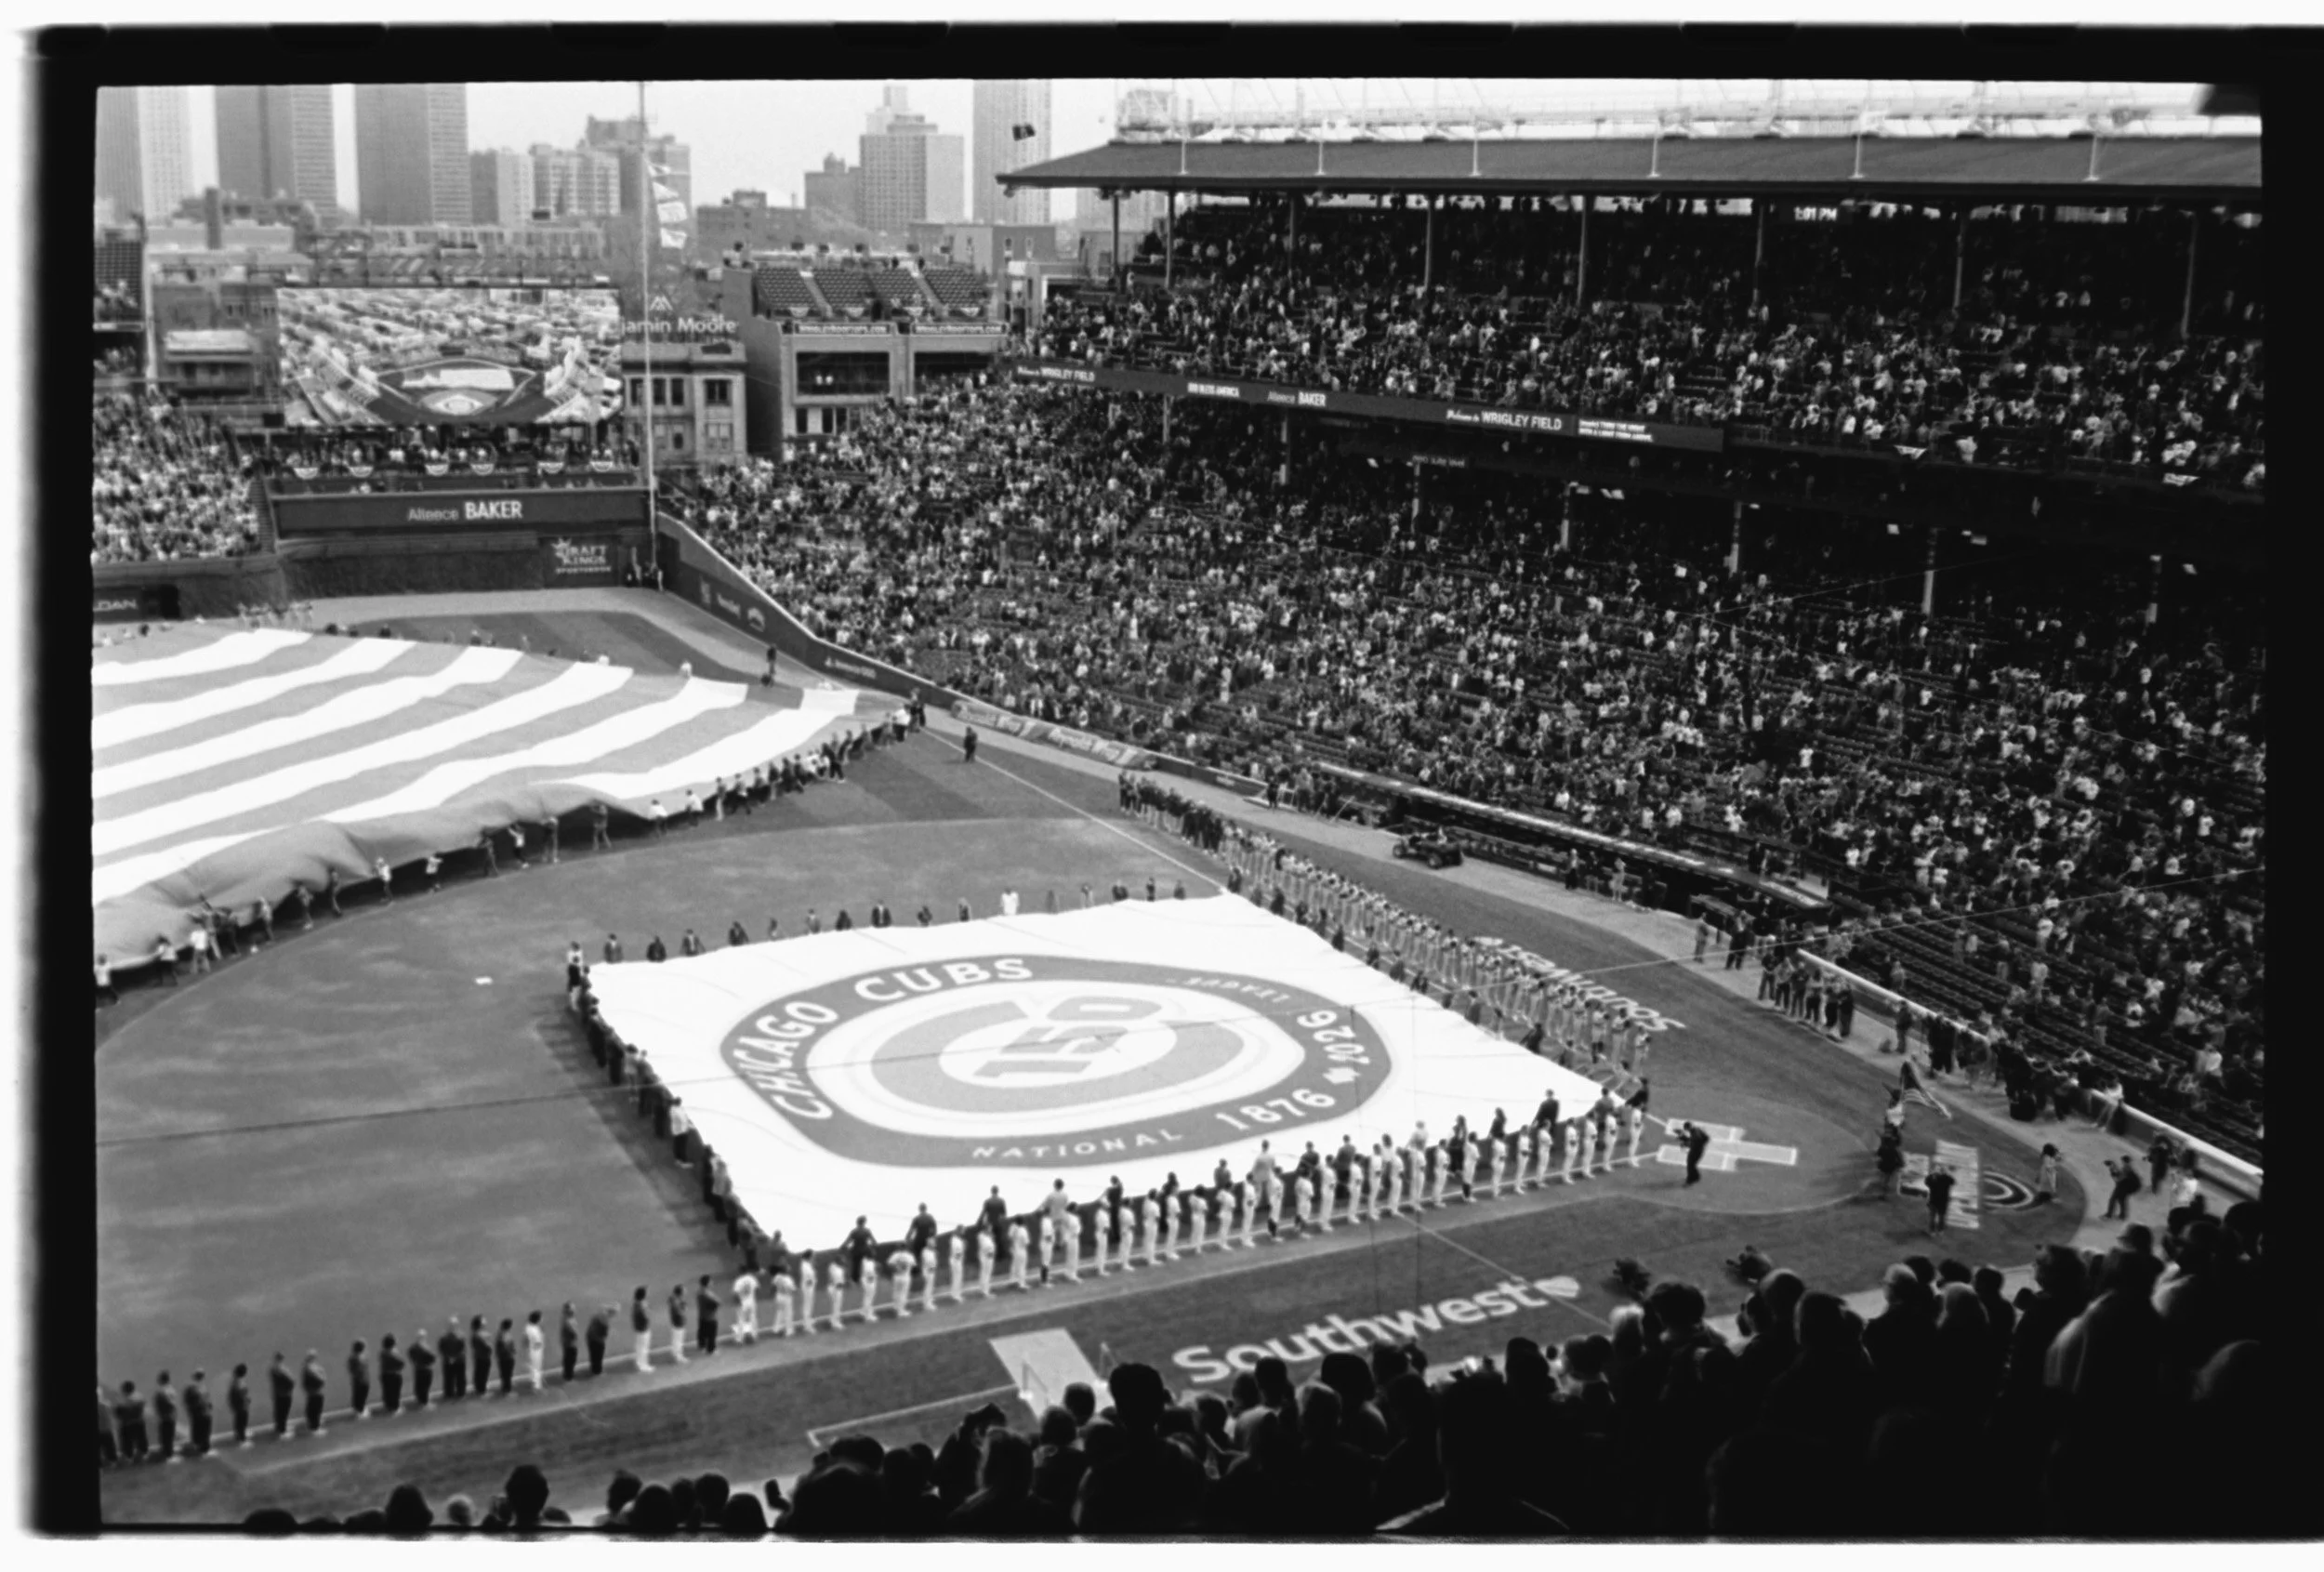
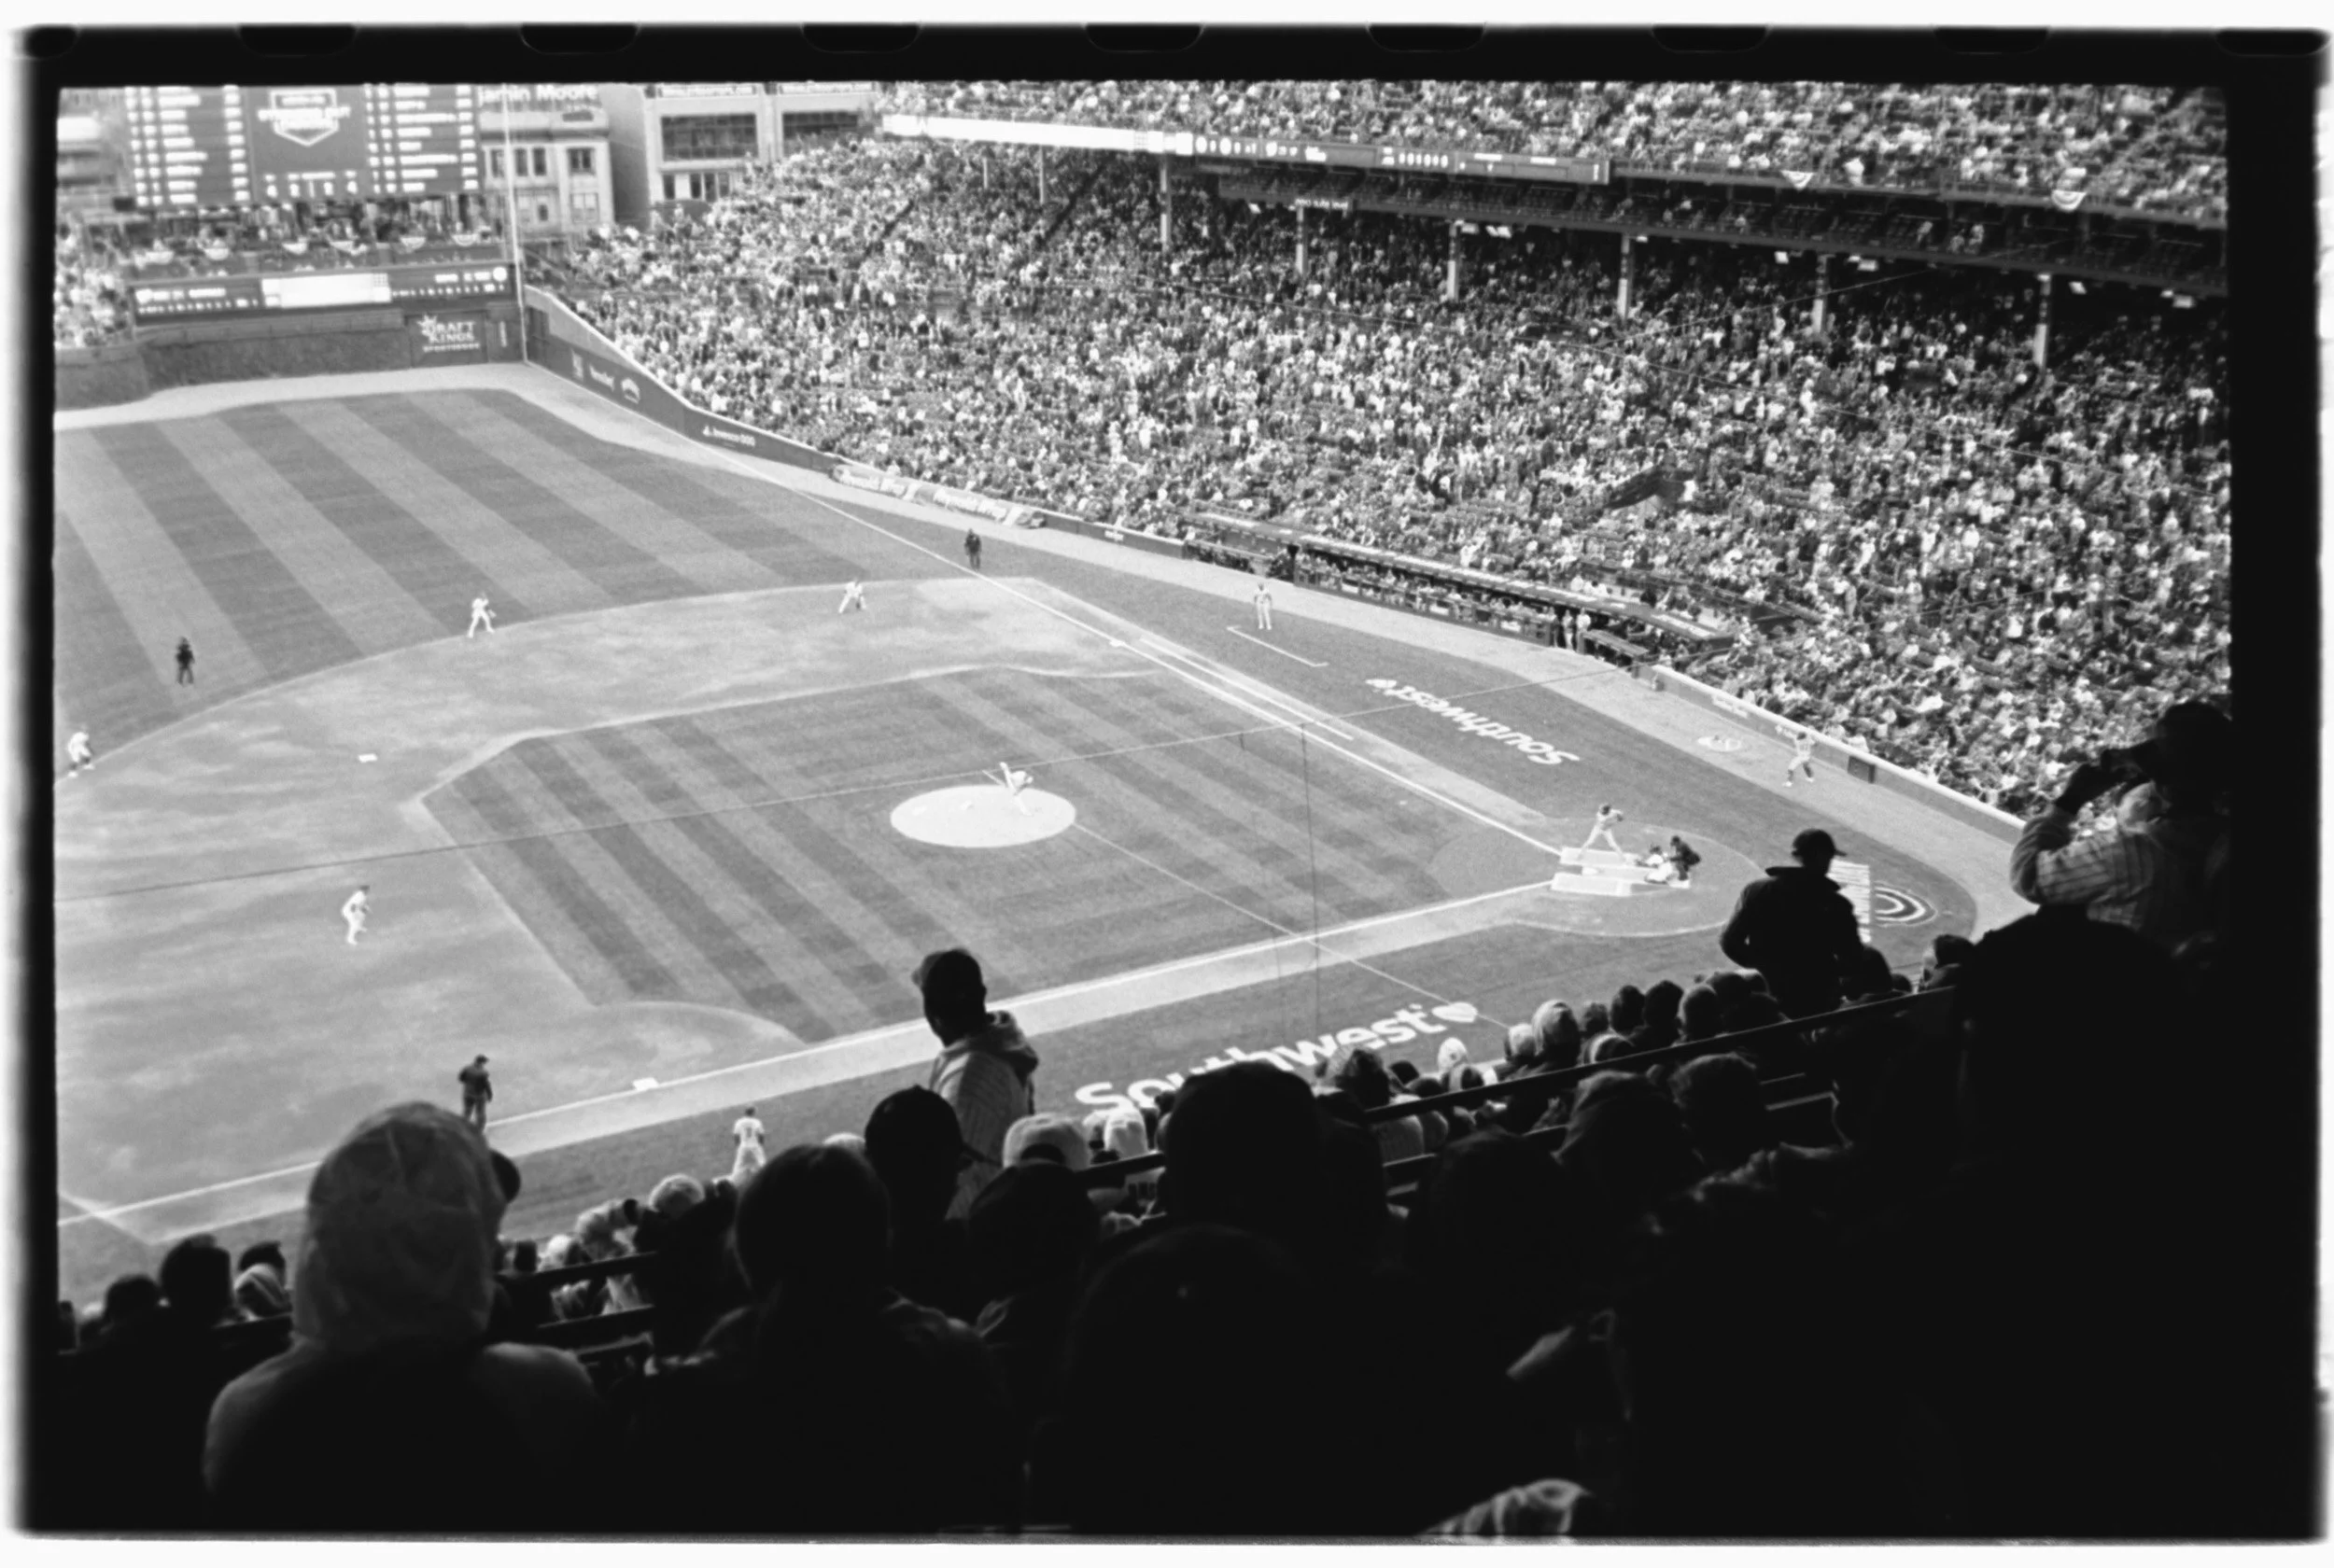
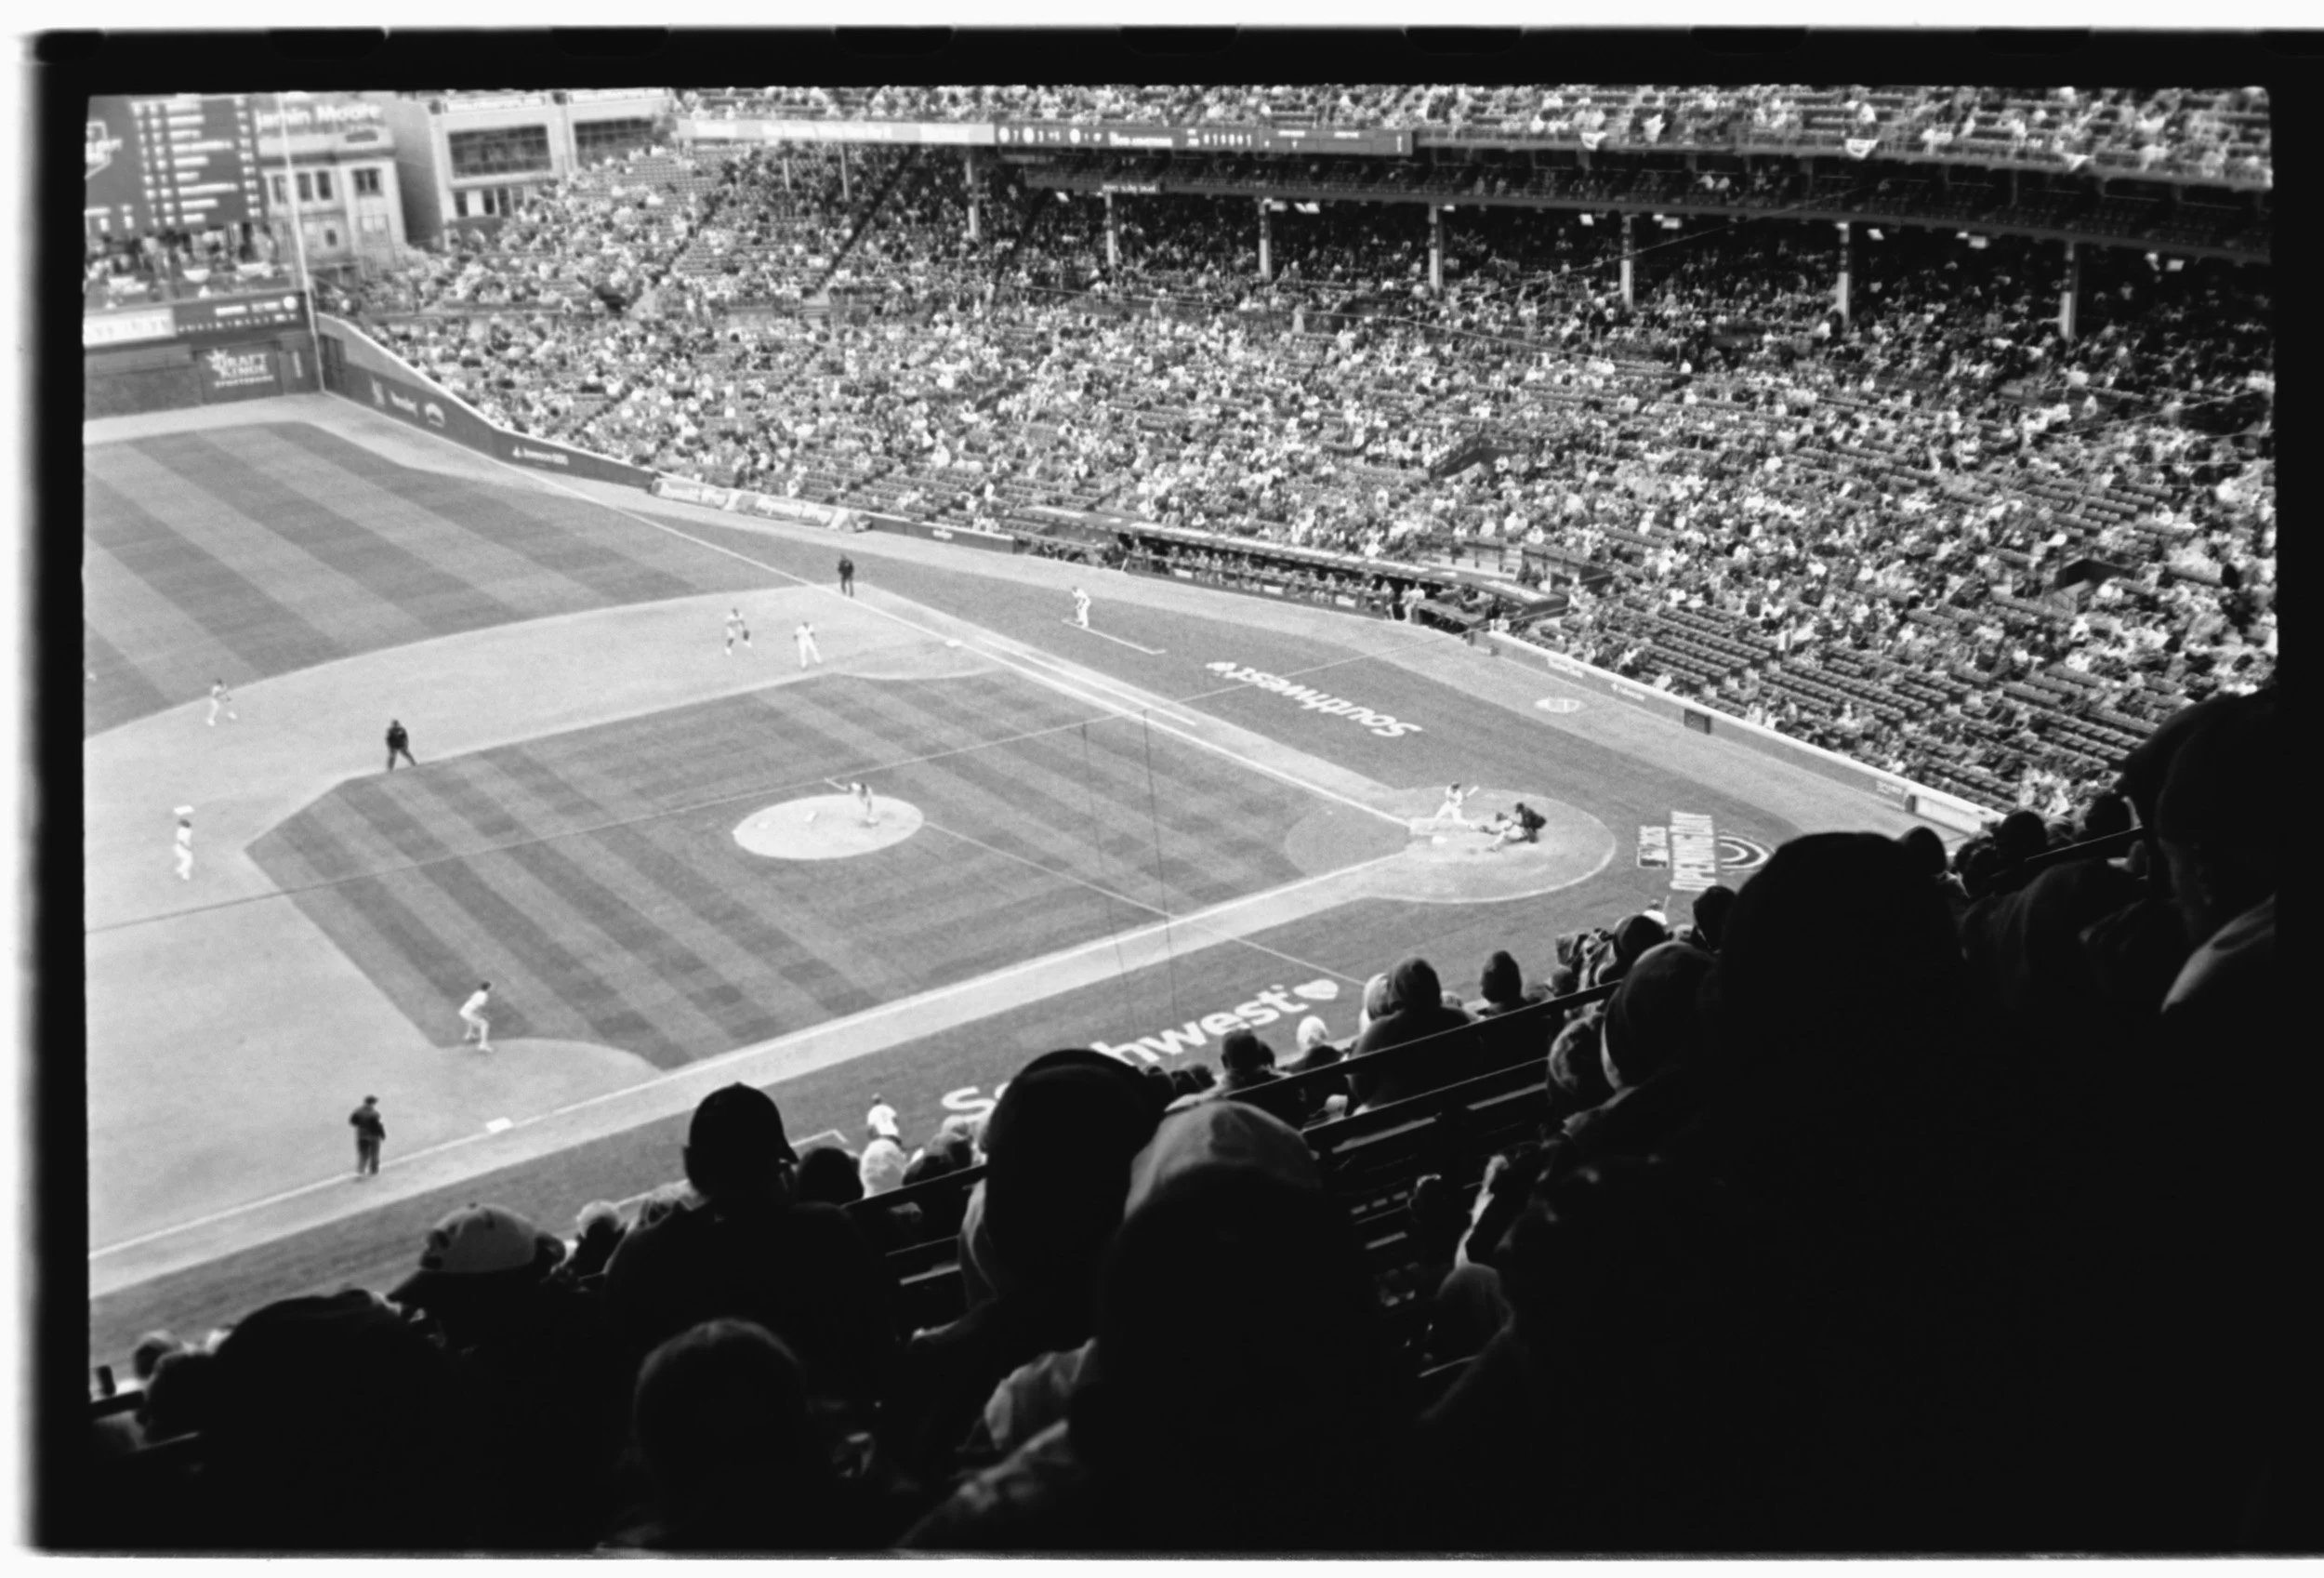
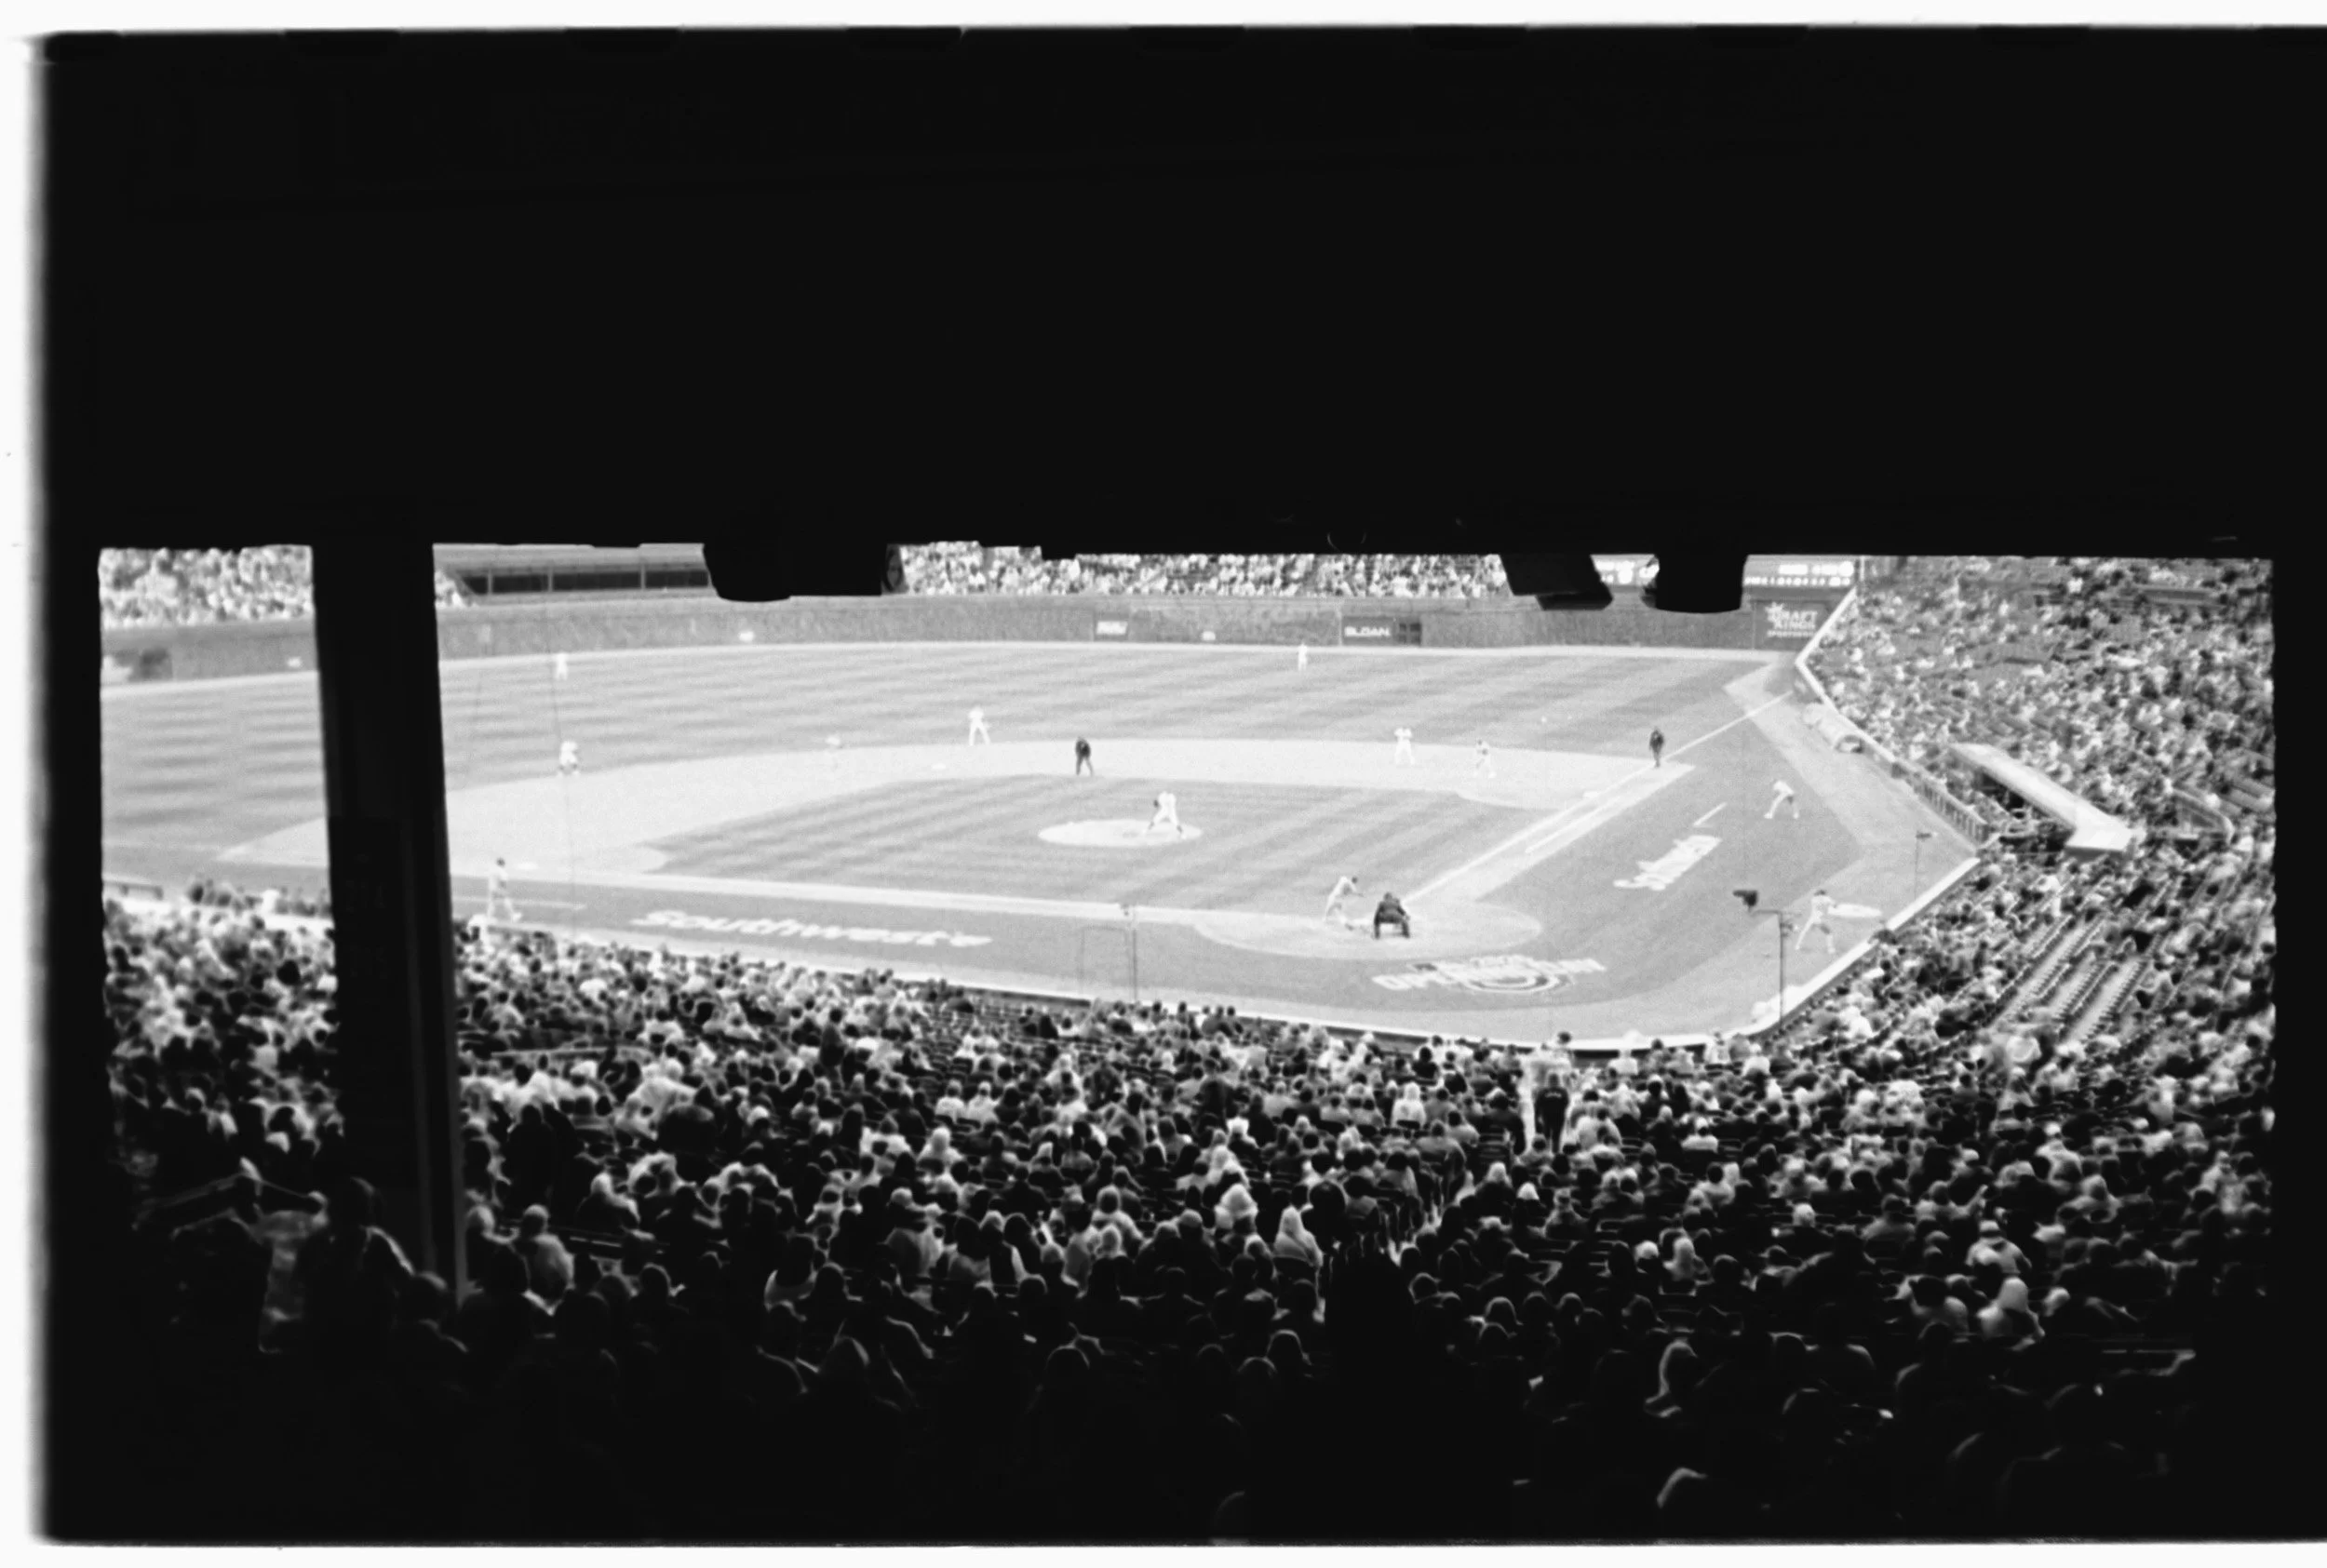
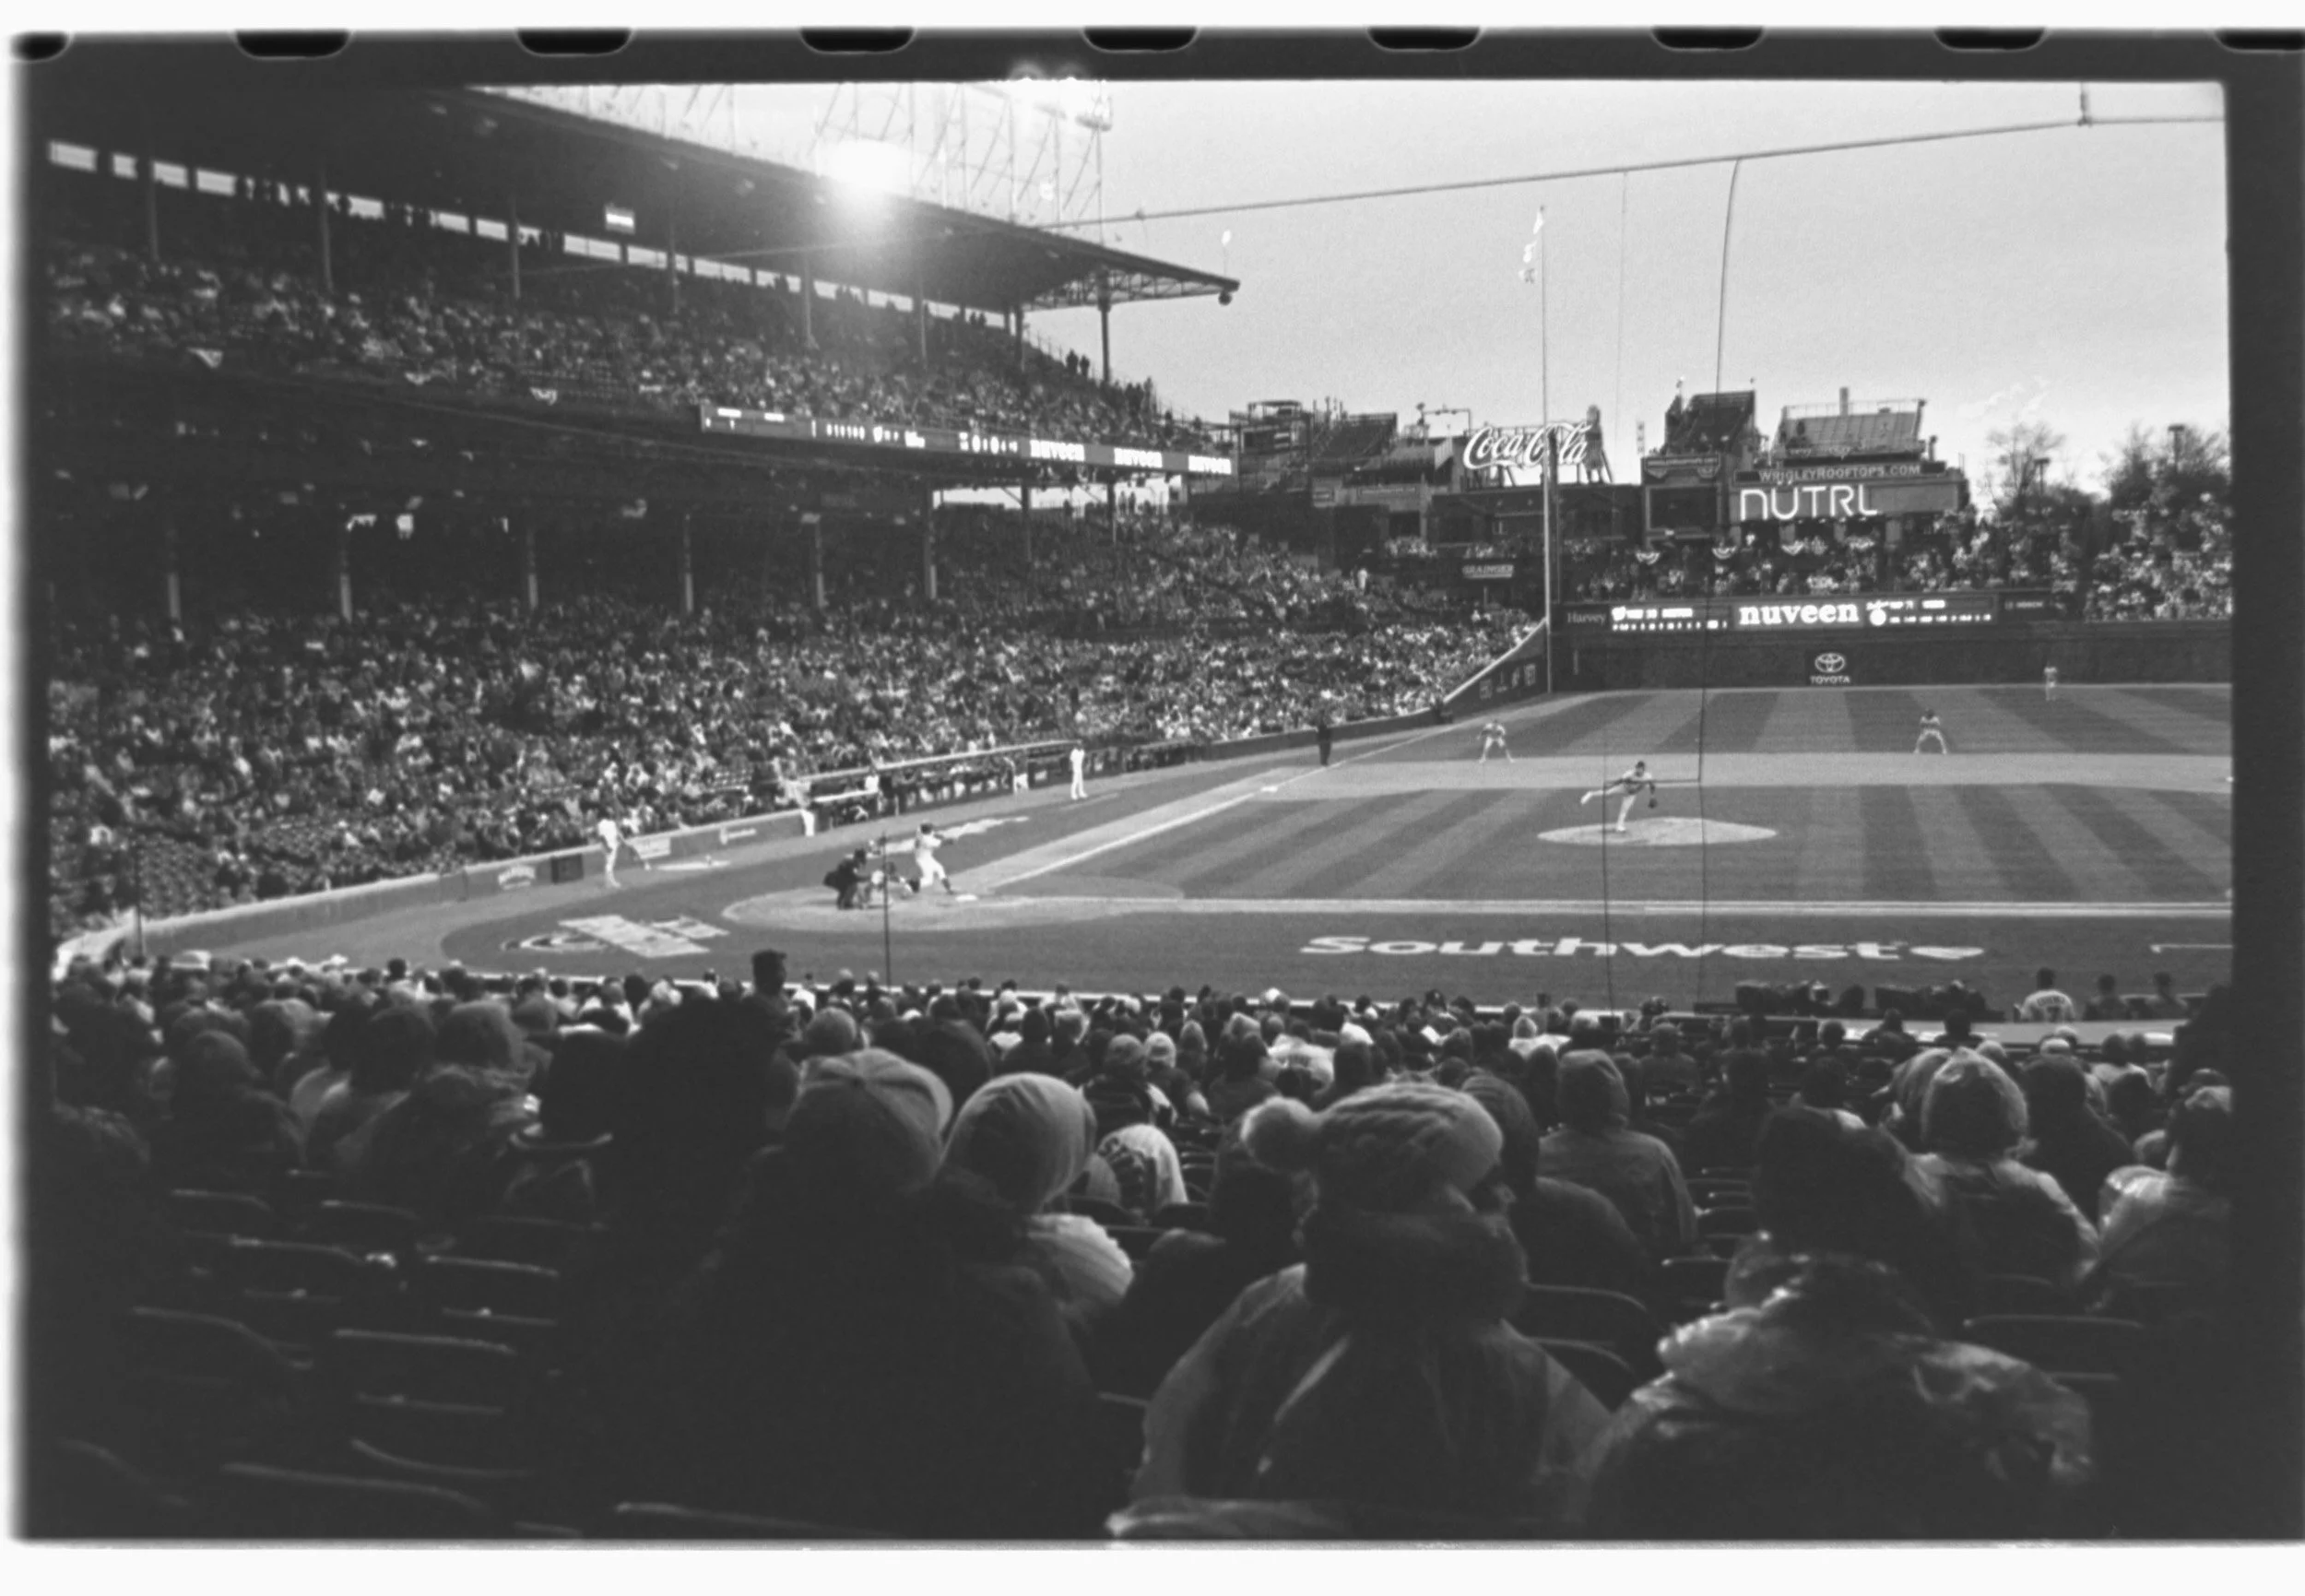
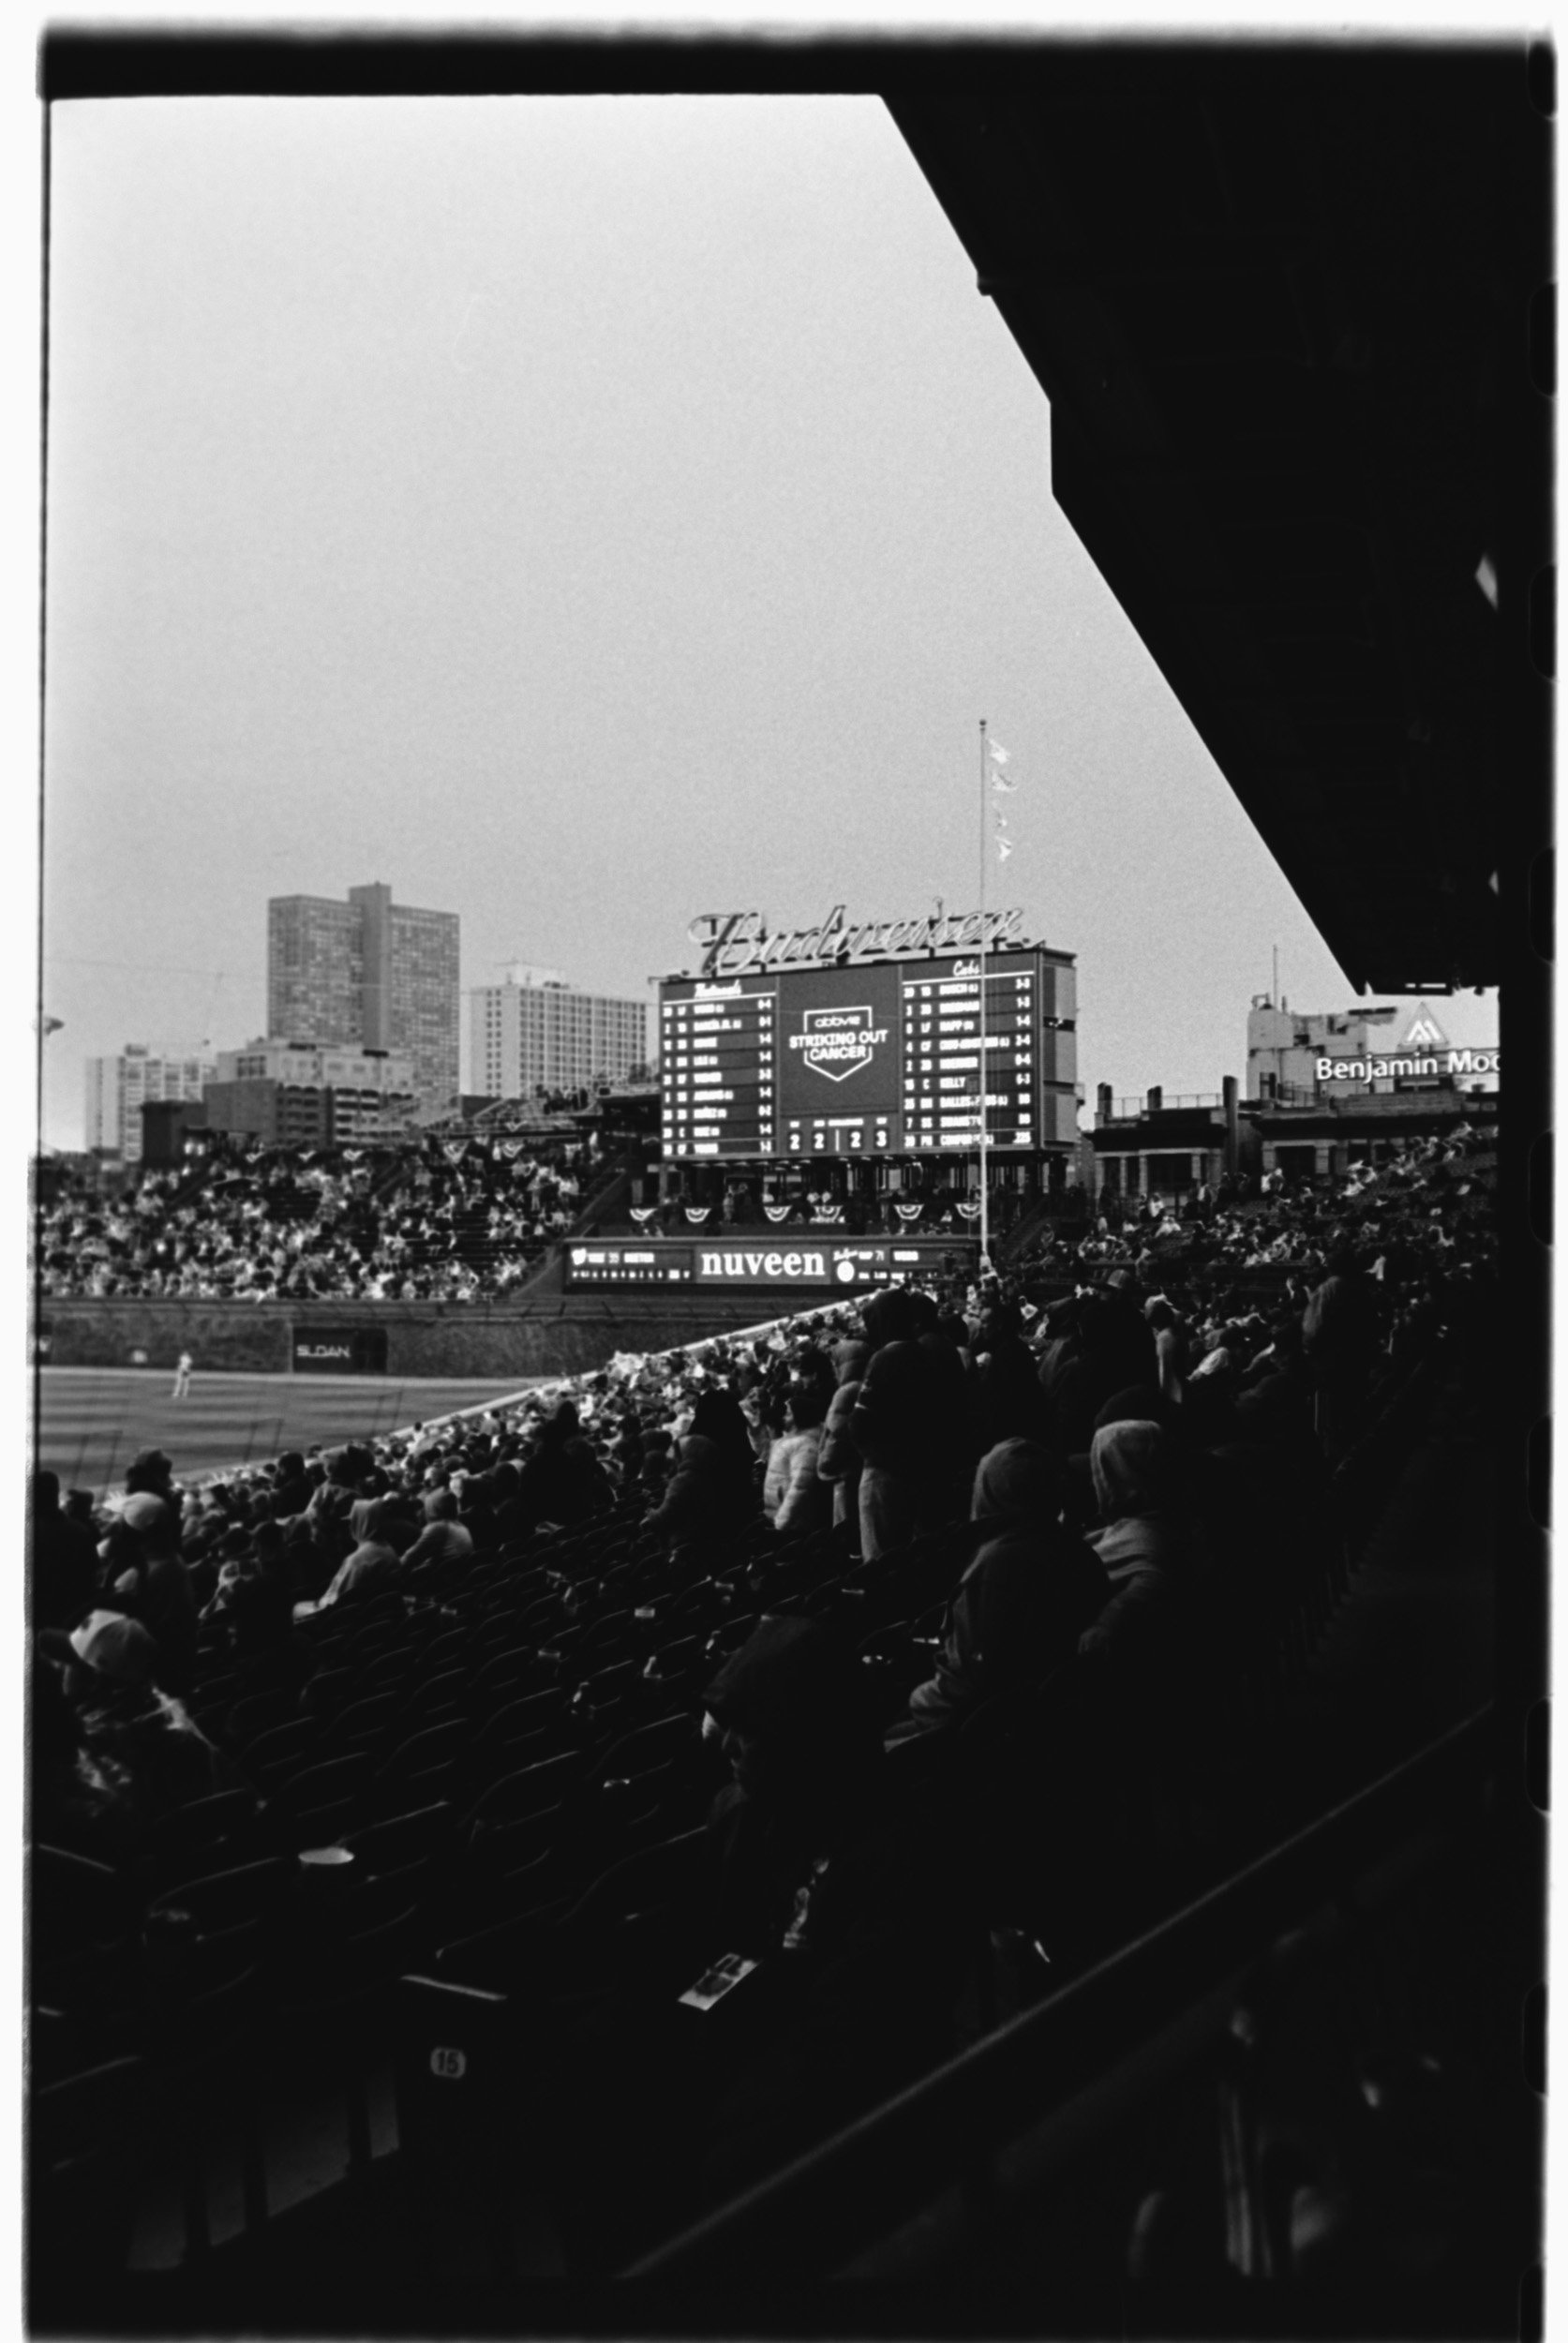
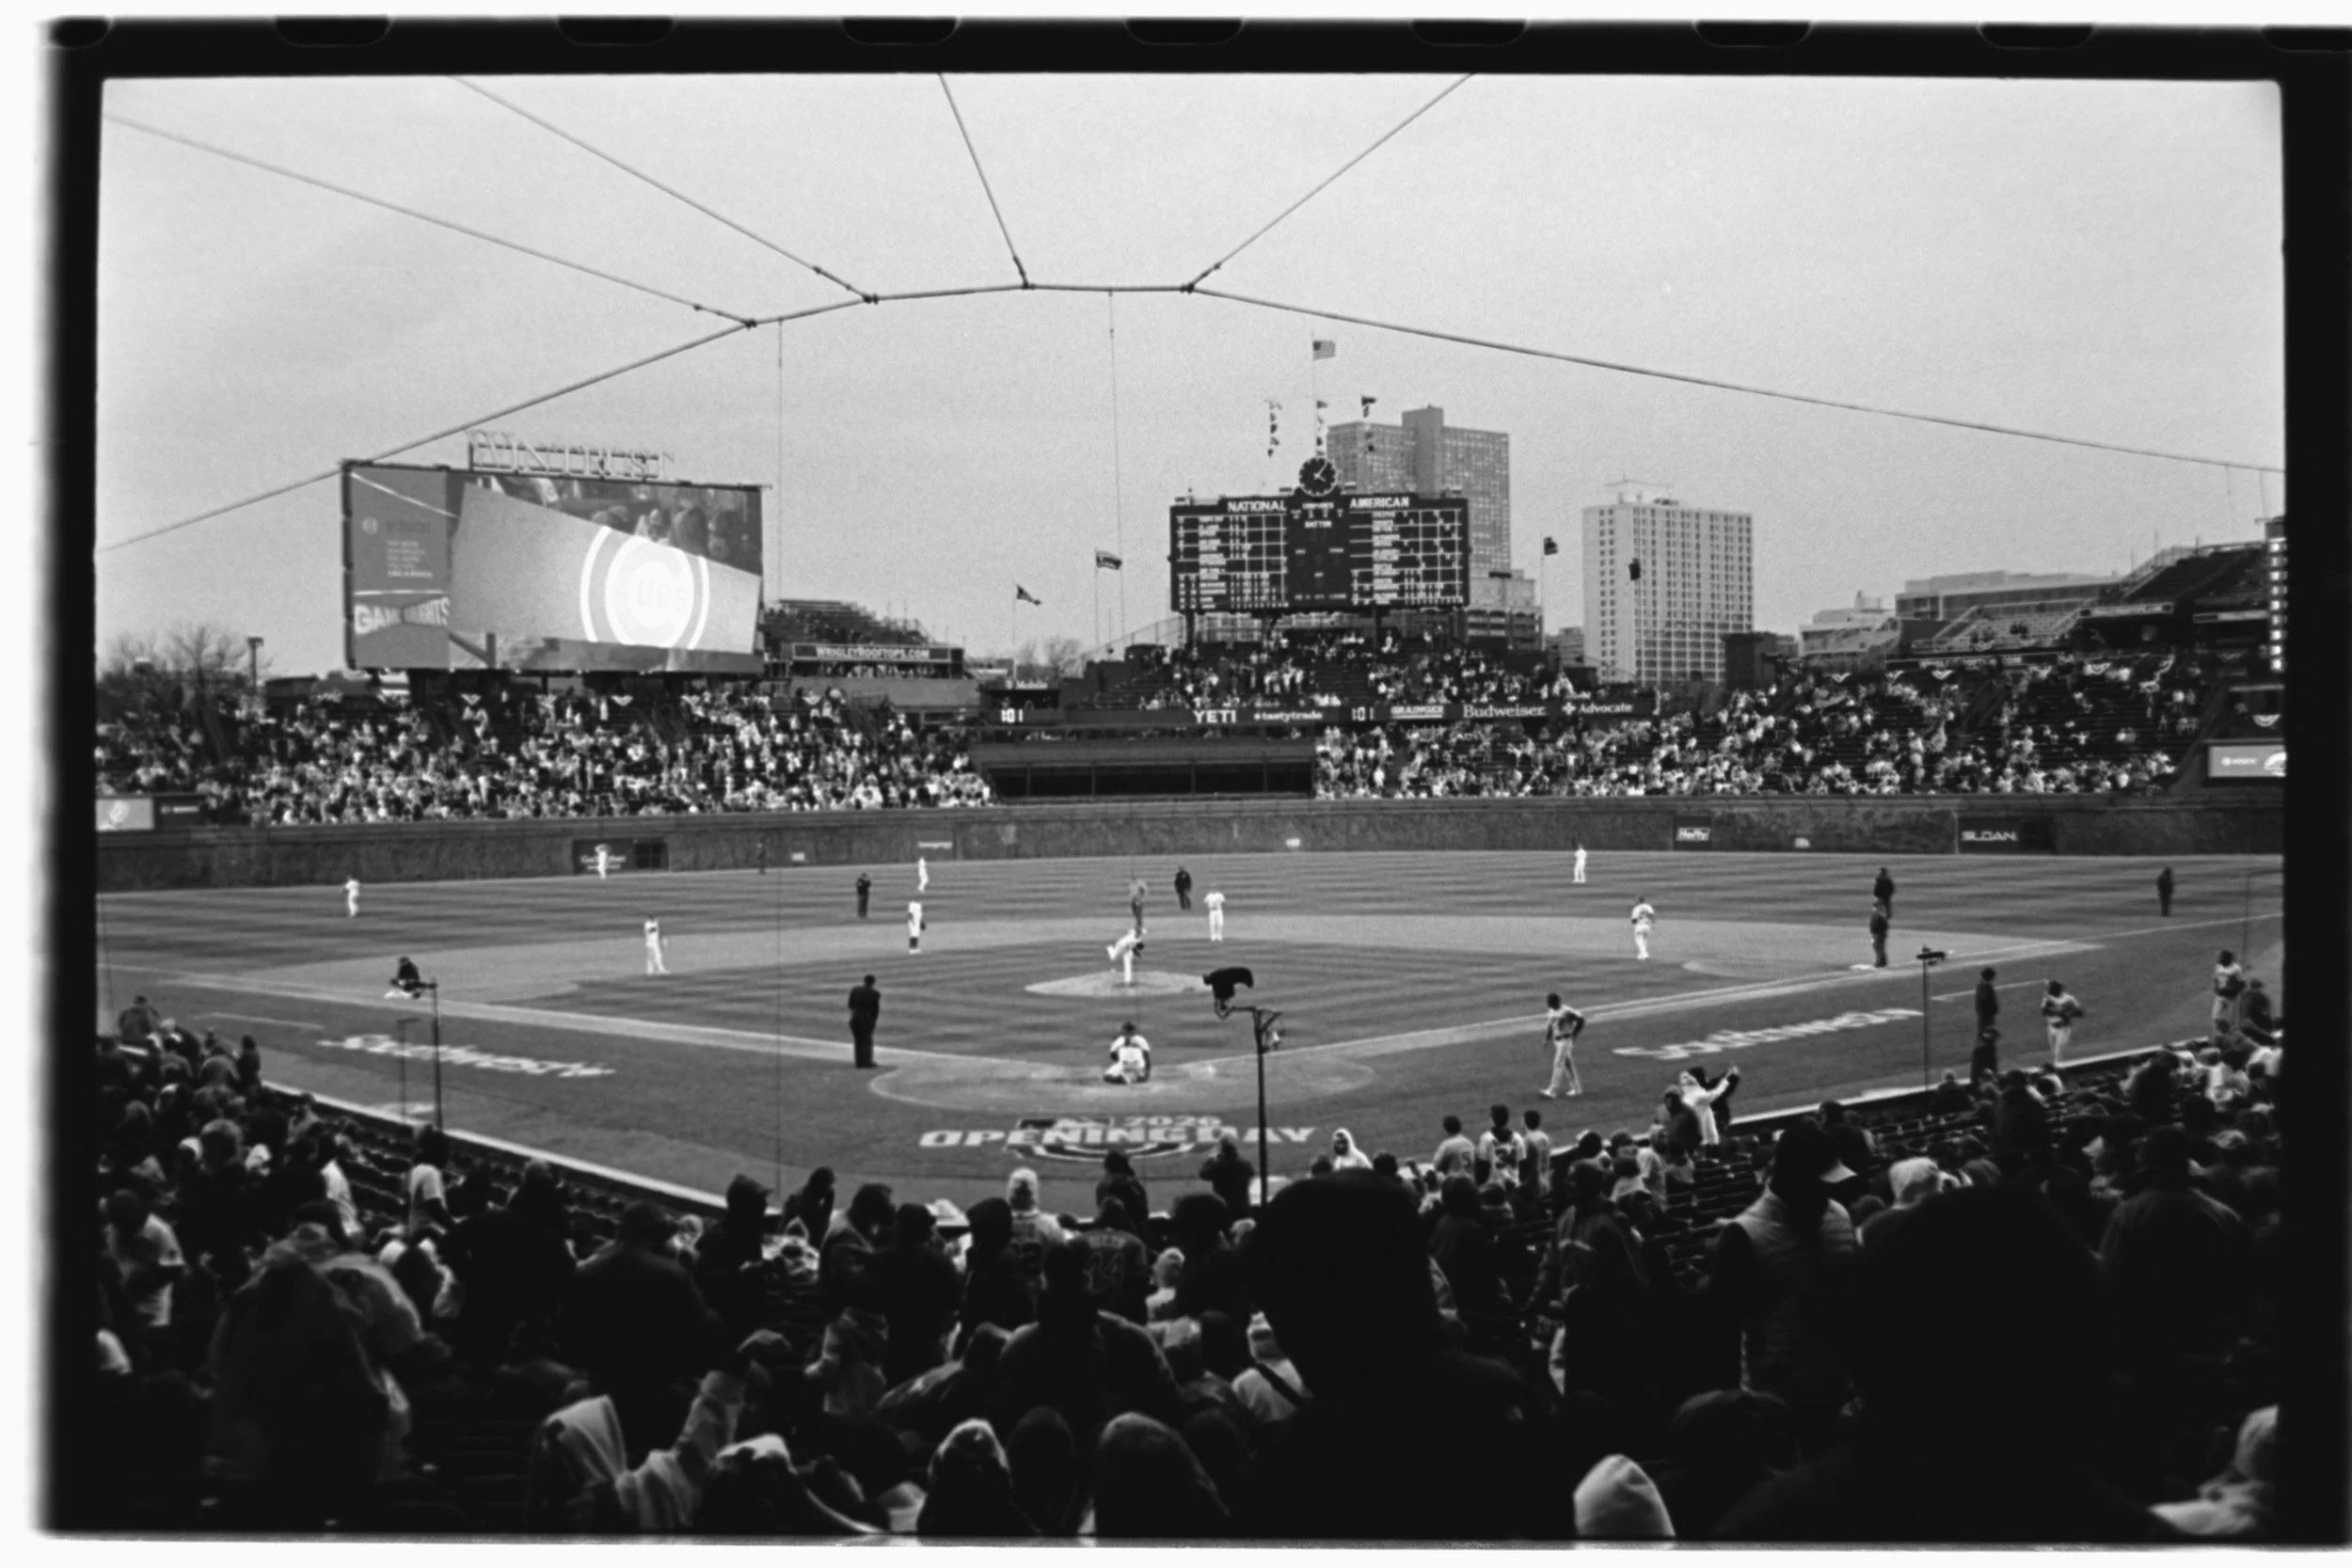

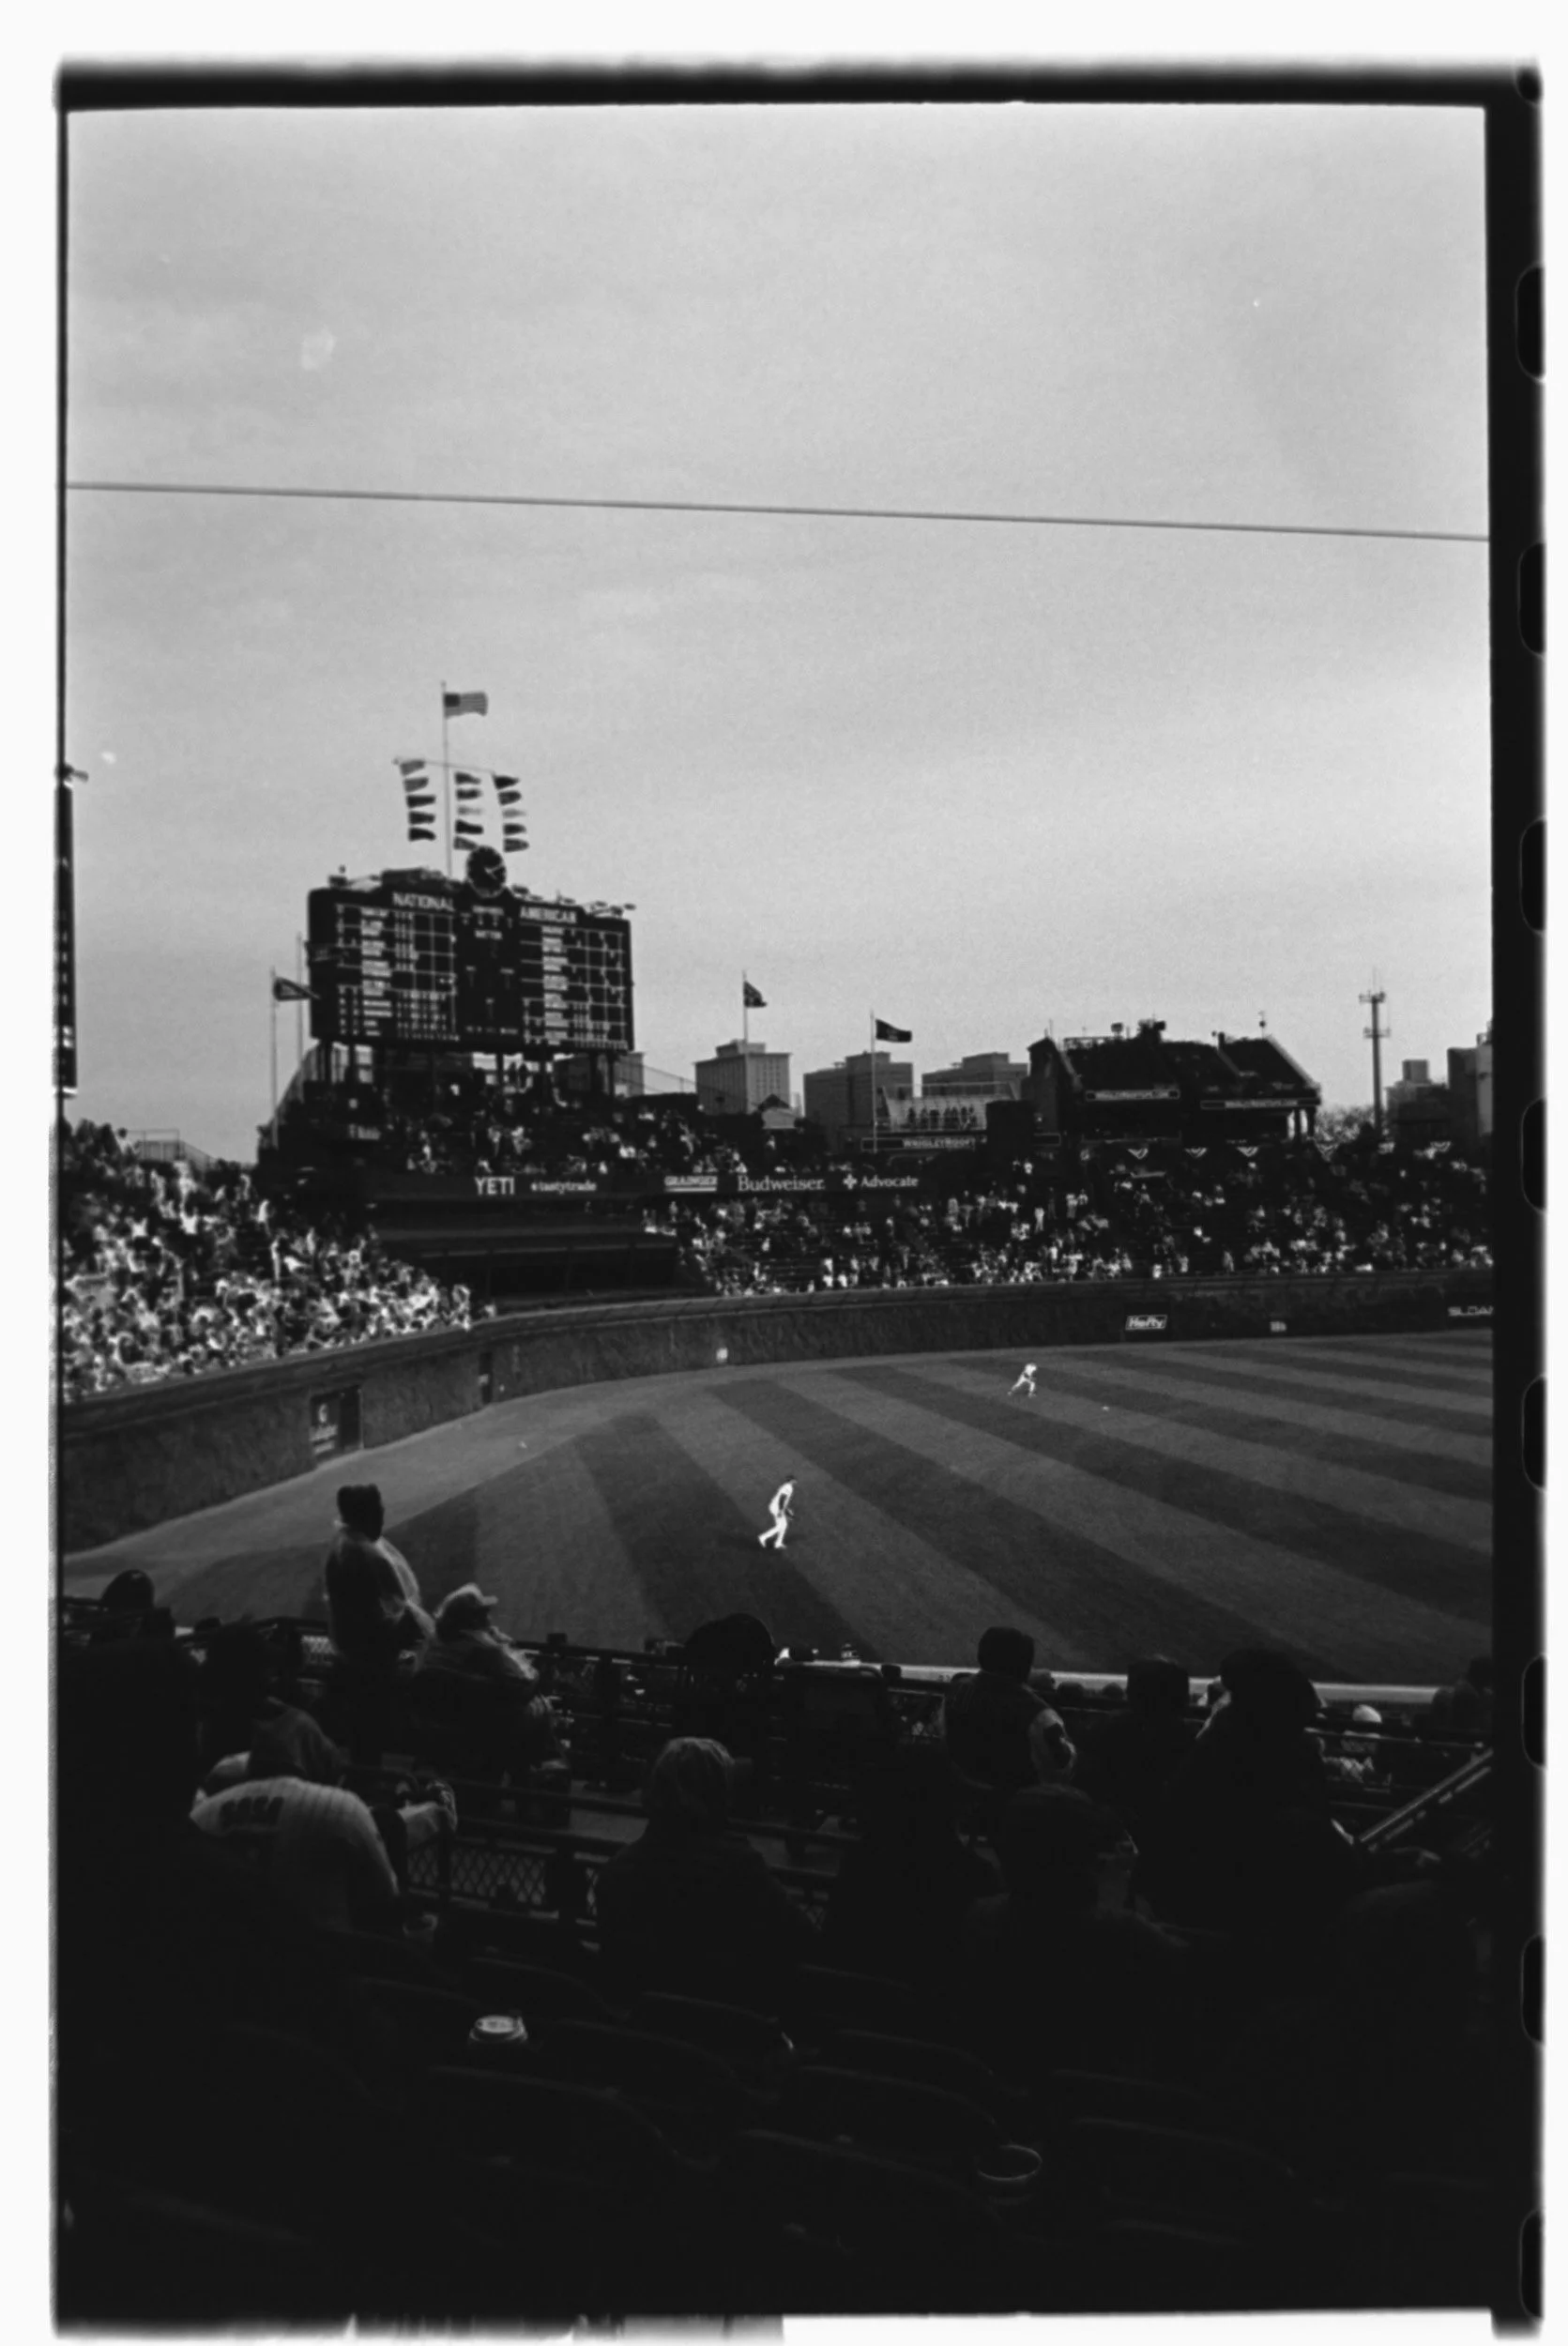
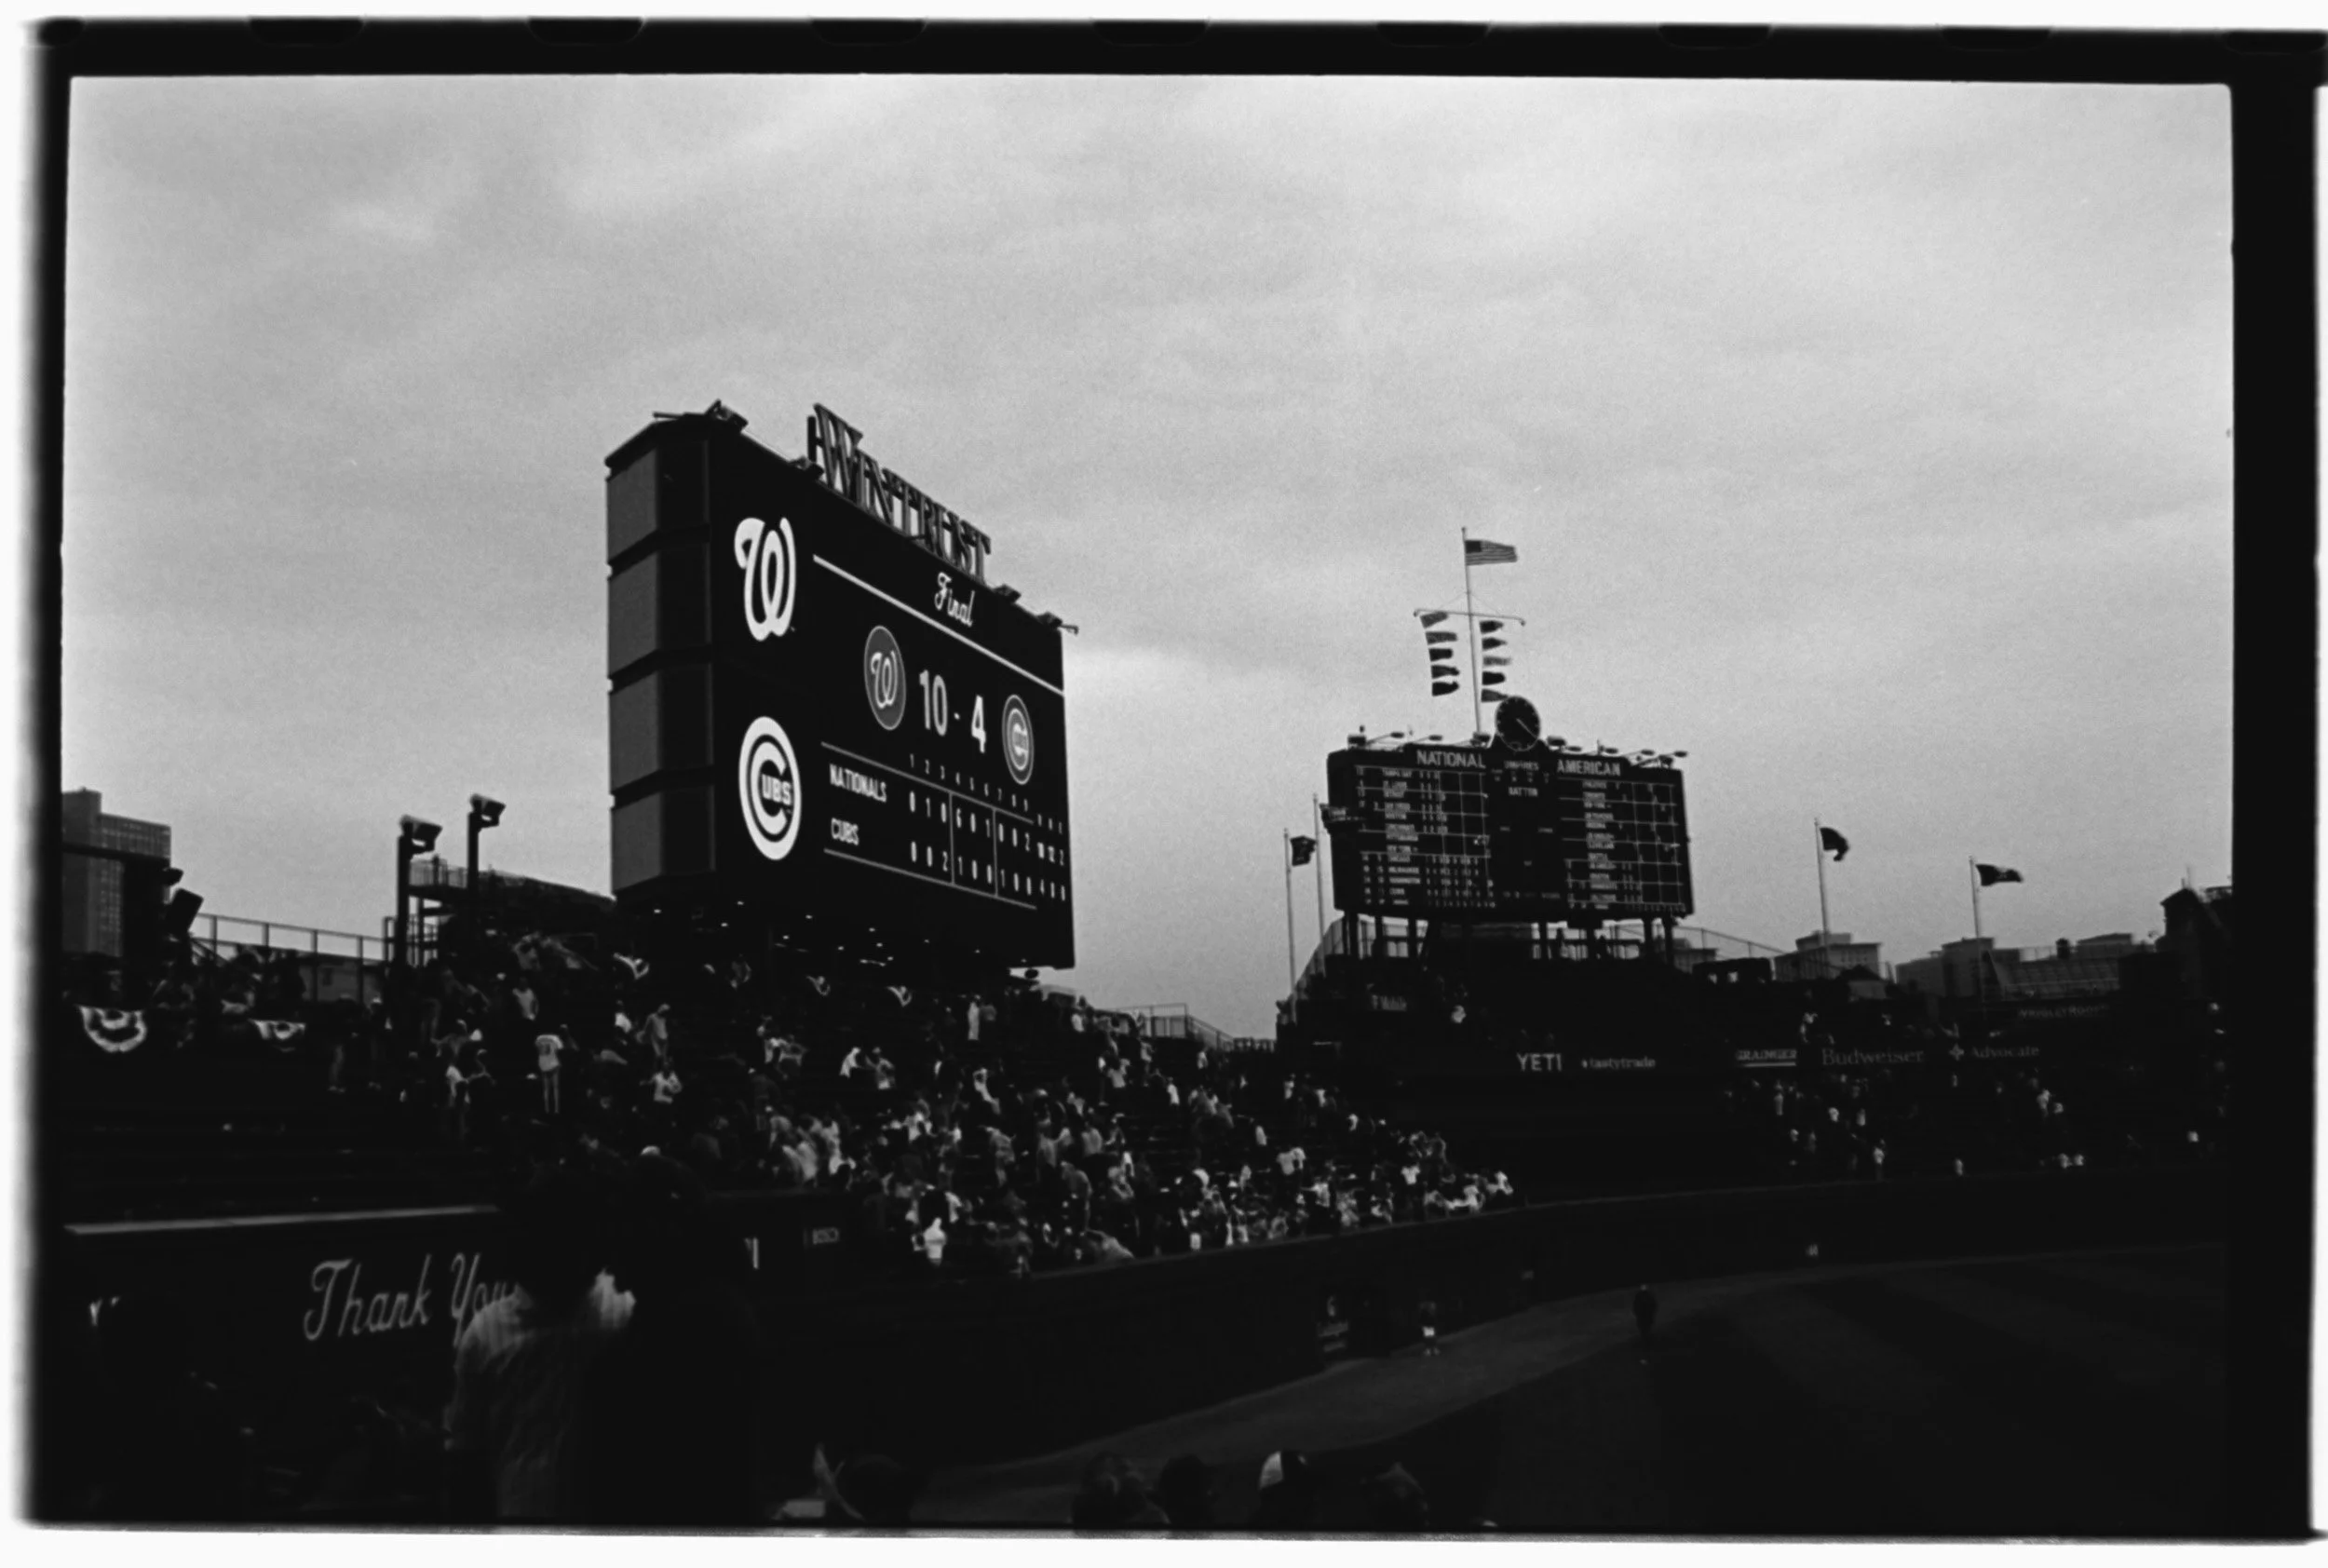
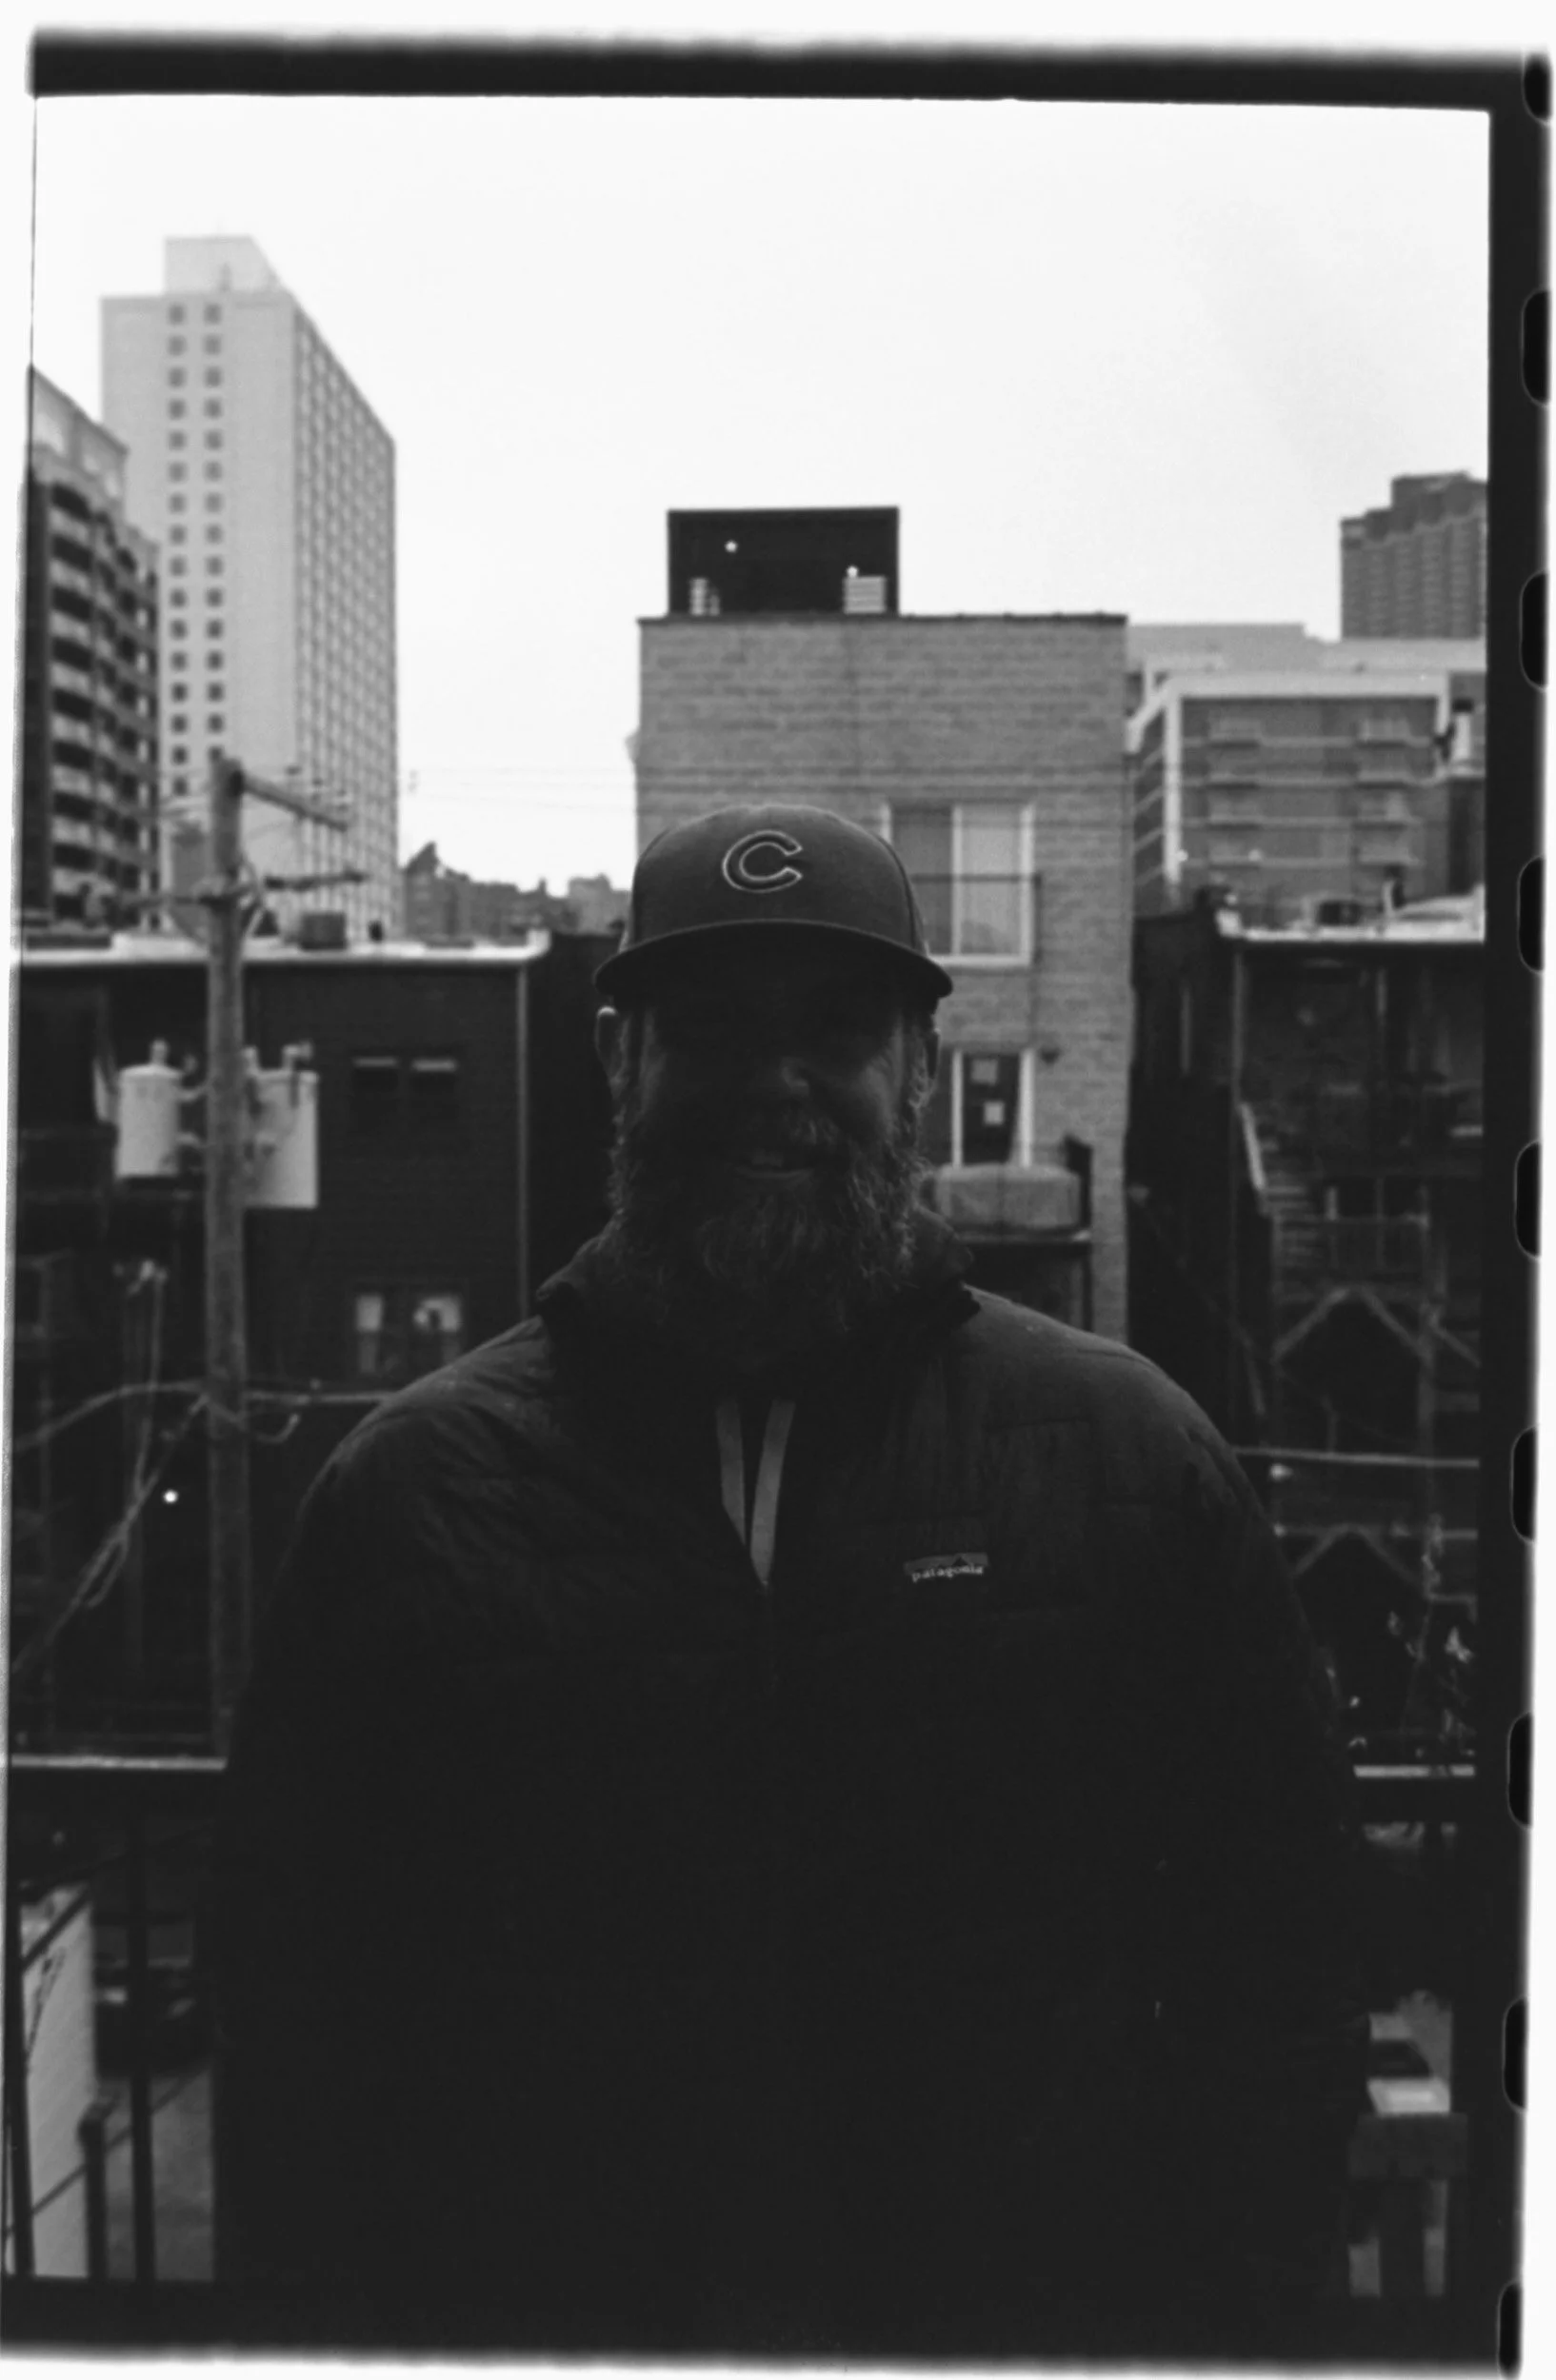
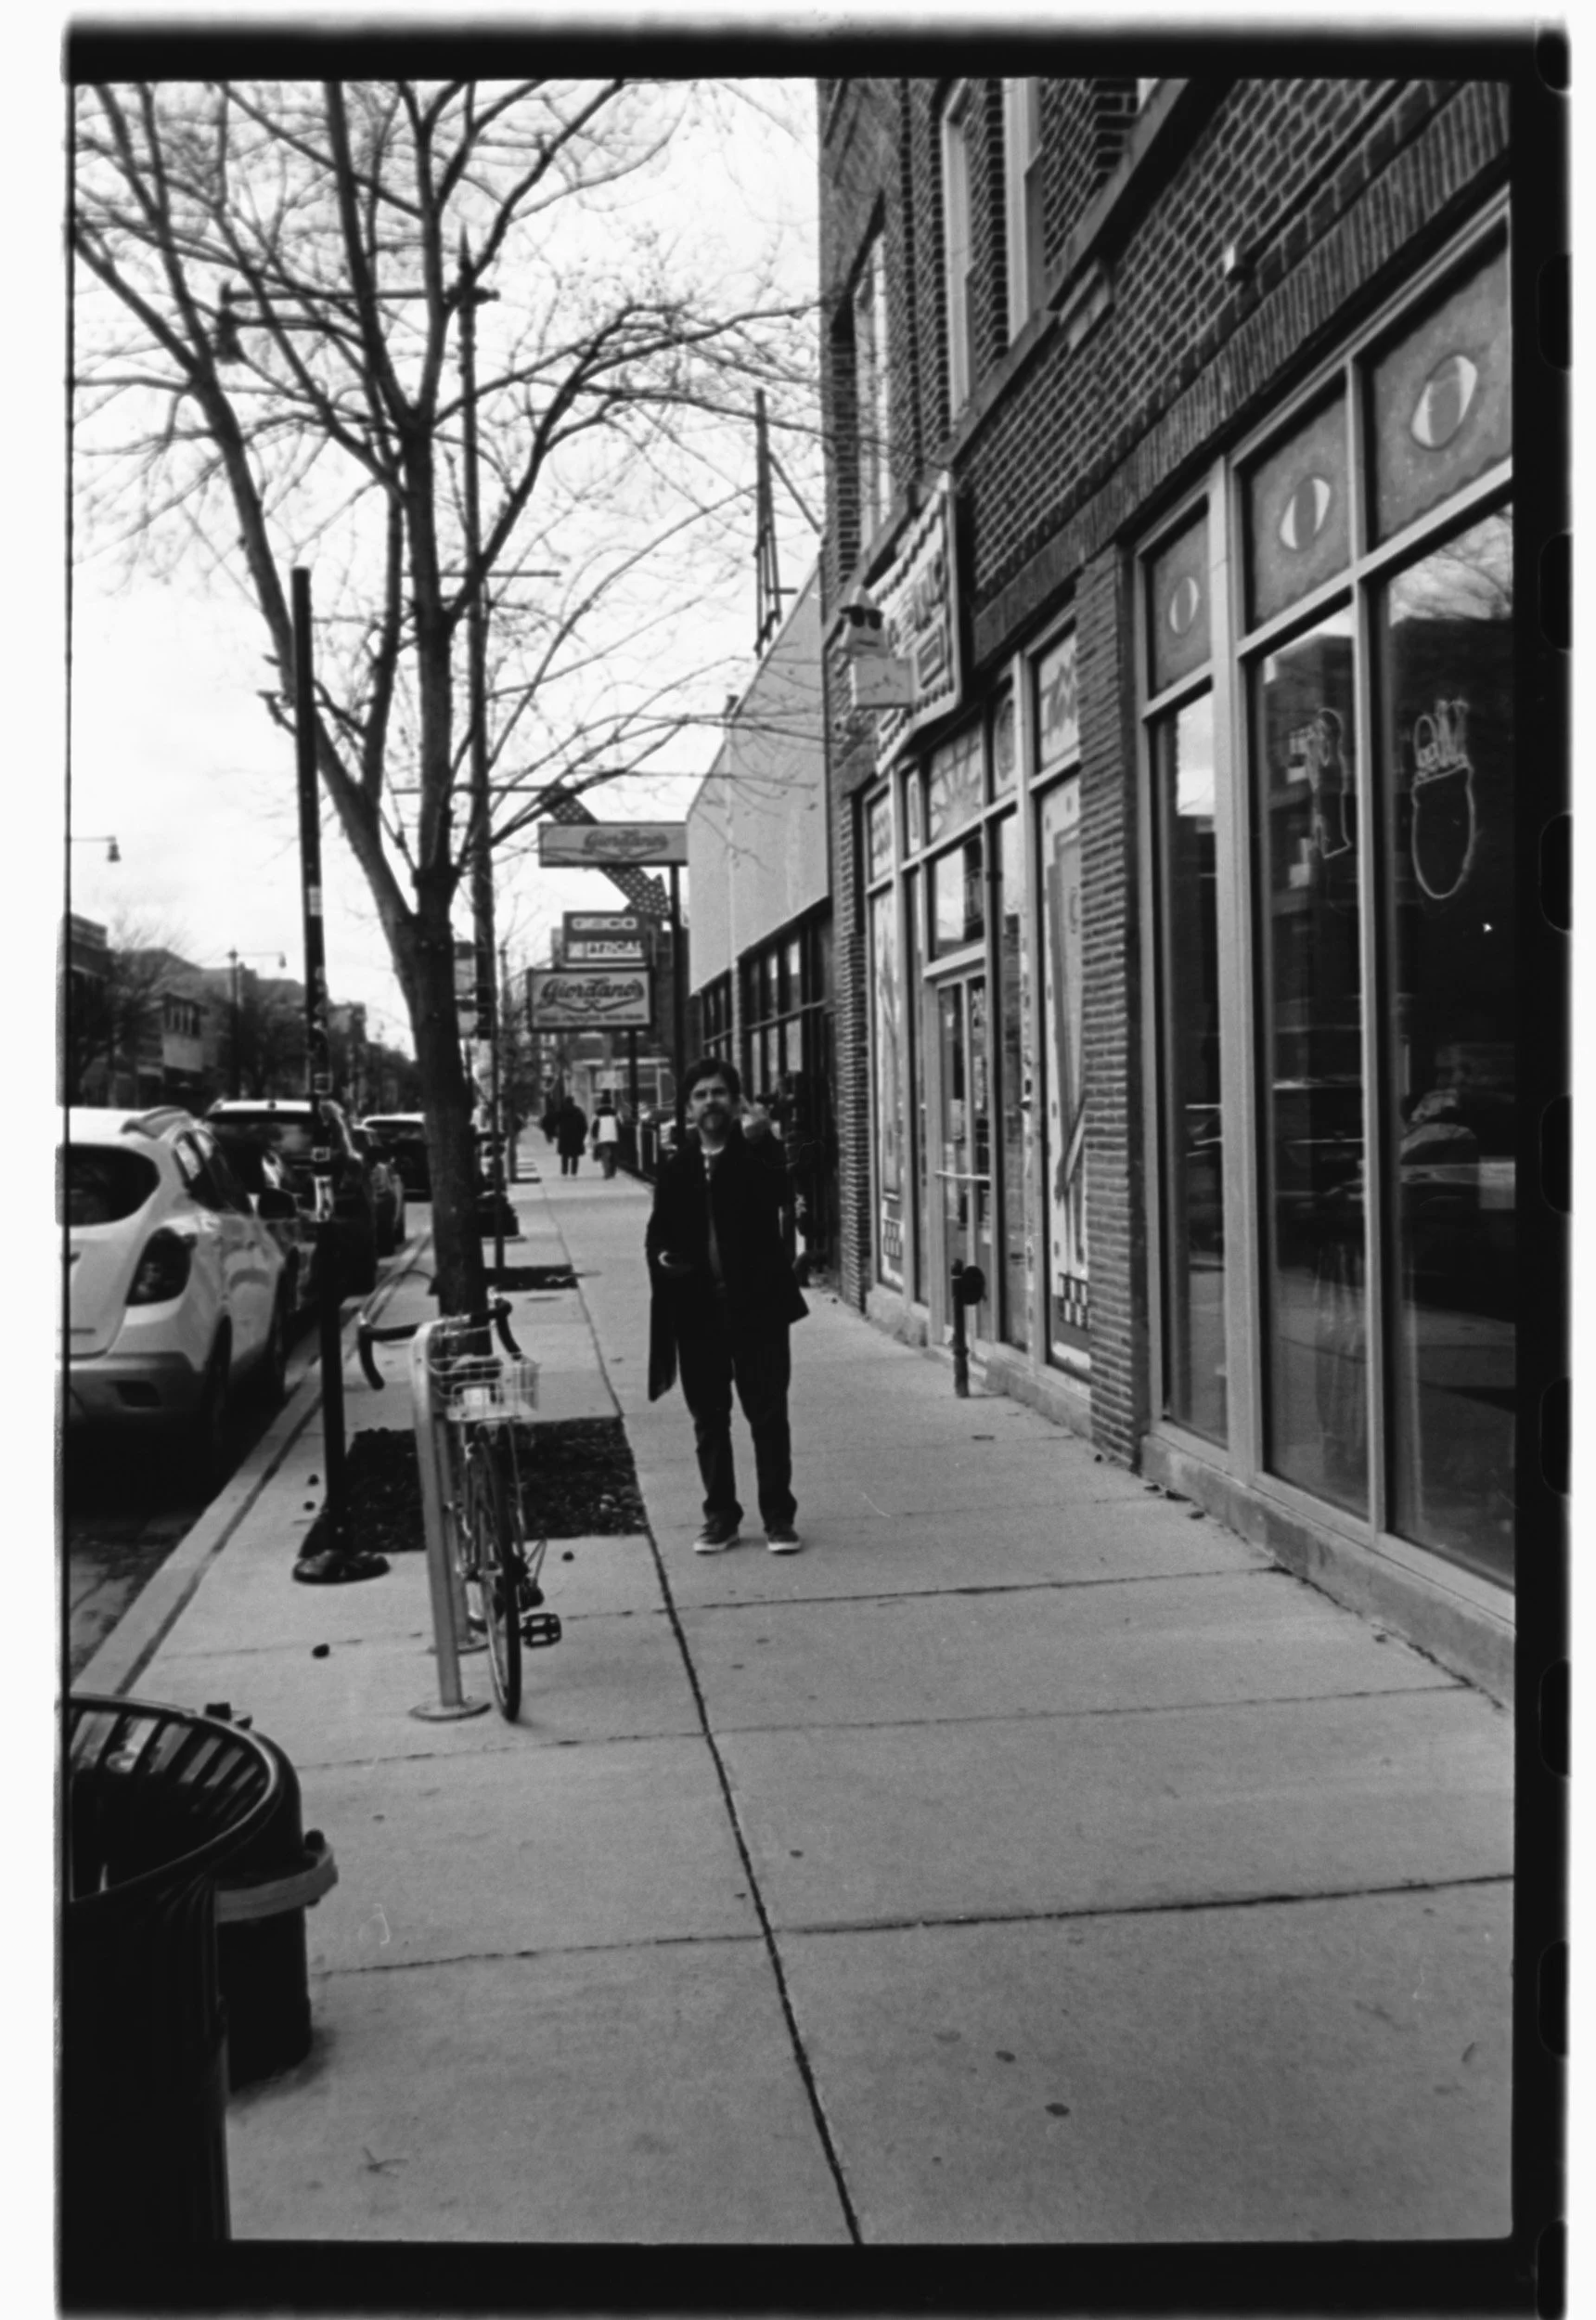
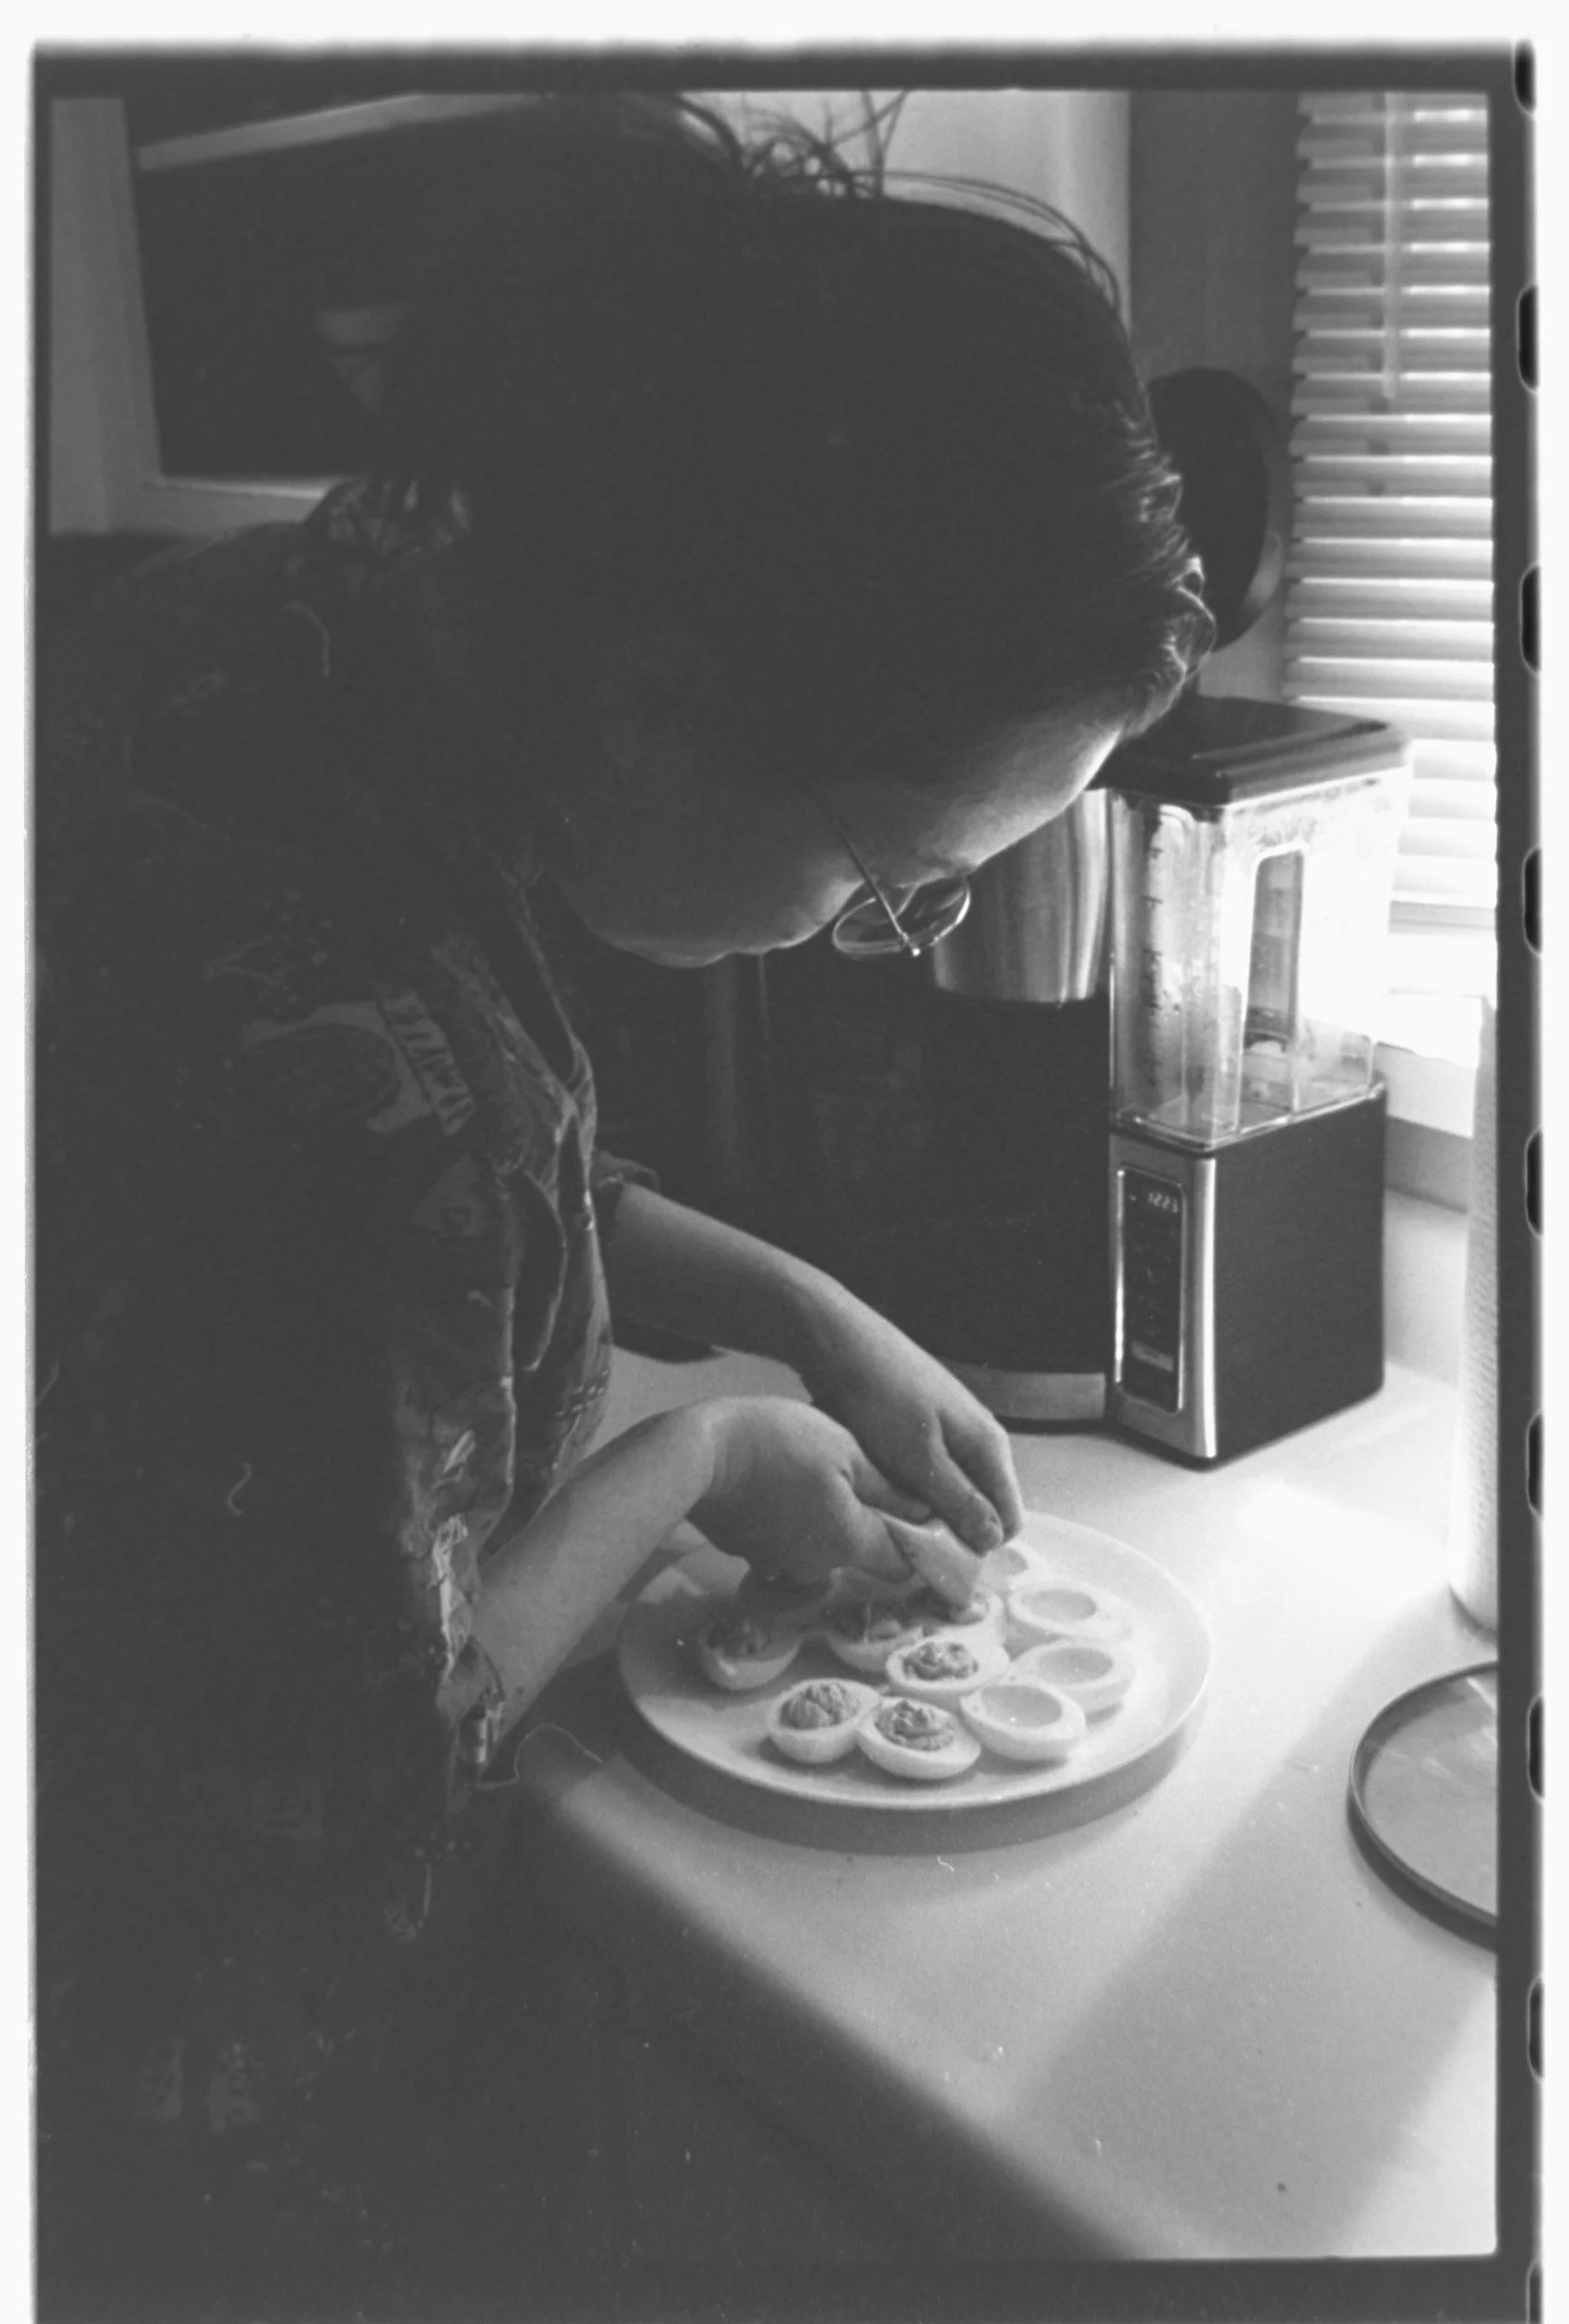
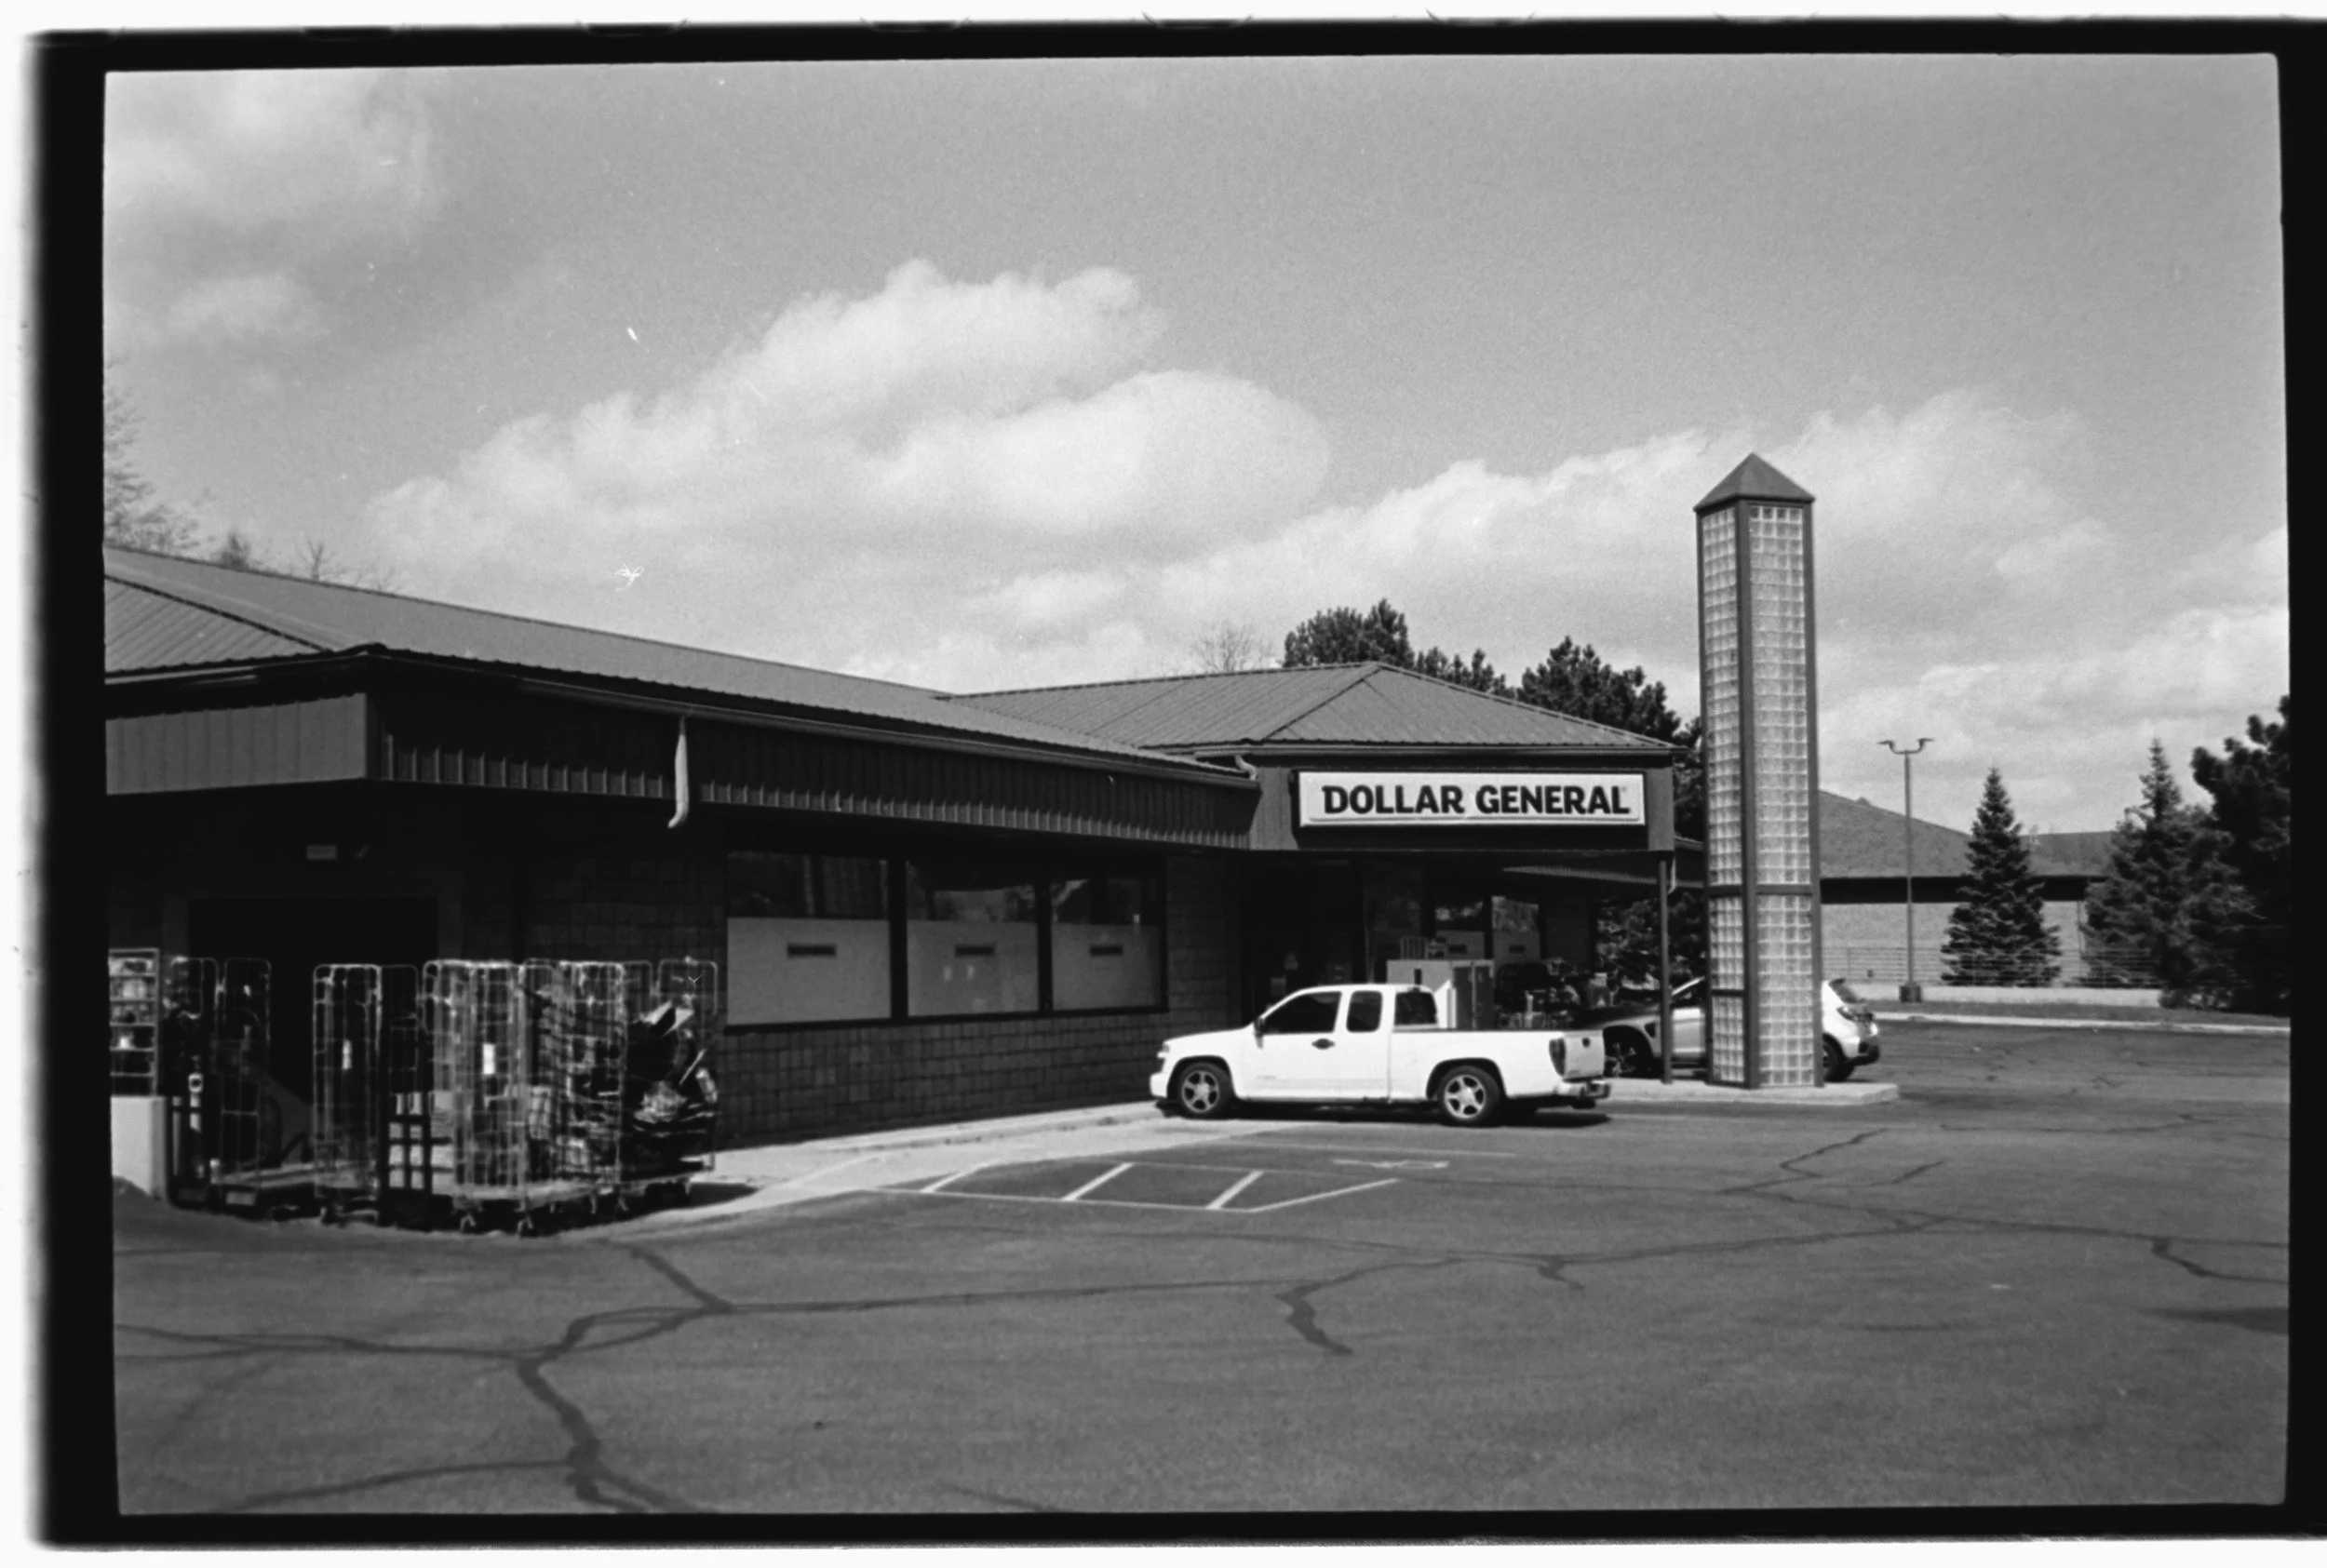
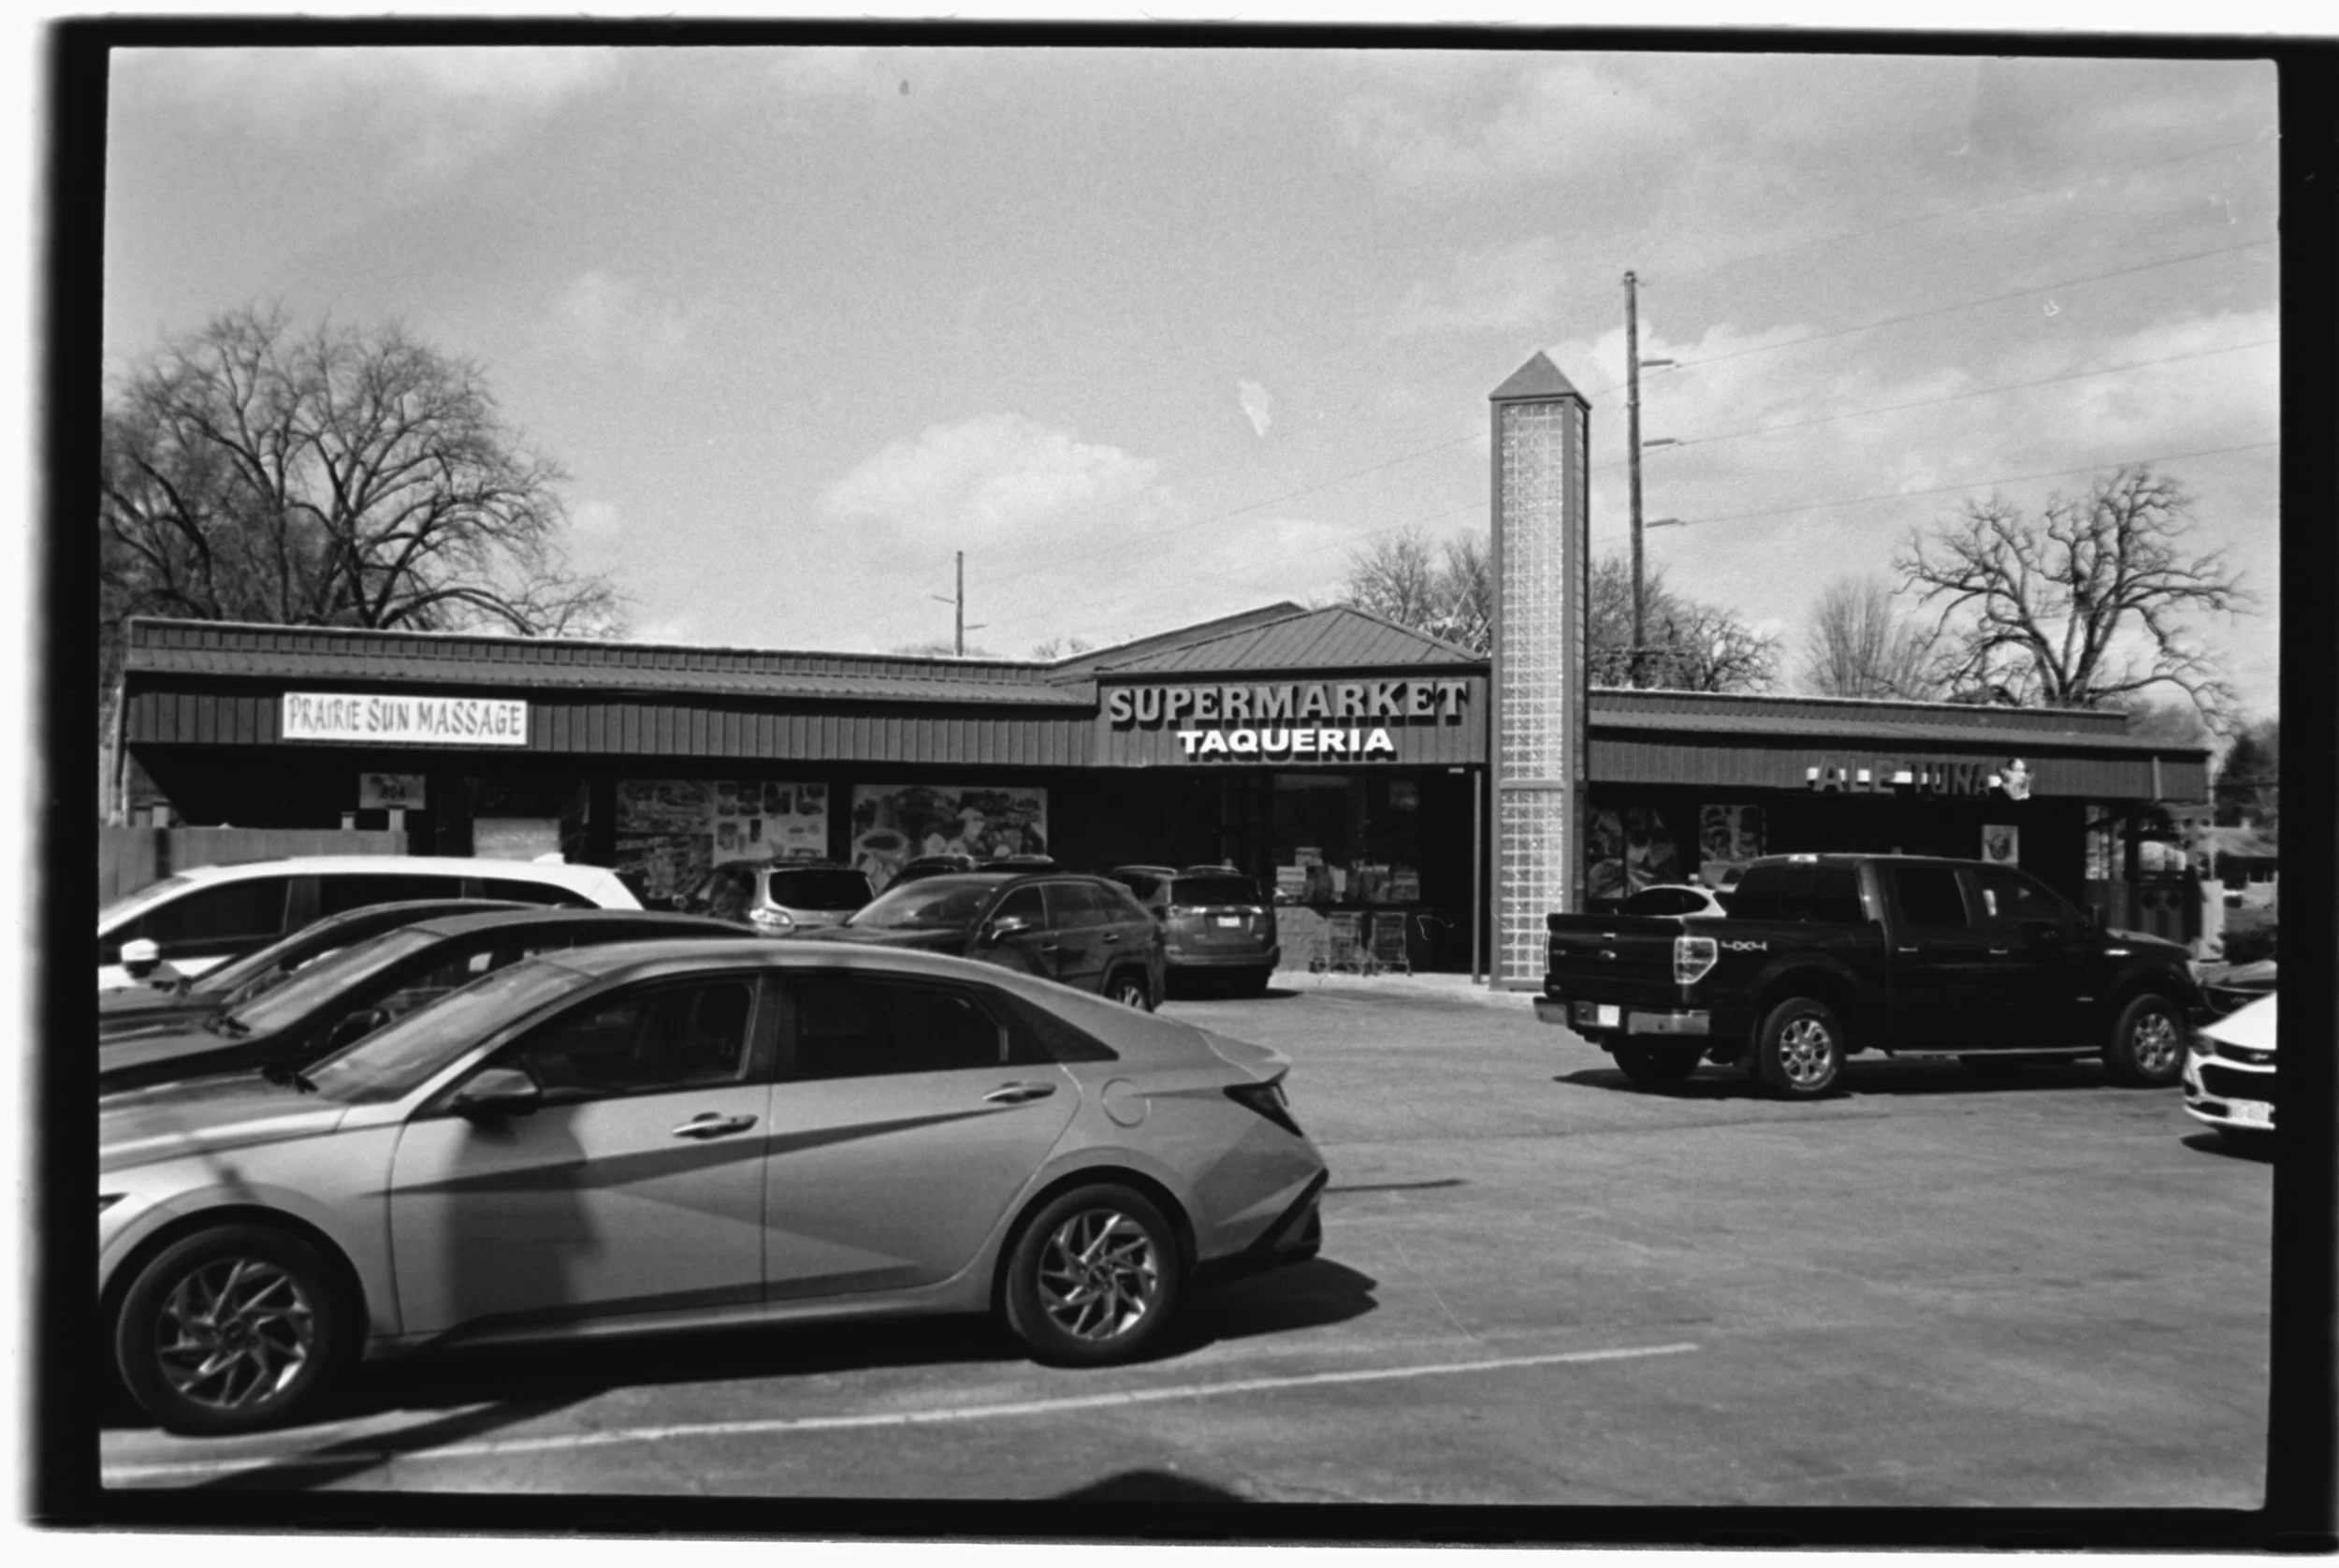
Olympus OM-1: Kodak Tri-X 400